2
Click
ONE PUSH
to focus on the subject.
The camera automatically focuses on the subject. Note that the color of the status indicator (
A
) “FOCUSING”
turns from black to orange.
If the camera fails to focus on the subject, the status indicator (
A
) will show “ERROR”. In this case, manually
adjust the focus (in Step
3
).
3
Click
NEAR
/
FAR
to focus on the subject.
4
Deselect the [MANUAL] check box.
Be sure to deselect the check box to prevent the loss of focus due to wrong operation.
The check box is automatically deselected if you switch from the focus adjustment screen to another
screen.
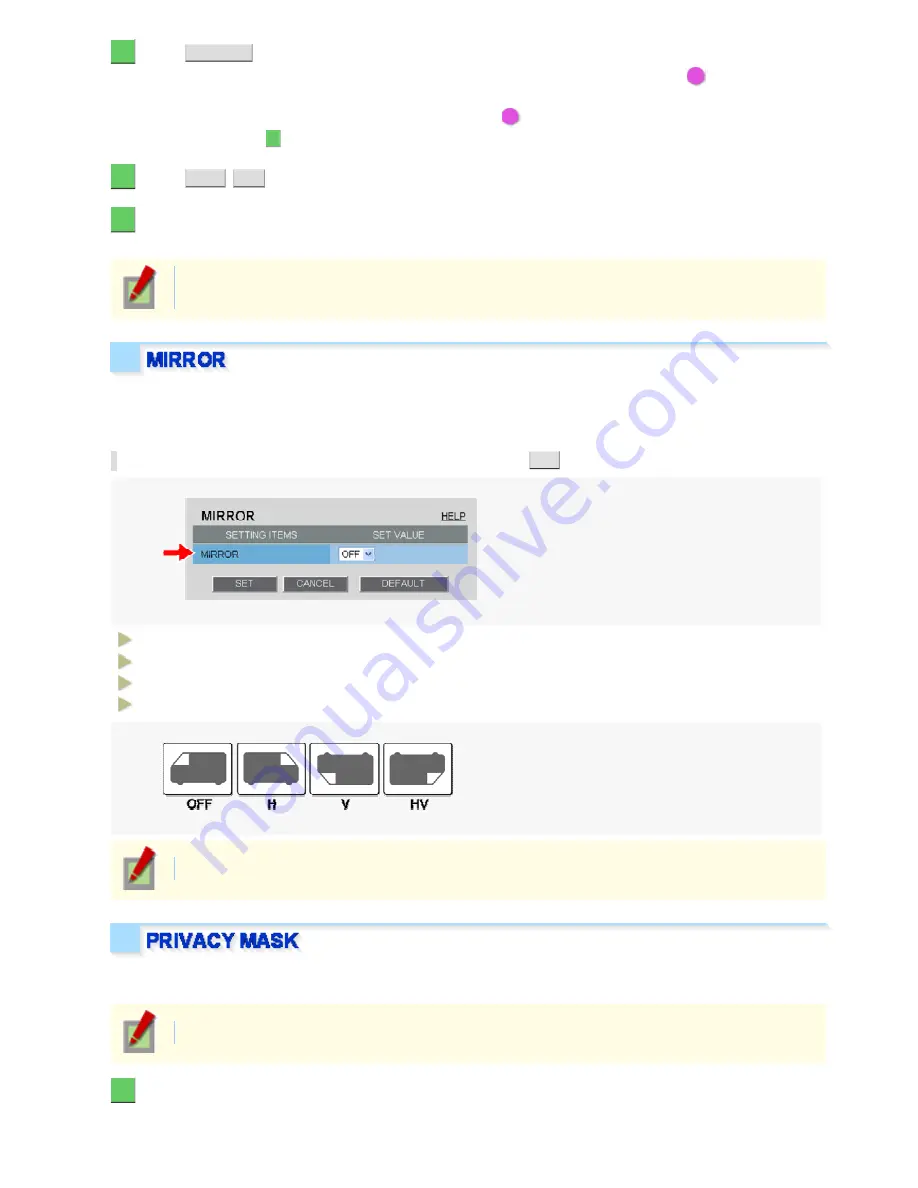
Use the mirror function to electronically flip the displayed subject.
If you installed the camera upside down or intend to monitor the subject in the mirror, configure the following
settings according to the installation environment of the camera.
In [MIRROR], select the desired mirror mode and click
SET
.
OFF:
Disables the mirror mode (normal video).
HV:
Flips the video vertically and horizontally.
H:
Flips the video horizontally.
V:
Flips the video vertically.
The configured settings will be applied commonly to “CAM1” and “CAM2” selected under [VIEW].
You can configure the privacy mask settings to hide specific portions of surveillance video for privacy protection.
When a privacy mask is set, the resolution, frame rate, and image quality of the live video image may be limited.
The configured settings will be applied commonly to “CAM1” and “CAM2” selected under [VIEW].
1
Click [PRIVACY MASK] in the sub menu.
The PRIVACY MASK SETTINGS screen appears.
Working with Administrator Configuration Screens 29/50


