PLC-WXU10
47
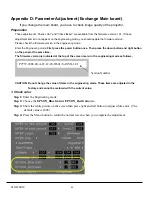
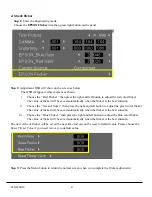
2. Check flicker
Step 1:
Enter the Engineering mode.
Choose the
EPSON Flicker
item then press right button on the panel.
Step 2:
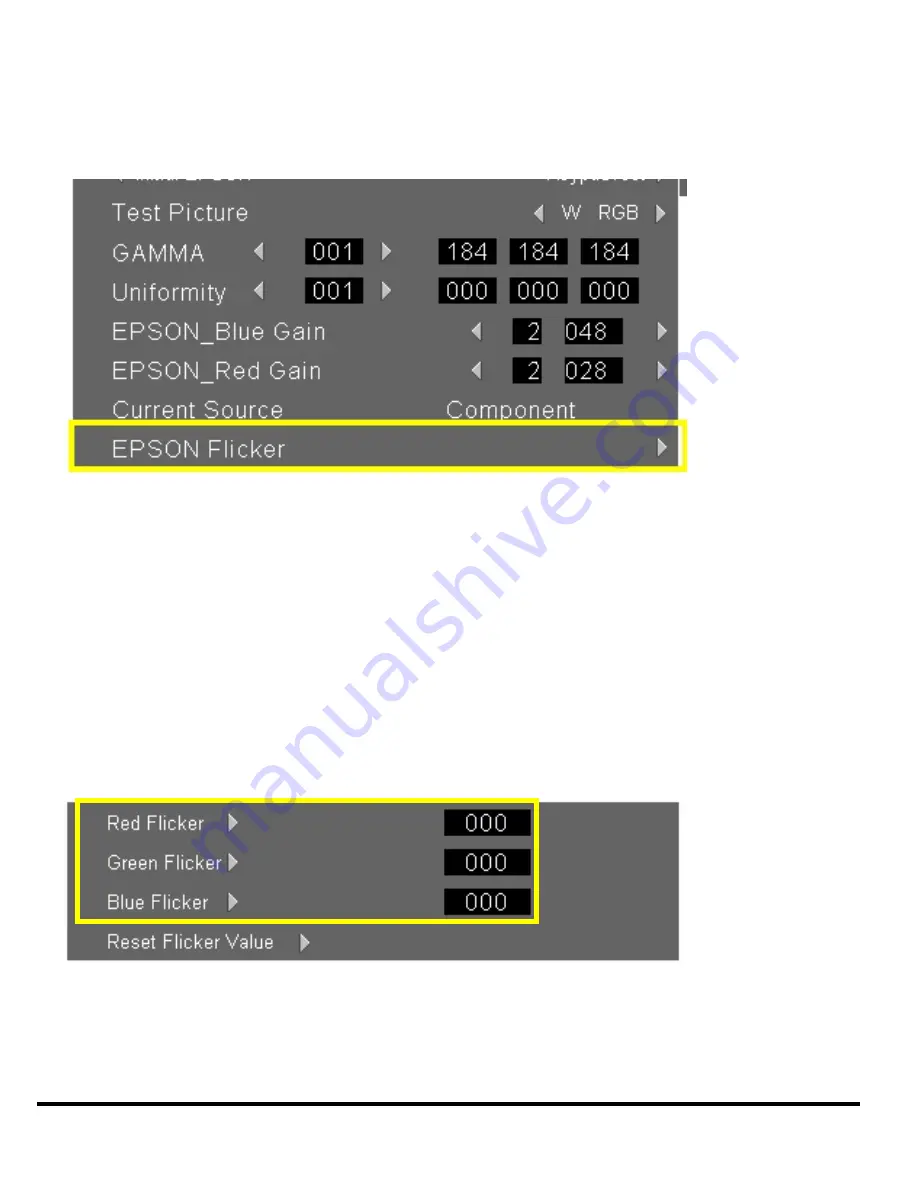
Adjustment OSD will show on the screen as below.
The OSD disappear at this moment as shown.
i.
Choose the “ Red Flicker “ then press the right and left button to adjust the red color flicker.
The value of flicker will be saved automatically when the flicker is the best situation.
ii.
Choose the “ Green Flicker “ then press the right and left button to adjust the green color flicker.
The value of flicker will be saved automatically when the flicker is the best situation.
iii.
Choose the “ Blue Flicker “ then press the right and left button to adjust the blue color flicker.
The value of flicker will be saved automatically when the flicker is the best situation.
The new value of flicker will be set on the next time and can not be reset to default value. Please choose the
Reset Flicker Value
if you need recovery to default value.
Step 3:
Press the Menu button to return the normal screen when you complete the flicker adjustment.
Содержание PLC-WXU10B
Страница 7: ...PLC WXU10 4 1 3 PLC WXU10 System Block Diagram ...
Страница 17: ...PLC WXU10 14 Step Figure Description 9 Remove the screws as shown 10 Remove the housing mylar ...
Страница 20: ...PLC WXU10 17 Step Figure Description 15 Remove the cube blower module 16 Loosen the screws S06 to remove fans ...
Страница 40: ...PLC WXU10 37 6 1 Mechanical Drawing M15 mylar 2 M12 ...
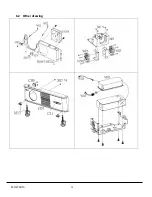
Страница 41: ...PLC WXU10 38 6 2 Other drawing ...
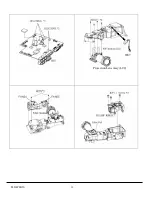
Страница 42: ...PLC WXU10 39 Projection Lens Assy L02 W07 ...
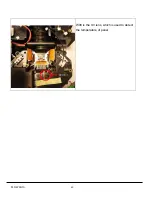
Страница 43: ...PLC WXU10 40 W08 is the UV lens which is used to detect the temperature of panel W08 ...
Страница 51: ......
Страница 52: ... KJ3A Jan 2008 DC 300 Printed in Japan SANYO Electric Co Ltd ...

