PLC-WXU10
10
Step
Figure
Description
1
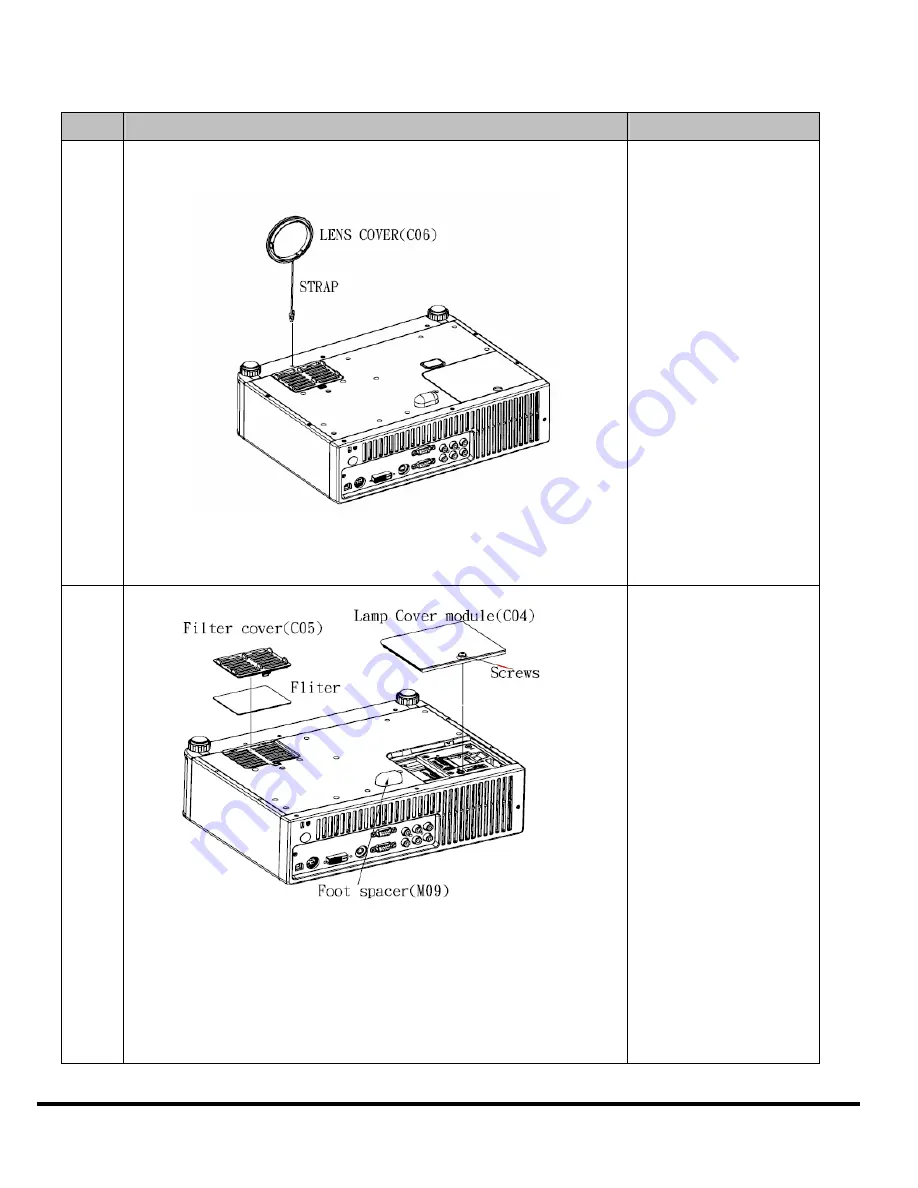
Press the power button to
shutdown the projector and
disconnect the power cord.
If the lamp is hot, please do
not start any procedure until
the projector lamp cools
down.
Remove the Lens Cover
with strap from the cabinet
bottom.
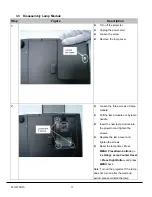
2
1.Turn the projector over
and remove the filter by
pulling the latches upward
2.Gently clean the filter by
using a brush or rinse it
softly
3.When rinsing the filter ,dry
it well.Replace the filter
properly.make sure that the
filter is fully inserted to the
projector.
4.Remove the one screw on
the lamp cover and open
the lamp cover
Содержание PLC-WXU10B
Страница 7: ...PLC WXU10 4 1 3 PLC WXU10 System Block Diagram ...
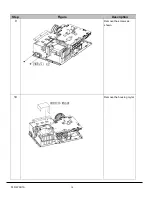
Страница 17: ...PLC WXU10 14 Step Figure Description 9 Remove the screws as shown 10 Remove the housing mylar ...
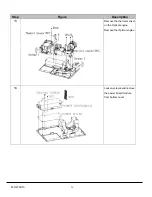
Страница 20: ...PLC WXU10 17 Step Figure Description 15 Remove the cube blower module 16 Loosen the screws S06 to remove fans ...
Страница 40: ...PLC WXU10 37 6 1 Mechanical Drawing M15 mylar 2 M12 ...
Страница 41: ...PLC WXU10 38 6 2 Other drawing ...
Страница 42: ...PLC WXU10 39 Projection Lens Assy L02 W07 ...
Страница 43: ...PLC WXU10 40 W08 is the UV lens which is used to detect the temperature of panel W08 ...
Страница 51: ......
Страница 52: ... KJ3A Jan 2008 DC 300 Printed in Japan SANYO Electric Co Ltd ...


