13
GB
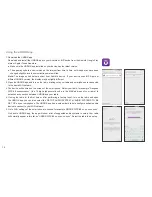
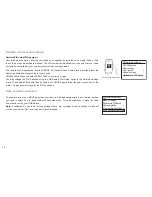
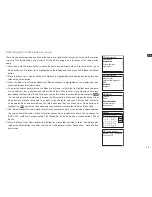
12. You will first need to identify your network in the list of network names presented by the Network
Wizard. If no networks are found then you may have to get your wireless router working (please see
the instructions supplied with it) or you may be too far from the router. When the radio finds your
wireless network, it displays the Network Name (SSID) for the wireless access point on the screen.
This is a name that is allocated to the access point in your router by the person who set up the network
- for example: 'Jones family' or 'Paul's network'. Routers supplied by Internet Service Providers often
have the default name of the WiFi network provided on a label or card for easy reference (e.g. BTHub
- 1234, virginmedia 1234567). If the router supports WiFi Protected Setup, then '[WPS]' will be shown
in front of the SSID. It is possible, and in some locations highly likely, that your radio will find more than
one wireless network, in which case you should choose which one you need to connect to.
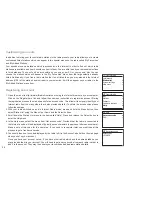
13. Press the Menu Up or Down buttons to see the SSID for each wireless network that has been found.
If your network is shown proceed to step 15 on the next page. If it is not shown then proceed to step
14. If you make a mistake at any point, use the Back button to go back to the previous screen.
14.
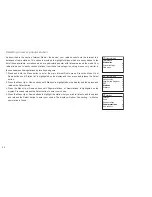
If your network is not found, it may be because the router is configured not to broadcast the SSID.
You should then use the Menu Up or Down and Select buttons to highlight and select the '[Manual
config]' option in order to enter the network details manually. This is described in 'Manual Network
Configuration'. If your network name is being broadcast, and it was not found, then try re-scanning (press
the Back button), and if necessary try moving your radio to a location closer to your access point/router.
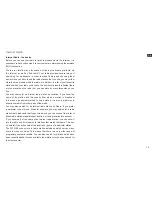
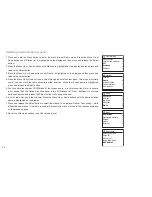
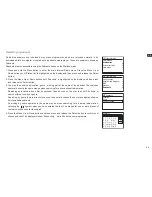
15. When the SSID for the wireless network you wish to connect to is highlighted on the screen, press
the Select button. If WiFi Protected Setup (WPS) was indicated, you will see an additional menu
at this point, otherwise proceed to step 16. Choose one of the WPS menu options as required for
your router (WPS may be via push button, or using an identification number).
'Push Button' - the display prompts you to press the WPS button on your router and then the
Select button on the radio. The two devices should then connect with the encryption key sent
automatically to the radio.
'PIN' - the display shows an identification number which you must enter into your router using a
web browser (refer to your router's user documentation). You should then press the Select button
on the radio. The two devices should then connect with the encryption key sent automatically to
the radio.
'Skip WPS' - if you wish to enter the encryption key yourself (or if it was previously entered).
If you chose Push Button or PIN the screen will then show 'Connecting...' and then 'Setup wizard
completed'. Press the Select button to exit the setup wizard.
16.
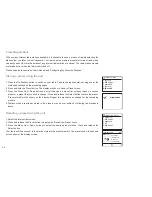
If your network is configured without an encryption key, the screen should say 'Connecting...', and
then 'Setup wizard completed'. Press the Select button to exit the setup wizard and show the Main
menu. If this is the case then you have successfully connected your radio to your network.
SSID
Jones family
[WPS] Paul’s network
Smith
[Rescan]
[Manual config]
Please wait
Connecting... /
Network settings
SSID
Jones family
[WPS] Paul’s network
Smith
[Rescan]
[Manual config]
SSID
Jones family
[WPS] Paul’s network
Smith
[Rescan]
[Manual config]
>
>
>
WPS Menu
Push Button
PIN
Skip WPS
Содержание REVERY R4 WFS-58
Страница 1: ...Version 1 REVERY R4 WFS 58 GB...


