English _39
●
●
Se
Tup
SC
reen
•
Pre event duration : Specify the time point before the occurrence of the alarm; starting from the time
point, the images will be transferred. You can specify up to 5 seconds before the occurrence of the
alarm.
•
Post event duration : Specify the time point after the occurrence of the alarm; to the specified time
point, the images will be transferred. You can specify up to 120 seconds after the occurrence of the
alarm.
•
Record file type : It specifies the file format of the recorded images.
- STW : It is Samsung’s unique file format.
- AVI : It is the conventional avi format.
J
`
If the Record file type is changed, the existing data is formatted.
•
Overwrite : If the Micro SD memory is full, this will delete old data and store new data in replacement.
•
Auto delete : Data for a certain period is deleted, while other data is not deleted.
This can be set within the range of one day to 180 days.
J
`
If the storage period is expired, data is automatically deleted and new data will be recorded. Once deleted, it cannot be
recovered.
5.
Set <
SD file System
>.
•
Type : The camera supports VFAT and EXT4 for the SD card file system, which can be set by the user.
(However, a separate application is required that allows the EXT4 file system to interact with the
Windows OS.)
J
`
If the setting is changed, the existing data will be formatted.
`
It takes up to 10 minutes to format the SD card in the ext4 file system.
6.
Specify the <
normal record setup
>.
•
Always : Always save recorded video in the Micro SD memory card.
`
If set to Always, the activation time cannot be changed.
•
Only scheduled time : Records only on the specified time of the specified day of week.
•
[Clear (
)] : Reset all settings.
7.
When done, click [
Apply (
)
].
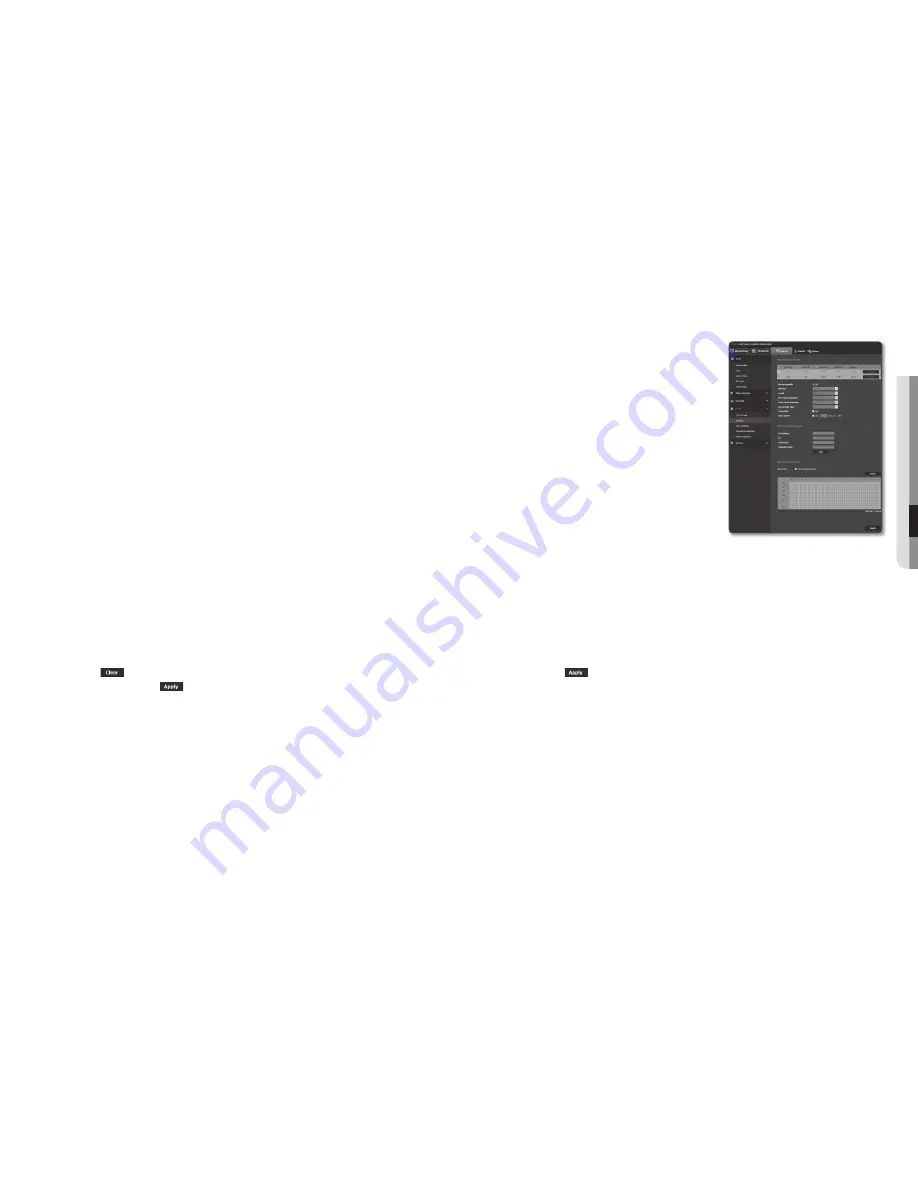
if you want to record in your nAS
1.
Set the saving operation and basic recording.
J
`
Auto deletion is supported only if your NAS meets the recommended
specifications.
2.
Enter the information registered in your NAS.
•
IP address : Unique IP address assigned to the NAS.
•
ID : An ID registered in the NAS.
•
Password : Password registered in the NAS.
•
Default folder : Designate the NAS user folder to save data
in.
3.
Click the [
Test
] button to see if you can successfully connect
to the NAS.
J
`
If the success message is displayed, it means that you can
successfully save data in the NAS.
`
If the fail message is displayed, check the following.
-
Confirm that the IP address of the NAS is valid.
-
Confirm that the ID/password of the NAS is valid.
-
Confirm that you can access the folder designated as the default folder using the ID of the NAS.
-
Confirm that the NAS SMB/CIFS items are unchecked.
-
Confirm that the NAS IP address and the camera IP address are in the same format.
ex) The NAS & camera subnet mask initial value is 255.255.255.0.
If the IP address is 192.168.20.32 then the NAS IP address should be in the range of 192.168.20.1~192.168.20.255.
-
Check whether you tried to access as another user without formatting the default folder saved or used.
-
Confirm that you used recommended NAS equipment.
4.
After the settings are completed, set the NAS unit to <
on
>.
5.
Click the [
Apply (
)
] button.
6.
Log in the NAS and check the <
free size
> and <
Total size
>.
You can format the default folder specified in the NAS connection setting by clicking the <
format
> button.
`
Since data may not be saved after a temporary network interruption when using NAS, it is recommended that you use SD at the
same time to prevent loss of recorded images.
`
The data traffic will increase when the camera is set to higher resolution, higher bit rate, and/or higher framerate.
If there is too much data traffic, some frame may be skipped although it is stored in a full frame.
`
When a frame skip occurs, images are saved at the rate of min. one image per sec.


