


- 80 -
MF 6990dn - Agoris C935
12 -
PC Functions
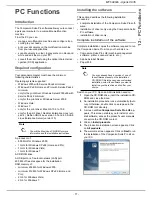
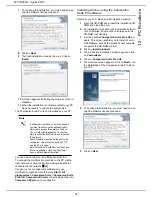
To manage the multifunction machine, run the application
Companion Director
by clicking on the icon on your
desktop or from the menu
Start > All programmes >
Companion Suite > Companion Suite Pro LH2 >
Companion Director
.
To check that the connection between the PC and the
multifunction machine is OK, run the application
Companion Monitor
by clicking on the icon on your
desktop or from the menu
Start > All programmes >
Companion Suite > Companion Suite Pro LH2 >
Companion Monitor
.
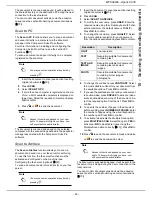
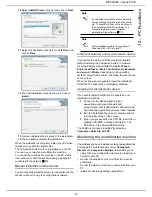
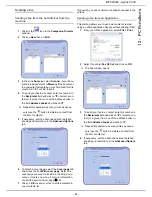
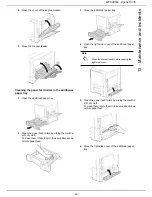
Companion Director
This graphic interface enables you to run utilities and
software to manage your multifunction machine.
Graphic presentation
Run the application by clicking on the
Companion
Director
icon on your desktop or from the menu
Start >
All programmes > Companion Suite > Companion
Suite Pro LH2 > Companion Director
.
Activating utilities and applications
The graphic interface Companion Suite Pro enables you
to run the following utilities and software:
•
access the
Help
in this manual;
•
run the
PaperPort
software (Doc Manager).
To run a utility or a software present in the Companion
Suite Pro kit, place your cursor on it and click on the left
button of the mouse.
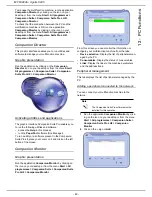
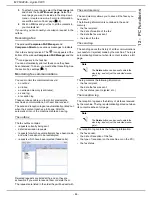
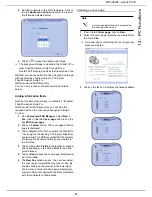
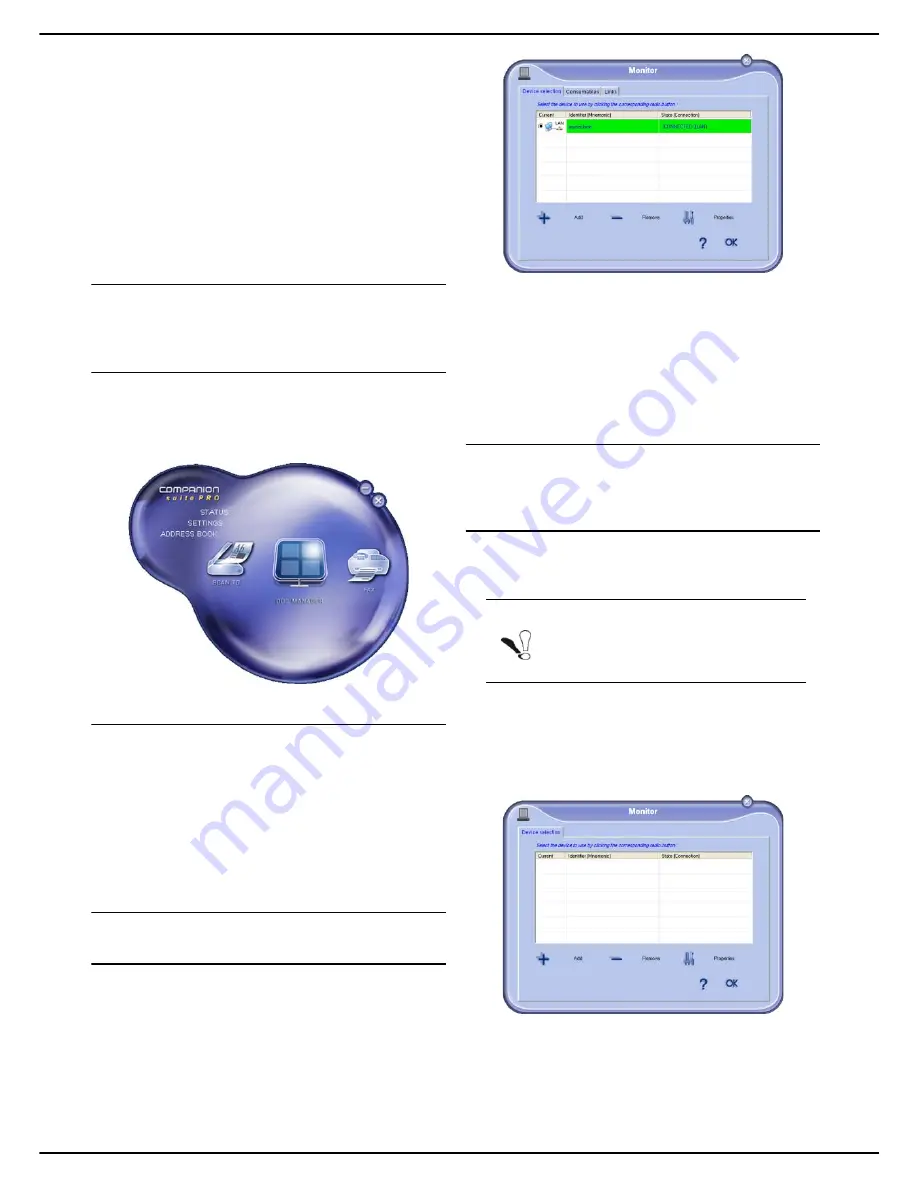
Companion Monitor
Graphic presentation
Run the application
Companion Monitor
by clicking on
the icon on your desktop or from the menu
Start > All
programmes > Companion Suite > Companion Suite
Pro LH2 > Companion Monitor
.
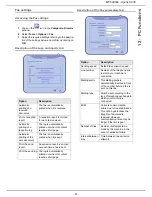
From this screen you can monitor the information or
configure your multifunction machine from the tabs:
•
Device selection
: Display the list of peripherals man-
aged by the PC.
•
Consumables
: Display the status of consumables.
•
Links
: Display the links to the machine parameters
and the address book.
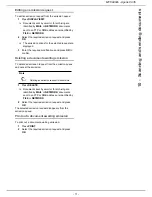
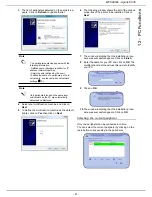
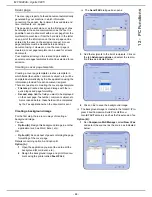
Peripheral management
This tab displays the list of peripherals managed by the
PC.
Adding a peripheral connected to the network
You can connect your multifunction machine to the
network.
1
Run the application
Companion Monitor
by click-
ing on the icon on your desktop or from the menu
Start > All programmes > Companion Suite >
Companion Suite Pro LH2 > Companion
Monitor
.
2
Click on the + sign or
Add
.
Note
The Companion Suite Pro software must be
installed for this operation.
Содержание MF 6990dn - Agoris C935
Страница 1: ...TELECOM User Manual MF 6990dn Agoris C935...


