


Saberz Project
M Chassis Installation Guide
R
EQUIRED
P
ARTS
Version 1.9.5_b
–
September 18, 2022
•
Page 4
3
Required Parts
3.1
Suggested Parts List
This chassis set was designed for (and tested with) the following suggested parts. Remember two of each part is needed to
build out both chassis for the Project M Darth Maul staff saber.
-
Saberz Project M 3D-printed chassis set kit (2), available from the following:
o
o
-
-
SanDisk or Patriot (suggested) SD card (2).
-
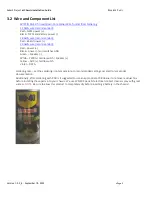
SHTOKCUSTOMWORX NPXL V3 HILT SIDE PCB CONNECTOR
LONG PINS (2)
-
-
Keystone 18650 battery sleds (2)
-
(4) This chassis set is designed for
1.7mm (0.4mm plunger height).
-
Speakers
(both chassis models were developed for the following specific Smuggler’s Outpost speakers:
o
For the 24mm version of the chassis (2):
’s Outpost Elite 24mm 2w 4ohm Bass Speaker
o
For the 28mm version of the chassis (2)
Smuggler’s Outpost Elite 28mm Elite 2W 4OHM Bass Speaker
1A 3.7V Li-ion smart charger with 2.1mm plug
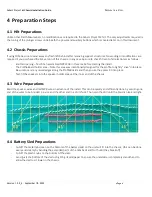
-
-
1.3mm recharge port adapter (1)
Sony Li-Ion 18650 3.7V 15A 3120mAh PCB Protected Rechargeable Battery
-
Alternative:
-
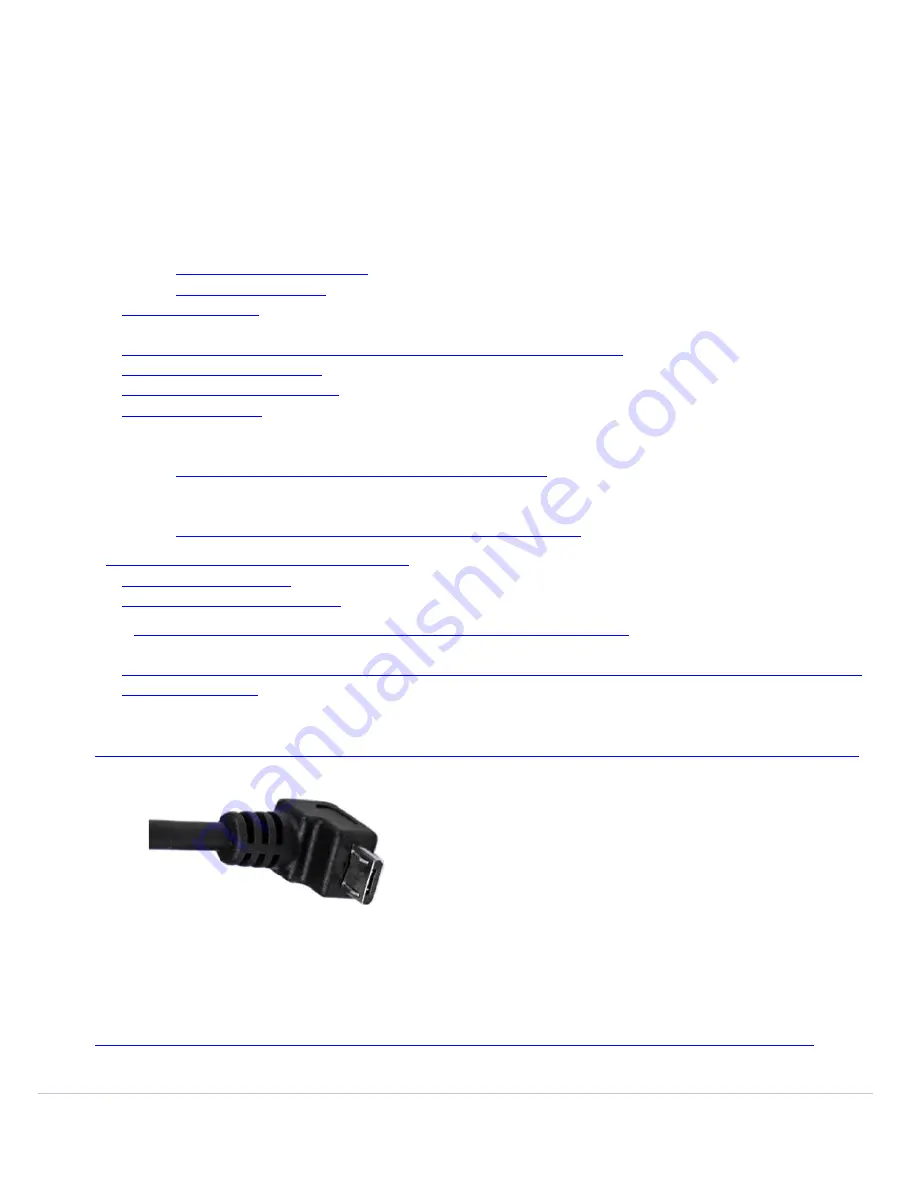
Suggested Micro USB Cable Cord
–
required to fit into SD card connector on the ProffieBoard within this chassis:
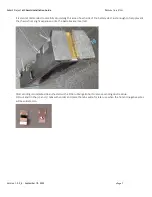
Glue
–
We have great success using gap-filling super glue (in very small amounts) for all areas of this install requiring
glue. It provides a very strong hold, and at the same time allows the removal of parts where needed (example given,
if a speaker blows or if a NPXL PCB goes bad and needs to be replaced). This is the exact product we use:
https://www.amazon.com/gp/product/B0000DD1QQ/ref=ppx_yo_dt_b_asin_title_o00_s00?ie=UTF8&psc=1