


Saberz Project
M Chassis Installation Guide
B
ATTERY
S
LED
I
NSTALLATION
Version 1.9.5_b
–
September 18, 2022
•
Page 15
7
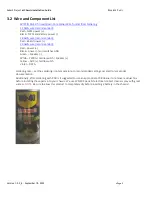
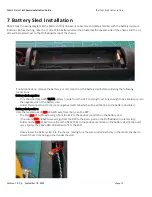
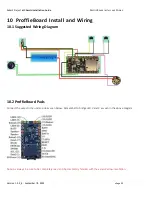
Battery Sled Installation
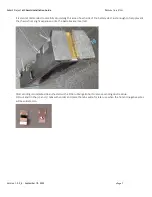
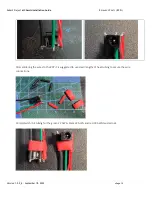
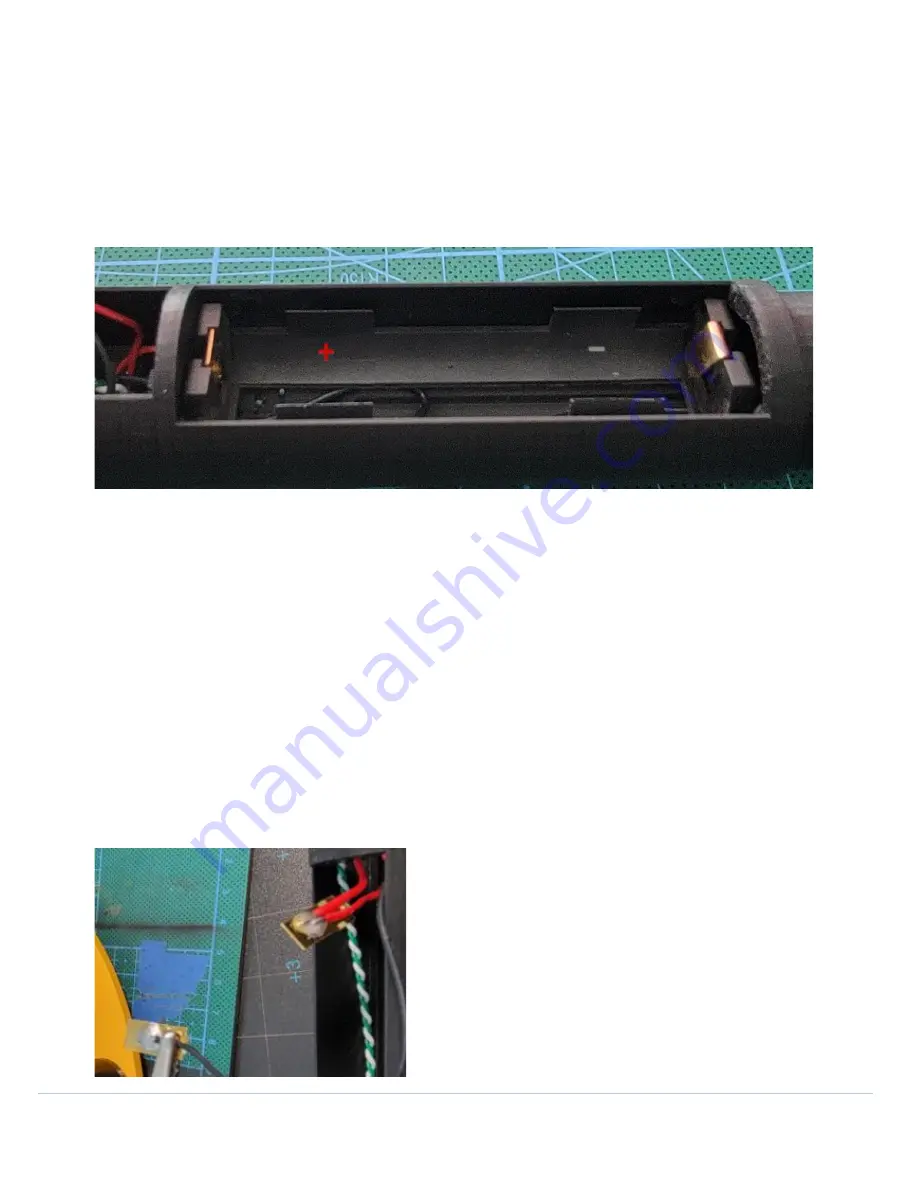
Note: Study the wiring diagram at the bottom of this document to become completely familiar with the battery sled wire
locations. Before starting, note the (-) side of the battery sled will be situated at the speaker-side of the chassis and the (+)
side will be located next to the ProffieBoard area of the chassis:
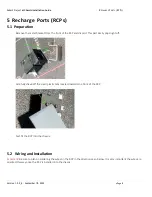
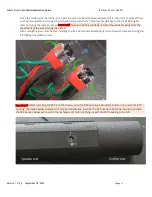
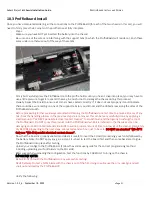
If not already done, remove the battery (+) and (-) tabs from the battery sled before soldering the following
connections:
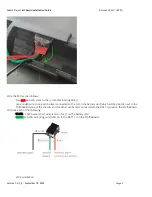
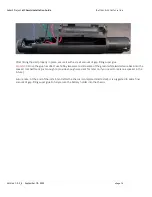
Battery sled negative:
-
Trim the (short) 22 AWG BLACK battery (-) wire from the RCP to a length
just
long enough to be able to wire it to
the negative side of the battery sled.
-
Solder this connection (to the loose negative metal tab which will be slid back into the battery sled later).
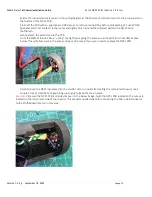
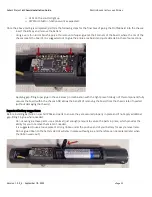
Battery sled positive:
From the twisted pair of
RED
28 AWG wire from the (+) on the RCP;
-
The first
RED
28 AWG wire will go from the RCP to the positive metal tab on the battery sled.
(The second
RED
28 AWG wire will go from the RCP to the Batt + pad on the ProffieBoard (in a later step).
-
Solder on the
RED
22 AWG wire (from the NPXL PCB) to the positive metal tab on the battery sled (in the exact
same spot as the above RED 28 AWG wire from the RCP).
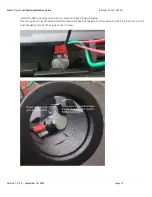
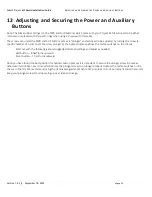
-
Slowly lower the battery sled into the chassis, making sure the wires underneath stay in the center channel to
prevent them from being pinched under the sled.