Ruckus Wireless ZoneFlex 2925/2942 User Guide | Installation, Setup, and Placement of the AP
13
Wireless Mode
“Auto-select” should be selected
Channel
“SmartSelect” should be selected
Country Code
If you are not in the United States, open this menu and choose
the country.
3
Click
Update Settings
if you made any changes.
4
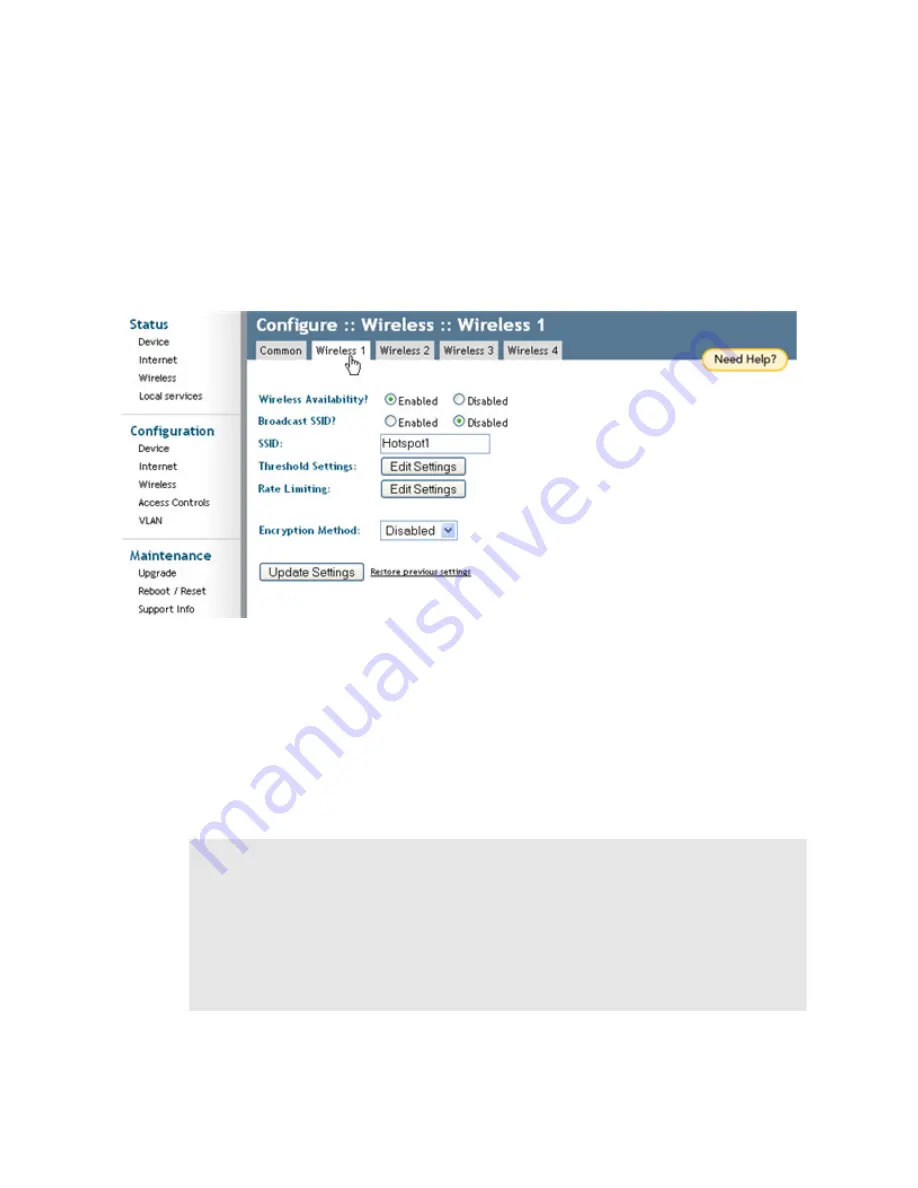
Click any of the four “Wireless” tabs.
The Configure::Wireless::Wireless [#] options appear.
FIGURE 2-8
5
Delete the text in the
SSID
field and type the name of your network.
(If your network doesn’t have a “name”, type a short name that relates to your site,
plus a number. This will help your users identify the Wi-Fi network in their wireless
network connection application.)
Each WLAN (e.g., Wireless 1, Wireless 2, etc.) should have its own unique SSID.
6
Click
Update Settings
.
7
Repeat the preceding steps with each Wireless tab.
8
[-
Steps 8-12 Optional-
] To switch from DHCP (the default) to Static IP, choose
Internet
(under
Configuration
).
Important!
If you anticipate logging into the AP to regularly perform monitoring or maintenance (once it is in place), you
may want to consider assigning a static IP address to the AP. This would simplify connections made to the AP
for all post-installation maintenance.
In a default configuration, the AP uses a DHCP-assigned IP address. Any post-installation connections require
(1) a reverse ARP lookup or (2) logging into the DHCP server, to determine which IP address is in effect in
the AP. If the AP is not assigned an IP address by a DHCP server, it will automatically revert to an IP address
of 192.168.0.1.


