Introduction
Getting Ready
Taking Pictures
Playback
Set Up
GB-49
Taking Still Images
|
Using Continuous Shooting Mode
|
Shooting Movies
|
Selecting Scenes to Automatically Set the Focus and Flash
|
[
k
] Using Self-Timer
|
Using Zoom (Wide-angle and
Telephoto)
|
Using Flash
|
Adjusting Brightness
|
Setting Focus
|
Displaying Information on the LCD Monitor
|
Selecting the Number of Pixels (Image Size) and the Quality
|
Adjusting Image
Colors and Other Settings
|
Switching Display Screen (Electronic Viewfinder and LCD Monitor)
|
Setting the exposure and focus during continuous shooting (Drive mode)
NEXT
Contents (Top page) Detailed Contents
Index
Nomenclature
Menus and Settings
Troubleshooting
Using Zoom (Wide-angle and Telephoto)
«Applicable modes:
C
/
N
/
S
/
I
/
M
»
Use the zoom button to take pictures when you are at events such as sports
meets or school plays where you want to zoom in on a distant subject, or
when you want to compose a wide-angle shot of distant scenery.
• Zoom button
T
: Enlarges the image (telephoto).
• Zoom button
W
: Returns the zoomed image to its original size and lets you include a larger area in the shot.
As well as an optical zoom that uses the lens to change the image
magnification, this camera also features a digital zoom that enlarges the
image digitally. By combining digital zooming with the optical zoom, you
can enlarge a still image by up to 60x or a movie by up to 20x.
1
Before shooting, press the
T
side of the
zoom button.
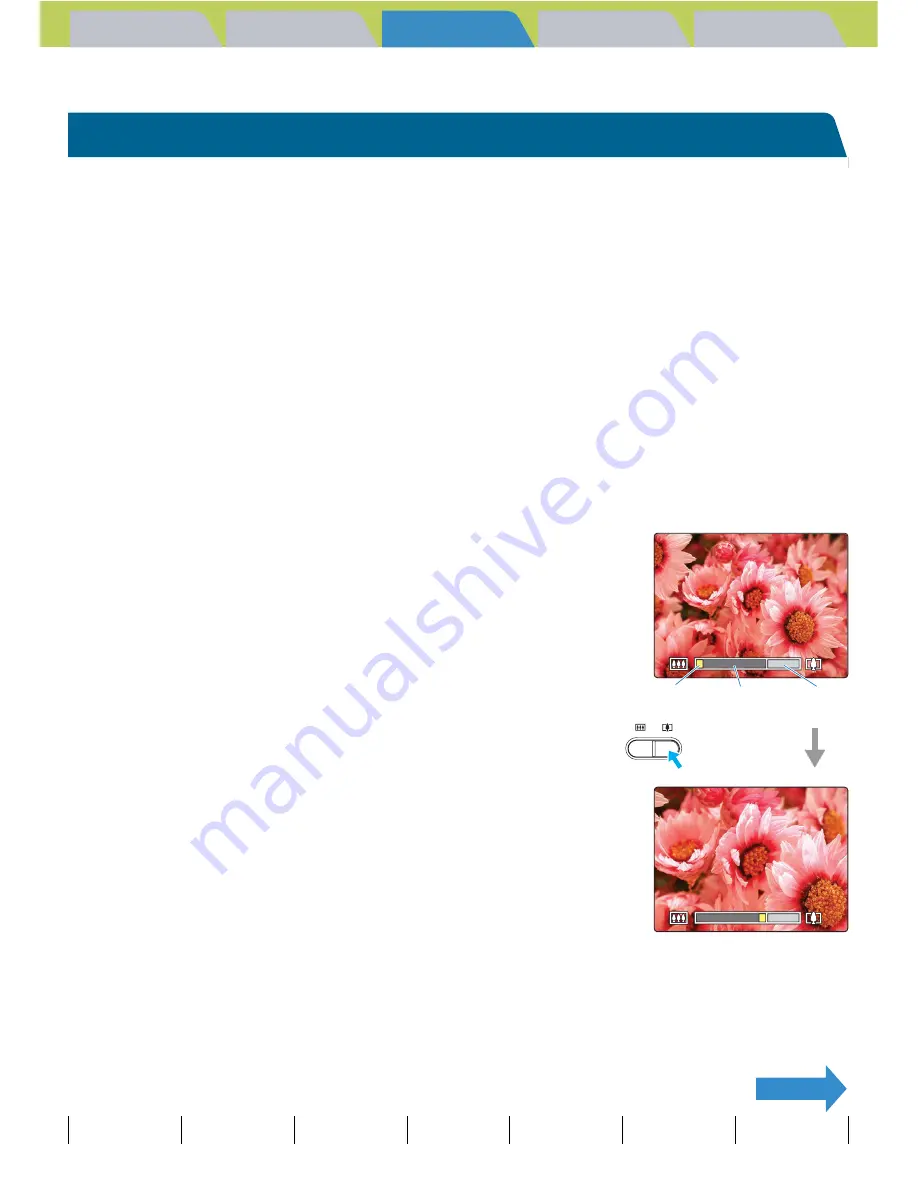
When you press the zoom button, the zoom bar appears at the bottom
of the screen. The indicator in the zoom bar moves right as you zoom in
and left as you zoom out.
The zoom bar remains on the screen for approximately 2 seconds after
you release the zoom button.
A
Important
• Using the digital zoom degrades the image quality.
• Remove the lens cap before turning the camera on.
Indicator Optical
zoom bar
Digital
zoom bar


