Introduction
Getting Ready
Taking Pictures
Playback
Set Up
GB-131
Viewing Still Images | Viewing Movies | [
o
] Viewing Images Automatically as a Slideshow (slideshow) | [
O
] Viewing Multiple Images | [INFORMATION] Viewing Image Information | [
J
]/[
I
] Erasing Unwanted
Images | [
U
] Protecting Images from Accidental Erasing (PROTECT) | [
p
] Adding Voice Messages to Still Images (POSTRECORDING) | [
V
] Resizing and Trimming Images (RESIZE) | [
W
] Rotating an Image |
[
T
] Using DPOF to specify print settings |
[
G
] Printing by Connecting the Camera Directly to a Printer (PictBridge)
| Connecting to a Windows PC | Connecting to a Macintosh
NEXT
BACK
Contents (Top page) Detailed Contents
Index
Nomenclature
Menus and Settings
Troubleshooting
12
Press the up
u
or down
d
button to select [RETURN] and
then press the OK button
E
.
Return to the previous screen.
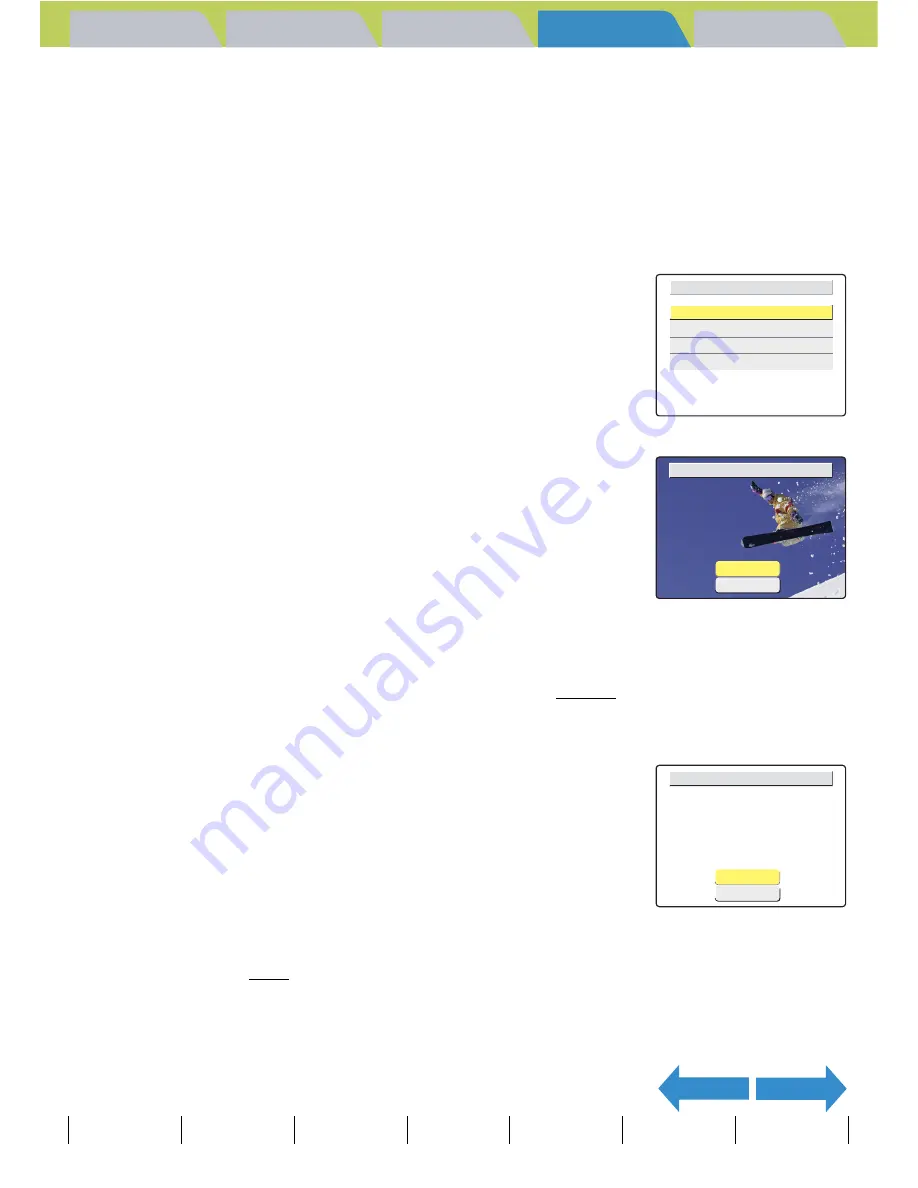
Printing individual images
1
In the print menu screen, press the up
u
or down
d
button to select [SINGLE
PRINT] and then press the OK button
E
.
2
Use the left
l
or right
r
button to select
the image to be printed.
3
Press the up button
u
and select [OK] and then press the OK
button
E
.
To change the print settings, see "Specifying the print settings". (
Æ
p.128)
4
Press the up button
u
and select
[EXECUTE] and then press the OK button
E
.
Printing begins, and when printing is successfully completed, the print
completion screen appears.
B
Note
Press the MENU button
K
to display the Print Menu screen.
A
Important
If an error occurs during printing, an error
message is displayed and printing stops. See
p.175 for information on the displayed message
and the correct response.
PRINT MENU
SINGLE PRINT
PRINT MULTIPLE IMAGES
DPOF PRINTING
PRINT SETTINGS
OK
SELECT PRINT IMAGE
RETURN
EXECUTE
CANCEL
EXECUTE PRINT?
PAPER TYPE
BORDERLESS
DATE
2L
PRINT QTY.
PAPER SIZE
9
PHOTO
YES
NOT PRINT


