86
Deleting Songs from an SD Memory Card
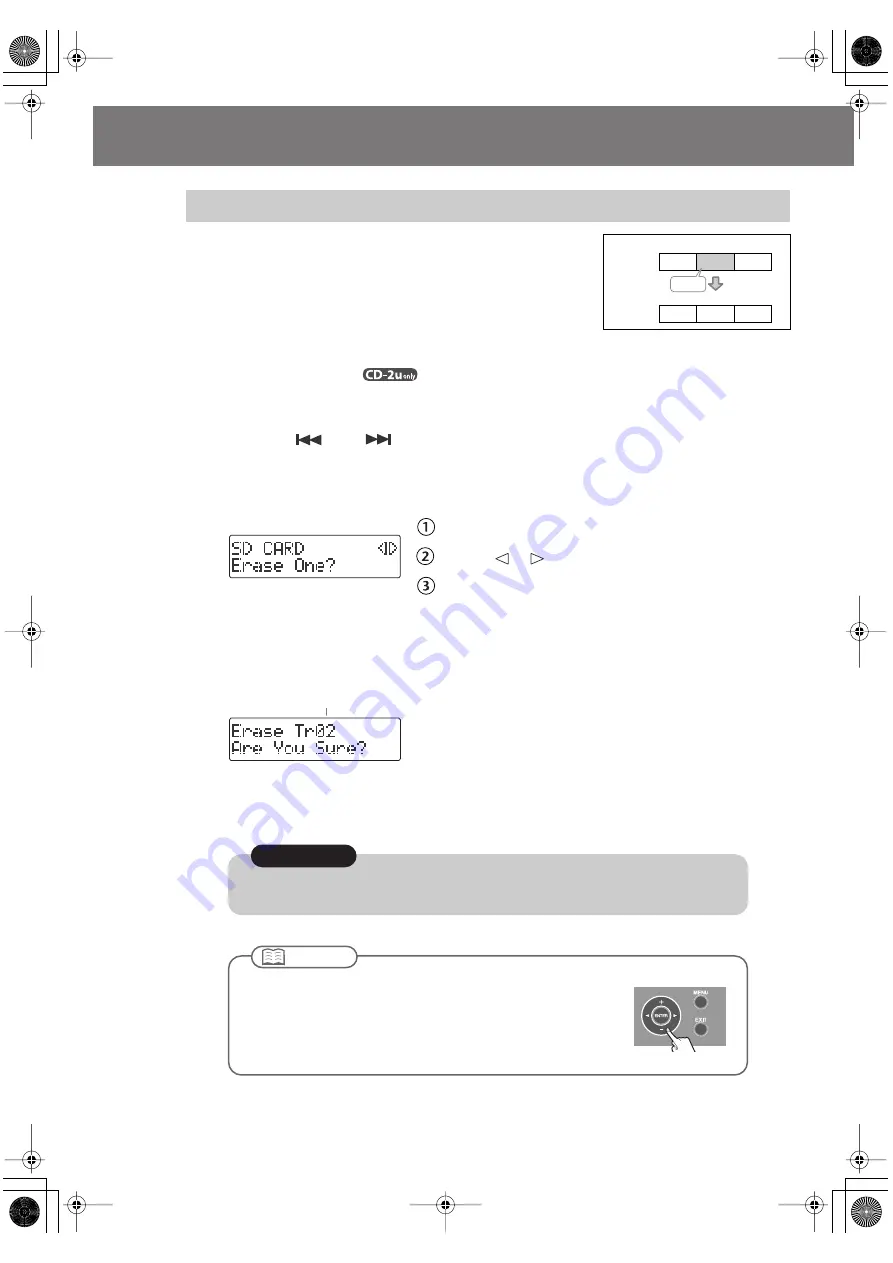
Here’s how to delete a single, selected song.
When you delete a song, subsequent songs will be moved
forward, incrementing their song numbers.
fig.SDedit-erase-e.eps
1
Insert the SD memory card that you want to edit, and press the
[SD CARD] button
.
SD becomes the audio source.
2
Use the [
] or [
] button to select the track you want to erase.
3
Press the [MENU] button to access the menu screen, and choose “Erase
One?”
fig.menu-SDerase-e.eps
Press the [MENU] button to access the menu screen.
Use the [
] [
] buttons to choose “Erase One?”
Press the [ENTER] button to confirm your choice.
4
If you’re sure you want to proceed, press the [ENTER] button.
(Note that the process cannot be interrupted once you’ve started it. If you decide that
you don’t want to begin the process, press the [EXIT] button.)
fig.SDerase-mssg-e.eps
The display will show “Processing..,” and the song will be deleted. When the deletion is
completed, you’re returned to the audio source screen.
Deleting Songs Individually
Track
Number
1
2
3
A
B
C
Delete
1
2
A
C
Blank
Track
Number
Number of the track you’re erasing
Once you delete a song, you cannot recover the recorded content. Use this operation with care.
Note
●
If you select the song you want to delete in Step 2 and then press the
[-] button, the message screen of Step 4 will appear immediately.
This lets you skip the step of selecting the menu item.
●
Deletion is not possible if the SD memory card’s write protect switch
(Page 26) is in the “LOCK” position.
Important
CD-2u_SD-2u_e.book 86 ページ 2013年1月24日 木曜日 午前11時34分


