79
7.2 Action Programming #1 (Continuous Motions)
-
Robot Action : Basic Posture => Go => Back => Left => Right.
1)
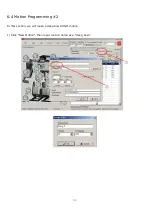
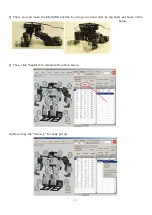
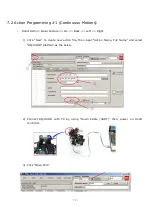
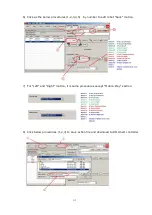
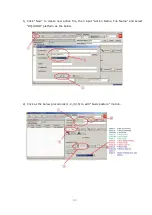
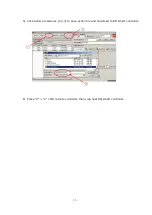
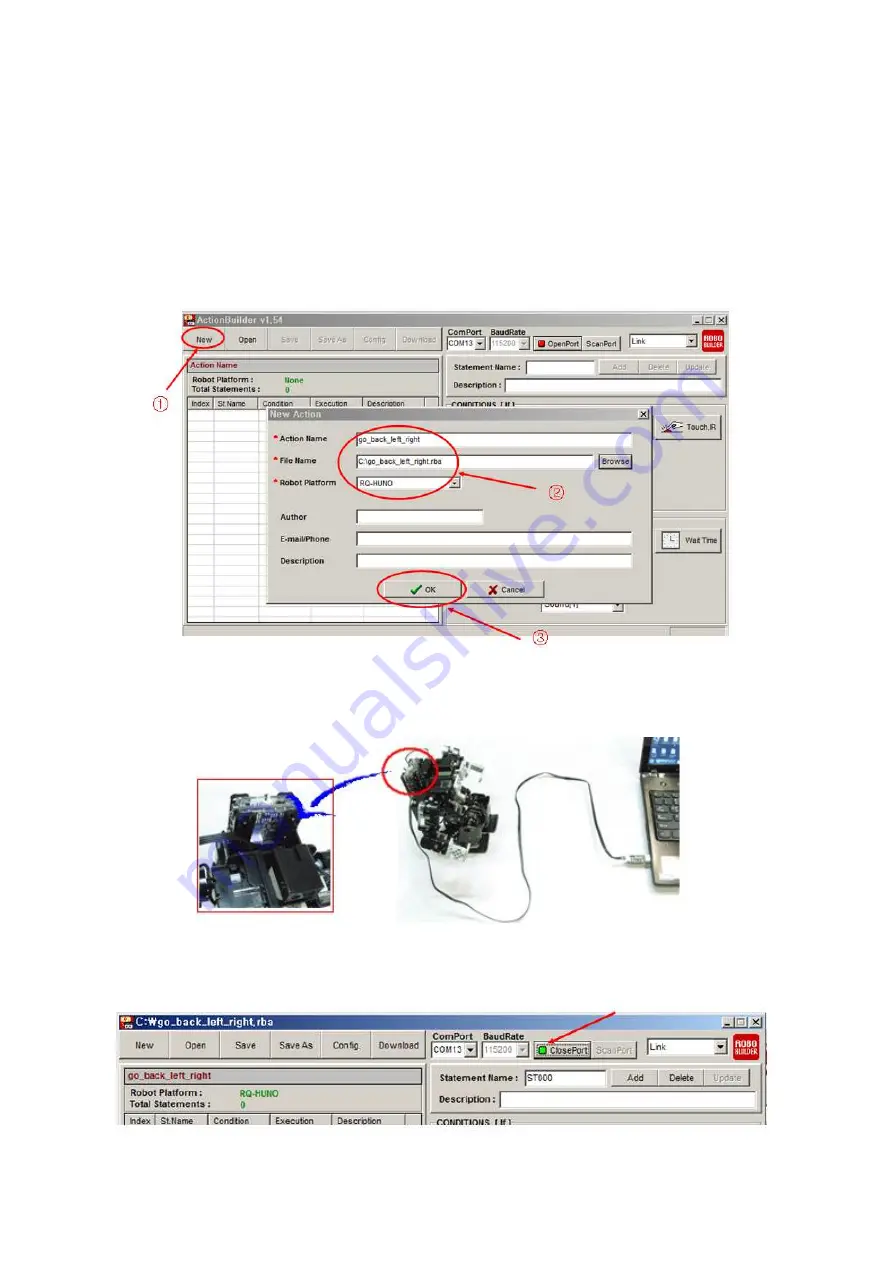
Click “New” to create new action file, then input “Action Name, File Name” and select
“RQ-HUNO” platform as the below.
2)
Connect RQ-HUNO with PC by using “Down Cable (UART)” then, power on smart
controller.
3)
Click “Open Port”.
Содержание RQ-110
Страница 1: ......
Страница 12: ...12 1 3 Rivet Tool Rivet Tool Usage ...
Страница 13: ...13 ...
Страница 14: ...14 ...
Страница 15: ...15 ...
Страница 16: ...16 2 RQ HUNO Assembly Guide 2 1 Check Part List Place all the parts as the below for RQ HUNO assembly ...
Страница 28: ...28 STEP8 Connect ID02 and Joint Frame by using 3s rivet Then rotate W Cable two times and connect with ID01 ...
Страница 31: ...31 STEP4 Connect Joint Frame that connected with ID14 and ID15 by using 3s rivet ...
Страница 34: ...34 STEP4 Connect Joint Frame that connected with ID14 and ID15 by using 3s rivet ...
Страница 54: ...54 3 Click Next and finish the installation as shown in the below ...
Страница 60: ...60 Screen Layout This is the screen layout of the MotionBuilder ...
Страница 61: ...61 ...
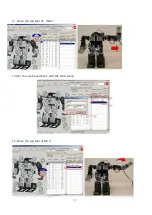
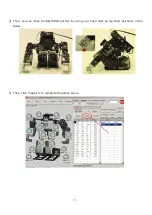
Страница 65: ...65 9 Move the Jog Dial of ID11 10 For the next movement add the third scene 11 Move the Jog Dial of ID12 ...
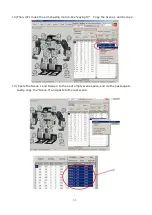
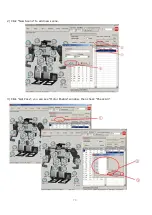
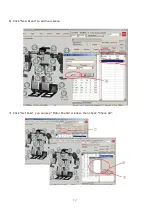
Страница 70: ...70 2 Click New Scene to add new scene 3 Click Get Pose you can see Motor Enable window then check Check All ...
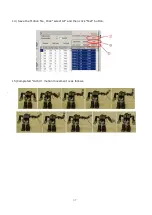
Страница 72: ...72 6 Click New Scene to add new scene 7 Click Get Pose you can see Motor Enable window then check Check All ...
Страница 89: ...89 8 3 How to charge ...

