59
6. MotionBuilder
6.1 Introduction
This document explains how to use MotionBuilder the motion building tool for RQ-HUNO.
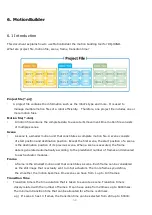
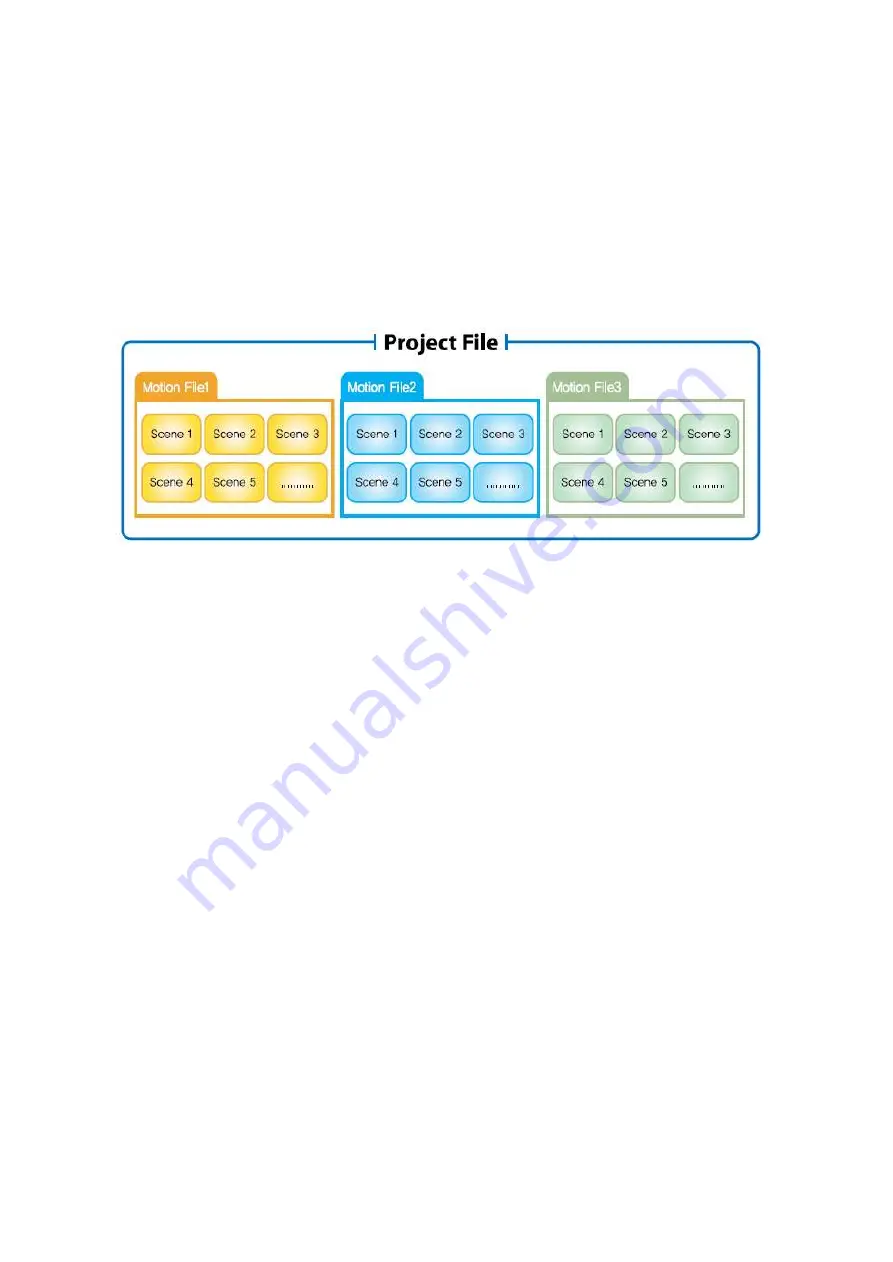
What are project file, motion file, scene, frame, transition time?
Project file(*.prj)
: A project file contains the information such as the robot’s type and more. It is used to
manage multiple motion files of a robot efficiently. Therefore, one project file includes one or
more motion files.
Motion file(*.rbm)
: A motion file contains the complete data to execute its movement. One motion file consists
of multiple scenes.
Scene
: A scene is a smaller motion unit that constitutes a complete motion file. A scene consists
of start position and destination position. Except the first scene, the start position of a scene
is the destination position of its previous scene. When a scene is executed, the frame
data is generated automatically according to the predefiend number of frames and delivered
to each actuator modules.
Frame
: A frame is the smallest motion unit that constitutes a scene. Each frame can be considered
as the still image that is actually sent to robot actuators. The more frames you define,
the smoother the motion becomes. One scene can have from 1 up to 100 frames.
Transition Time
: Transition time is the time duration that is taken to execute a scene. Transition time is
closely related with the number of frames. It can have value from 20msec up to 6000msec.
The minimum transition time that can be allocated for a frame is 20msec.
e.g) If scene A has 10 frames, the transition time can be selected from 200 up to 60000.
Содержание RQ-110
Страница 1: ......
Страница 12: ...12 1 3 Rivet Tool Rivet Tool Usage ...
Страница 13: ...13 ...
Страница 14: ...14 ...
Страница 15: ...15 ...
Страница 16: ...16 2 RQ HUNO Assembly Guide 2 1 Check Part List Place all the parts as the below for RQ HUNO assembly ...
Страница 28: ...28 STEP8 Connect ID02 and Joint Frame by using 3s rivet Then rotate W Cable two times and connect with ID01 ...
Страница 31: ...31 STEP4 Connect Joint Frame that connected with ID14 and ID15 by using 3s rivet ...
Страница 34: ...34 STEP4 Connect Joint Frame that connected with ID14 and ID15 by using 3s rivet ...
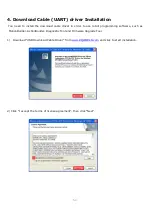
Страница 54: ...54 3 Click Next and finish the installation as shown in the below ...
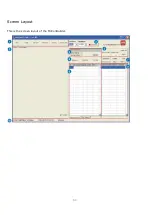
Страница 60: ...60 Screen Layout This is the screen layout of the MotionBuilder ...
Страница 61: ...61 ...
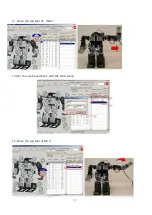
Страница 65: ...65 9 Move the Jog Dial of ID11 10 For the next movement add the third scene 11 Move the Jog Dial of ID12 ...
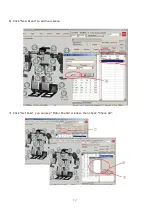
Страница 70: ...70 2 Click New Scene to add new scene 3 Click Get Pose you can see Motor Enable window then check Check All ...
Страница 72: ...72 6 Click New Scene to add new scene 7 Click Get Pose you can see Motor Enable window then check Check All ...
Страница 89: ...89 8 3 How to charge ...


