


User’s Manual
40
Highlight
+
and press the button to add the current playback point
to the bookmark list. Highlight the
Title
box and enter the name
of the registered bookmark. Use the virtual keyboard to enter the
bookmark name.
NOTE: Up to 64 bookmarks can be registered.
Use the arrow buttons to highlight the bookmark point for which
you would like to see video. The selected bookmark will display
on the screen by pressing the
button.
EXPORT
A–B Backup
Selecting
A–B Backup
or pressing the
BACK UP
button on the remote control during playback will set the starting point
of the video to be clip copied, and the icon displays at the bottom-left corner of the screen. Selecting
A–B Backup
or pressing the
BACK UP
button again will set the ending point of the video to be clip copied and displays the
Backup
screen.
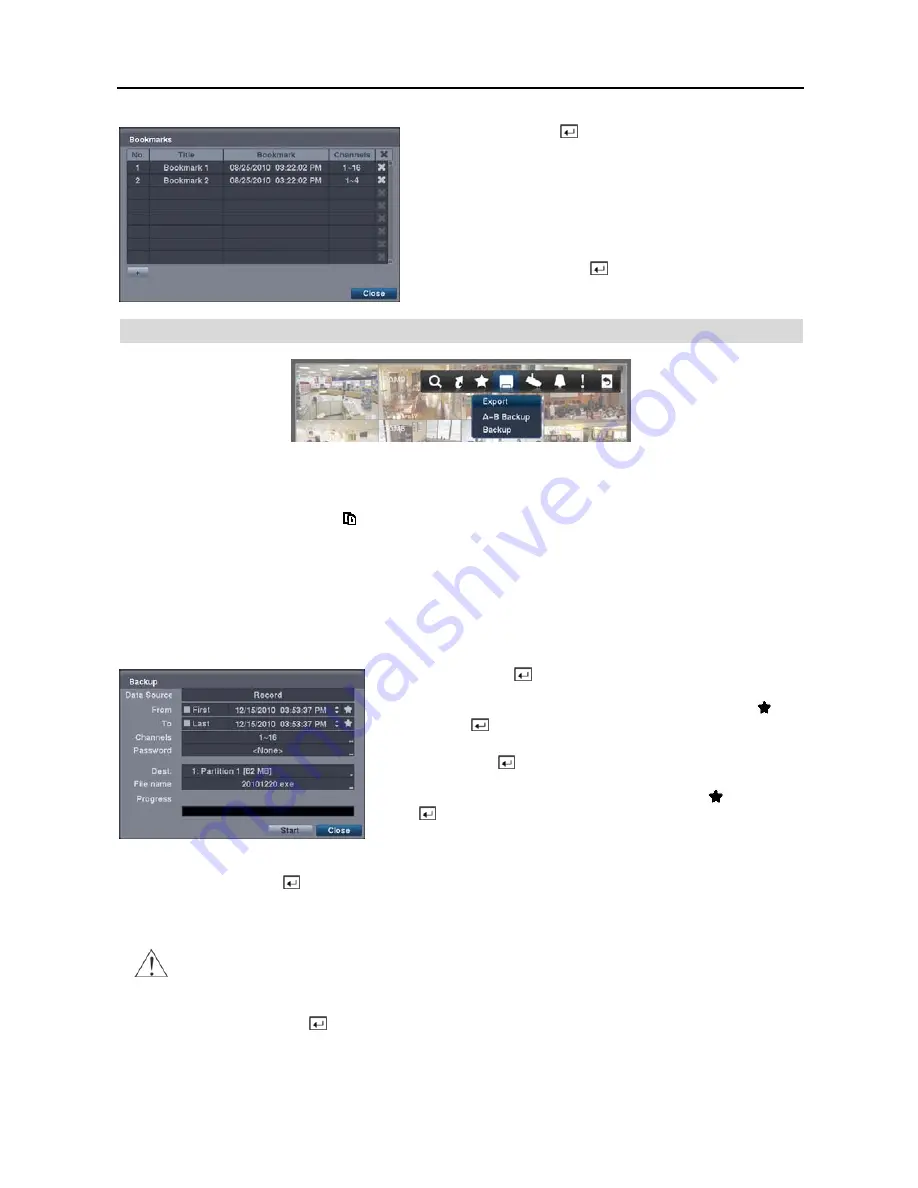
Backup
Select
Backup
or press the
BACK UP
button on the remote control while in the Search mode or Live Monitoring mode,
and the
Backup
screen appears to allow backup setup.
From
: Pressing the button toggles between On and Off. When set
to Off, you can enter a specific Date and Time. When set to On, the
copy will be from the first recorded image. When highlighting and
pressing the
button the bookmark list displays and the bookmark
point you selected will be the starting date and time (16-ch model only).
To
: Pressing the button toggles between On and Off. When set to
Off, you can enter a specific Date and Time. When set to On, the copy
will be to the last recorded image. When highlighting and pressing
the
button the bookmark list displays and the bookmark point you
selected will be the ending date and time (16-ch model only).
Channels
: Select the cameras that you would like to include in your video clip.
Password
: Pressing the
button displays a virtual keyboard allowing you to enter a password for reviewing the
video clips.
Dest.
: Select the storage device on which you would like to record the video clip.
CAUTION: The USB device for backup must be FAT 16 or FAT32 format.
File name
: The DVR automatically assigns a file name to the video clip. However, you can give the video clip file
a different name. Pressing the
button displays a virtual keyboard. Enter a file name for the video you are copying
and select
Close
. The DVR will automatically add “.exe” to the file name.
NOTE: When naming a file, you cannot use the following characters: \, /, :, *, ?, “, <, >, |.
Содержание 16 Channel
Страница 1: ......
Страница 2: ......
Страница 6: ...User s Manual iv ...
Страница 34: ...User s Manual 28 ...
Страница 52: ...User s Manual 46 MAP OF SCREENS ADVANCED SETUP ...


