X2 COMBAT Install Guide 2.0
12
1.2 Bracket installation
Bracket installation:
Fixings to the various bracket types will depend on the fixing surface. It is important to use
adequate quality fixings to safely support the complete X2 COMBAT assembly. Fixing holes on the
4” PCD provide adequate clearance for
M8
bolts.
OBSERVE THE FOLLOWING PRECAUTIONS WHEN INSTALLING:
1.
Mount the Camera in a position where it cannot be interfered with either intentionally or accidentally.
2.
The mounting surface should be capable of supporting the weight of both the Camera and mounting brackets
under all expected conditions of load, vibration and temperature.
3.
The mounting brackets should be fitted in accordance with instructions and should observe all appropriate safety
precautions & local building regulations.
4.
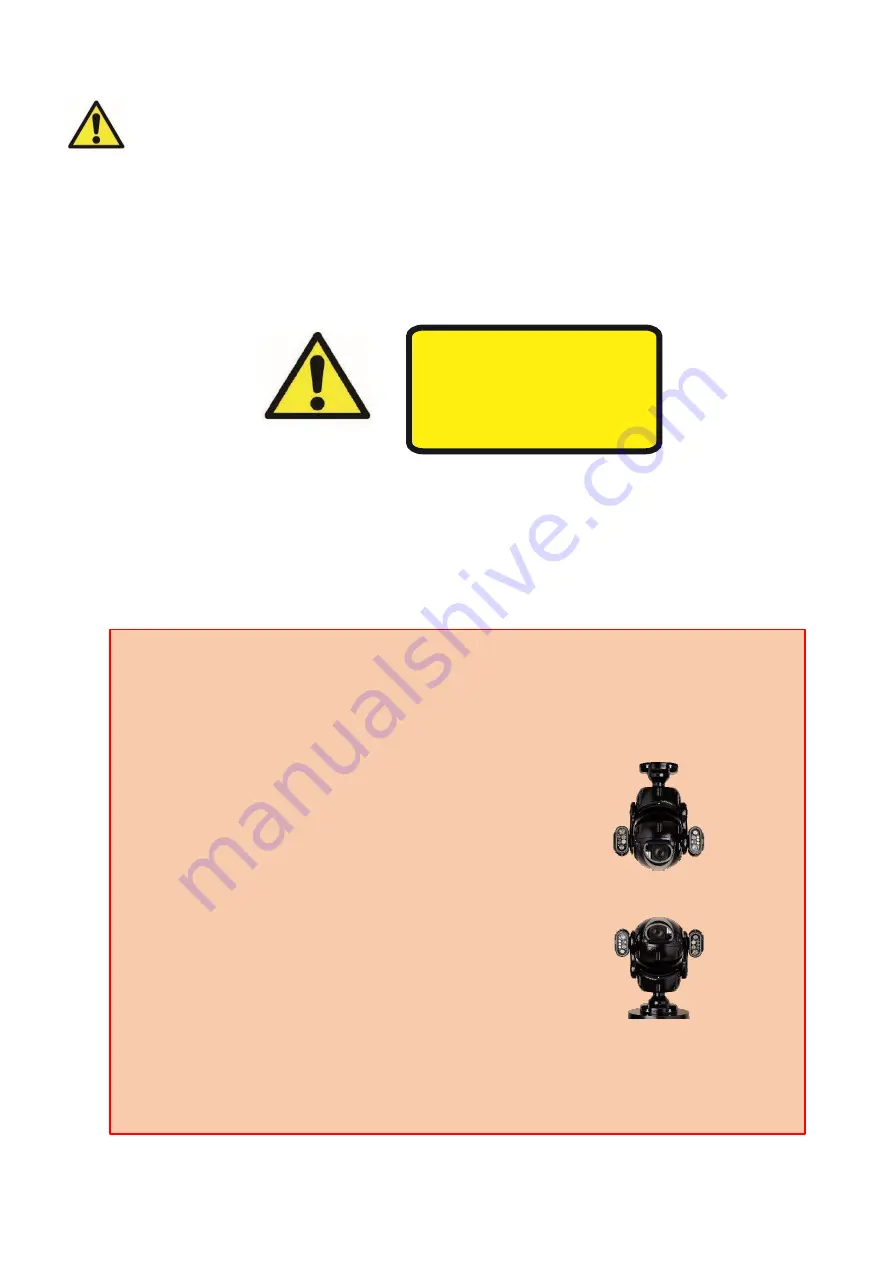
Ensure the Camera is in the correct orientation, see
FIG B
above.
EMC Information
WARNING:
THIS IS A CLASS A
PRODUCT. IF INSTALLED IN A STATIC
ENVIRONMENT, RADIO
INTERFERENCE MAY BE CAUSED, IN
WHICH CASE THE USER MAY BE
REQUIRED TO TAKE ADEQUATE
MEASURES TO PREVENT IT.
It is important to choose the correct brackets/ mount for the camera. Consider the camera’s
orientation before ordering brackets. i.e. is the Camera hanging down or upright?
For hanging operation, use one of the following brackets:
•
Swan bracket [RVX2-SWAN]
•
Wall bracket [RVX2-WALL]
•
Standoff Bracket [RVX2-STANDOFF]
•
4” PCD
-compatible mount
For upright operation, use one of the following brackets:
•
Standoff Bracket [RVX2-STANDOFF]
•
Wall bracket [RVX2-WALL]
•
4” PCD
-compatible mount
The existing RV-CNR and RV-POLE brackets are compatible with X2-COMBAT
Mounting the camera correctly:
ALWAYS USE THE SUPPLIED SAFETY-BOND!!


