X2 COMBAT Install Guide 2.0
9
⚫
Choose
TCP/IP v4 or v6
as required; type the new fixed IP address of the camera into the IP Address field; with
Subnet Mask and Default Gateway address (if connecting exclusively to an NVR; use the NVR’s fixed IP address for
the Gateway). Set DNS addresses if outbound/ internet access is required. MTU setting: Most LAN networks will
accept the default setting of
1500
; however, for outbound/ internet access; Routers may require a setting of
1492
or lower. Check with the Network Administrator or Internet Service Provider (ISP) for the correct figure.
⚫
Click
APPLY
when finished. Wait for 90 seconds for the camera to reboot and apply the new fixed IP address.
⚫
You will need to connect to the camera using the new IP address now.
⚫
DHCP: On by default, turn off to set fixed IP address. Only enable the
DHCP
button if you wish the camera to
acquire an IP address automatically from the network’s resident DHCP server. Typically; you will need to agree a
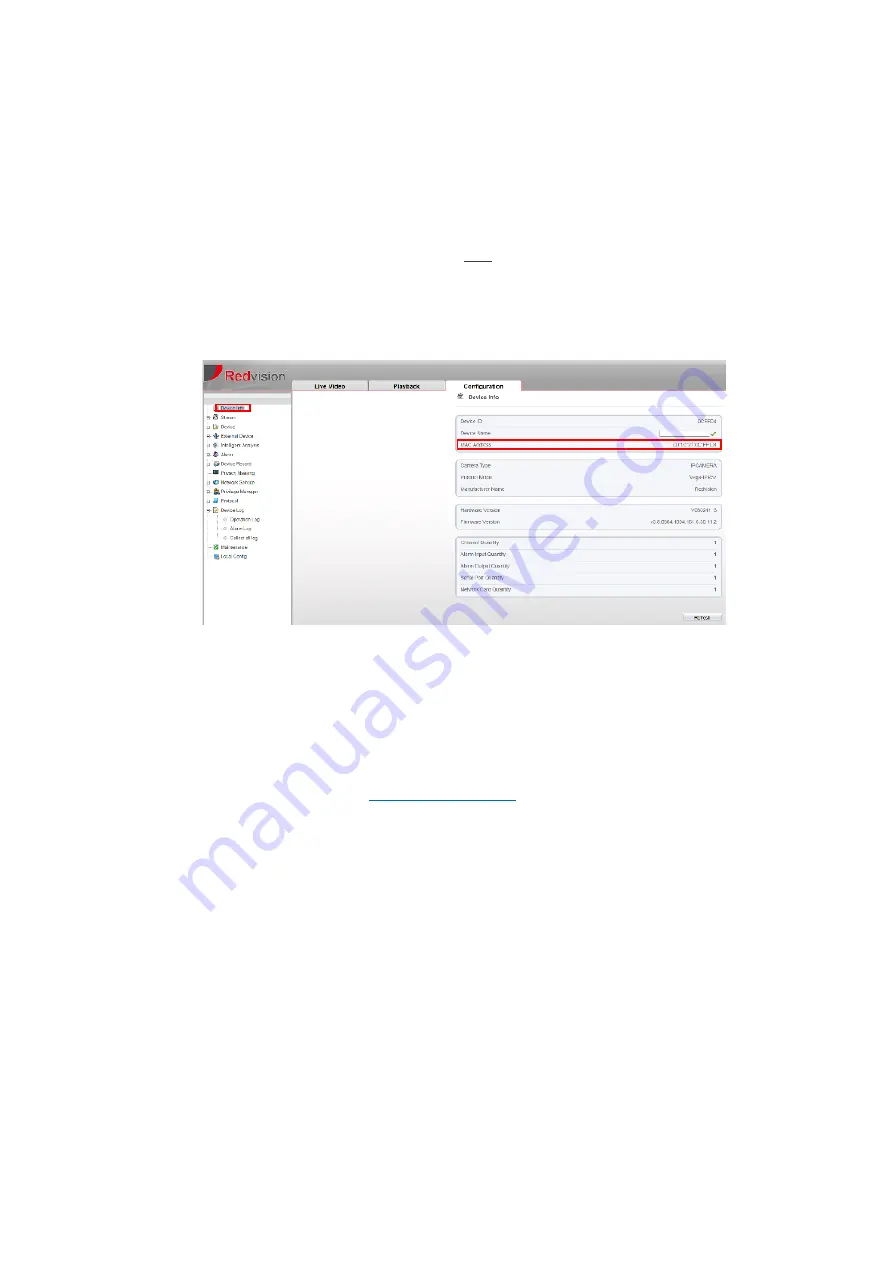
range of reserved DHCP address with the Network Administrator beforehand. You may need the MAC address of
each camera in advance. This can be found on the
Device Info
page at the top of the menu tree.
IMPORTANT NOTE! We strongly recommend setting the camera’s time and date, with NTP
server if possible. This will help
with future support issues such as forgotten password etc. Go to:
Device>Date & Time
and configure.
Configuring the system in more detail is now possible. For detailed help with the camera configuration; please refer to the X2
COMBAT Web-Interface User Guide, available at:


