OWNER’S MANUAL
29
SIXTY-TWO
MIDI Mapping
When using Serato DJ or Scratch Live software, the mixer is plug-and-play with all required MIDI mapping
done for you. For advanced users or with third-party DAWs, it is possible to custom MIDI-map most mixer
controls on the Sixty-Two and control the lighting and color of buttons in the Serato DJ control strips.
There are three groups of MIDI controls:
• Those associated with Deck 1 and the left-hand control strip.
• Those associated with Deck 2 and the right-hand control strip.
• Mixer controls not associated with Deck 1, Deck 2 or either control strip.
There are two USB ports on the mixer,
USB A
and
USB B
. Users can assign each of these three groups to
USB A
or
USB B
as follows:
• The
SOURCE
selector for Deck 1 determines which USB port will be used for Deck 1 controls and the
associated left-hand control strip.
• The
SOURCE
selector for Deck 2 determines which USB port will be used for Deck 2 controls and the
associated right-hand control strip.
To assign MIDI controls not related to Deck 1 or Deck 2, press the
SP-6 ASSIGN
button at the top of a control
strip and it will light brightly to indicate that controls belonging to the third MIDI group are assigned to the
same USB port. The one exception is the crossfader, which is always sent to both USB ports.
MIDI Assignments
As indicated in the Top Panel MIDI Assignments graphic, there are unique MIDI assignments for Loop
controls when in AUTO and MANUAL modes. There are also unique MIDI assignments for Cue and
Sample buttons when in CUE and SAMPLES modes.
MIDI Layers
The mixer is capable of changing MIDI Layers in order to MIDI map one control to multiple functions under
different contexts. Changing the MIDI Layer is the same thing as changing the MIDI channel. The MIDI
Layers used for Left Deck and Right Deck can be independently selected. The third group of controls that
is not associated with Deck 1, Deck 2 or either control strip will use the MIDI Layer of the group that it is
assigned to with the
SP-6 ASSIGN
button. By default, the other MIDI Layers inherit the functionality of the
first Layer. The crossfader is the only control that will only send traffic on MIDI Layer 1.
• Holding down the
CUES / SAMPLES
button will turn all of the Cue buttons yellow. The Left Deck Cue buttons
and Right Deck Cue buttons will each have one Cue button brightly lit. The button that is brightly lit
indicates the current MIDI Layer for that group.
• While holding down the
CUES / SAMPLES
button, press the Cue button corresponding with the desired MIDI
Layer. This will change the MIDI Layer for the deck that Cue button belongs to. It is not necessary to
wait for the Cue buttons to display the current MIDI Layer in order to change the MIDI Layer.
• MIDI layer corresponds to the MIDI channel:
MIDI Layer
MIDI Channel
1
1
2
3
3
4
4
5
5
6
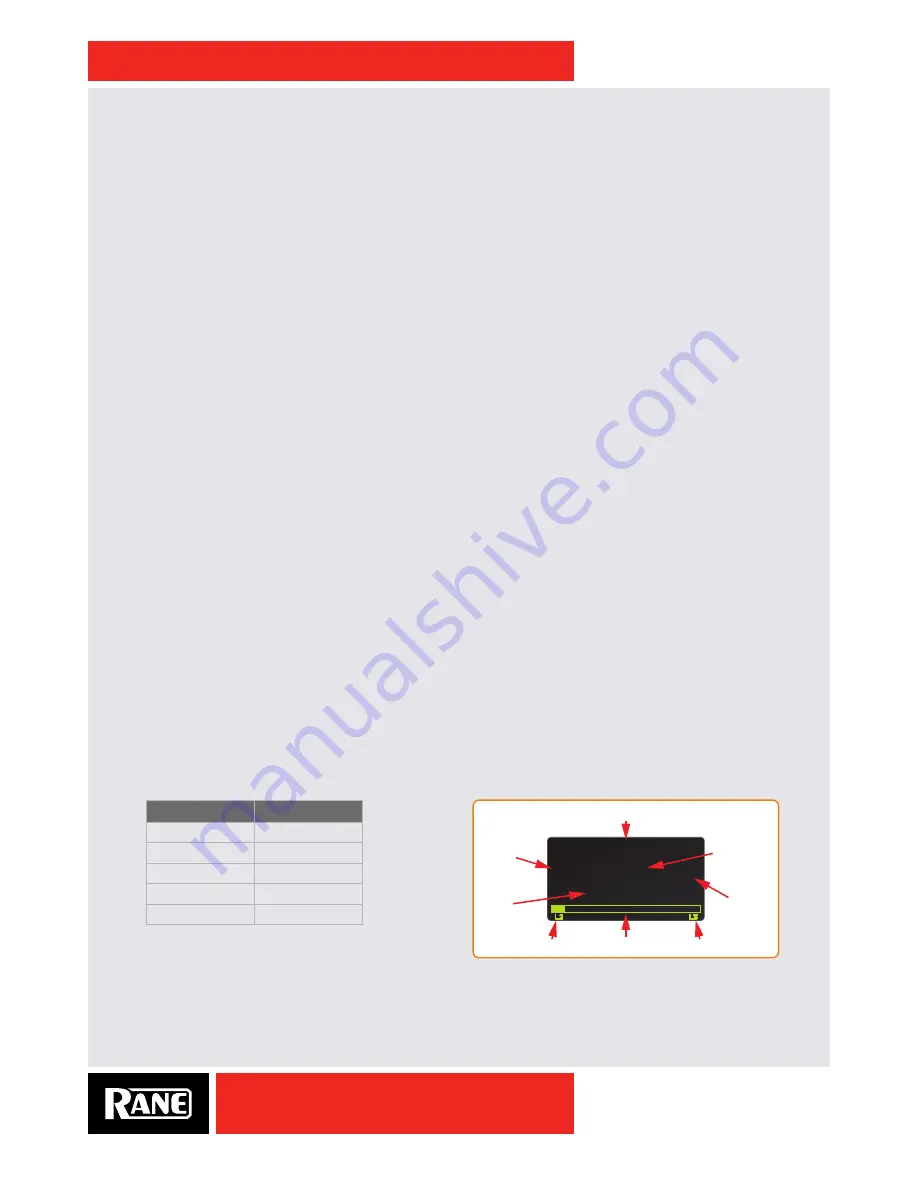
MIDI layers other than default Layer 1 are shown
at the bottom of the effects display, Deck 1 on the
bottom left and Deck 2 on the bottom right. If Layer 1 is selected, it is not displayed. This allows a user to
see at a glance if any of the Decks are in a layer other than Layer 1.
PHASER
BPM:120 * 4:1
2000 ms
L2
L3
effect name
time range
*, S, A, B
multiplier
BPM
time
Deck 1 Layer
Deck 2 Layer


