RADWIN
5000
HPMP
User
Manual
Release
3.5.70
11
‐
9
Registering
HMUs
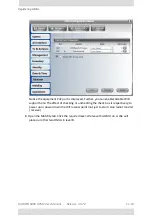
4.
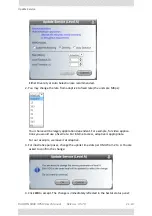
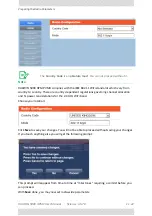
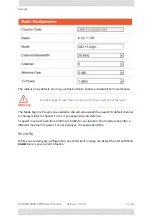
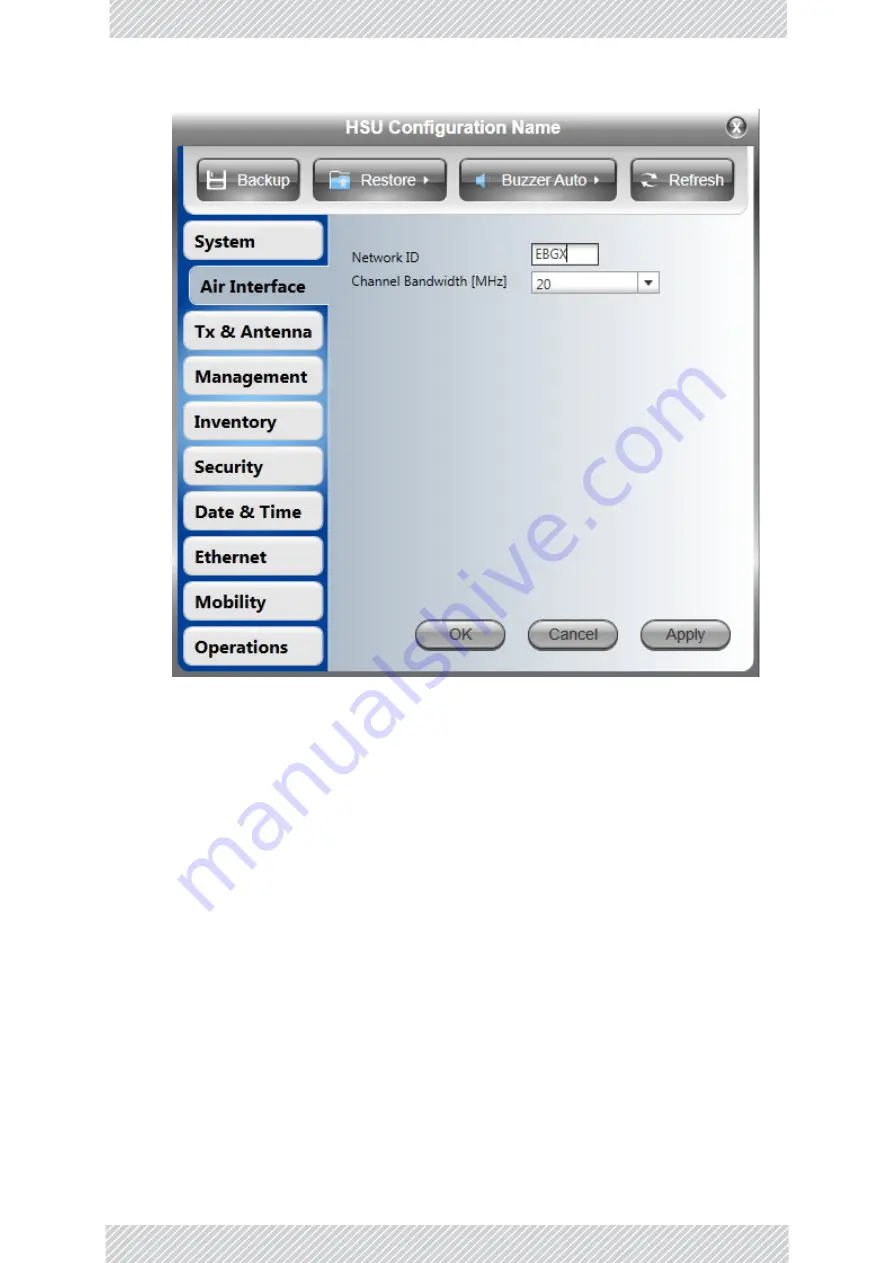
Enter
the
Network
ID
(EBGX
in
our
example)
and
if
necessary,
change
the
Channel
Bandwidth.
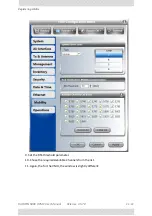
5.
Open
the
Tx
&
Antenna
tab
and
ensure
that
the
antenna
type
is
correct.
You
may
change
any
other
antenna
parameters
as
well.
We
set
Tx
Power
for
our
example
to
5
dBm.
6.
Open
the
Management
tab
and
set
the
HSU
IP
address.
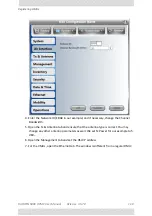
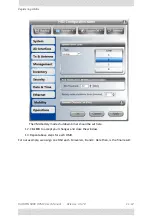
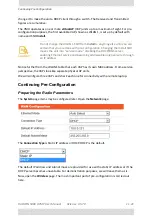
7.
For
the
VMUs,
open
the
Ethernet
tab.
The
window
is
different
from
a
regular
HMU:
Содержание 5000 HPMP
Страница 1: ...USER MANUAL RADWIN 5000 POINT TO MULTIPOINT BROADBAND WIRELESS Release 3 5 70...
Страница 21: ...Part 1 Basic Installation Release 3 5 70...
Страница 69: ...Part 2 Sector Installation Release 3 5 70...
Страница 155: ...Part 3 Sector Management Release 3 5 70...
Страница 191: ...RADWIN 5000 HPMP User Manual Release 3 5 70 8 36 Inventory Inventory You should note the details for each HSU...
Страница 193: ...RADWIN 5000 HPMP User Manual Release 3 5 70 8 38 Date Time Date Time The functionality is identical as that for the HBS...
Страница 197: ...RADWIN 5000 HPMP User Manual Release 3 5 70 8 42 Nomadic...
Страница 252: ...RADWIN 5000 HPMP User Manual Release 3 5 70 11 8 Registering HMUs 3 Open the Air Interface tab...
Страница 290: ...Part 4 Site Synchronization Release 3 5 70...
Страница 319: ...RADWIN 5000 HPMP User Manual Release 3 5 70 16 7 Configuring the GSU...
Страница 320: ...Part 5 Advanced Installation Topics Release 3 5 70...
Страница 354: ...Part 6 Field Installation Topics Release 3 5 70...
Страница 387: ...RADWIN 5000 HPMP User Manual Release 3 5 70 25 12 Configure If you change any of these fields you will cause a HBS reset...
Страница 395: ...RADWIN 5000 HPMP User Manual Release 3 5 70 25 20 WEB Interface for VMUs The current position is marked with the icon...
Страница 396: ...Part 7 Product Reference Release 3 5 70...
Страница 510: ...RADWIN 5000 HPMP User Manual Release 3 5 70 F 5 Montage sur un mur Montage sur un mur Figure F 5 Montage sur un mur...
Страница 517: ......

