


© Qube Engineering 2009
Qube’s AP1 LED Dash DIY Kit Supplemental Instructions Page 19
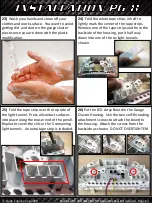
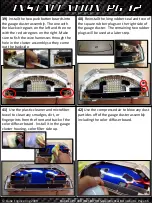
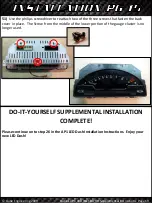
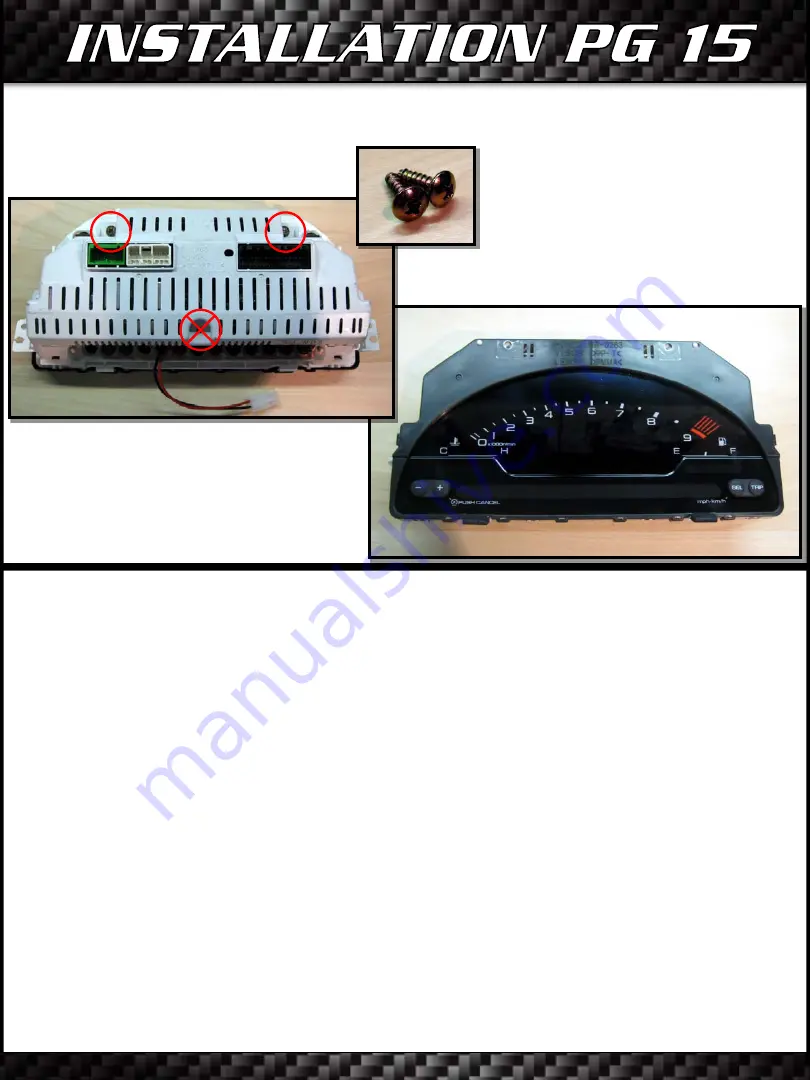
51)
Use the philips screwdriver to reattach two of the three screws that fasten the back
cover in place. The Screw from the middle of the lower portion of the gauge cluster is no
longer used.
DO-IT-YOURSELF SUPPLEMENTAL INSTALLATION
COMPLETE!
Please continue on to step 26 in the AP1 LED Dash Installation Instructions. Enjoy your
new LED Dash!


