


© Qube Engineering 2009
Qube’s AP1 LED Dash DIY Kit Supplemental Instructions Page 12
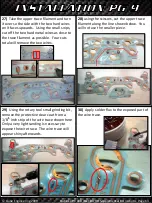
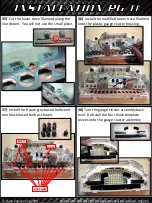
25)
Fold the tape strip over the top side of
the light tunnel. Press all contact surfaces
into place using the eraser end of the pencil.
Repeat to cover the slits in the 5 remaining
light tunnels. An extra tape strip is included.
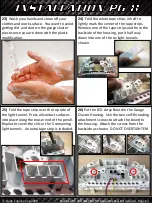
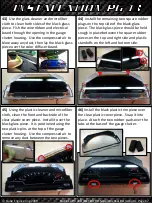
23)
Wash your hands and clean off your
clothes and work surface. You want to avoid
getting dirt and dust on the gauge cluster
pieces once you are done with the plastic
modification.
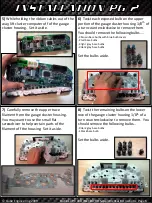
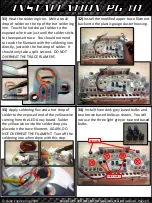
24)
Fold the white tape strips in half to
lightly mark the center of the tape strips.
Remove one of the tape strips and from the
backside of the housing, put it half way
down into one of the six light tunnels
shown.
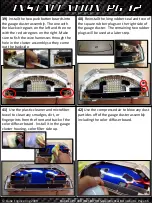
26)
Put the LED Array Board in the Gauge
Cluster Housing. Use the two self-threading
attachment screws to attach the board to
the housing. Attach the screws from the
backside as shown. DO NOT OVERTIGHTEN!


