


© Qube Engineering 2009
Qube’s AP1 LED Dash DIY Kit Supplemental Instructions Page 11
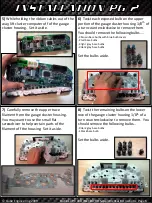
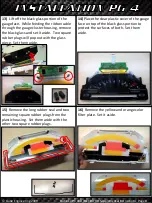
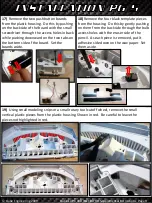
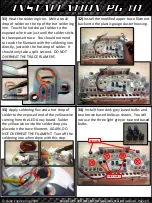
21)
Use the grinding bit to finish cutting and smoothing out the material. The housing does
not need to be perfectly smooth. The goal is to allow enough room for the LED Array board
to fit snugly all the way down to the bottom of the modified housing. Do a test fit of the LED
Array board in the housing. Remove more material if necessary. Once the board fits
correctly, remove the LED array board and set it aside.
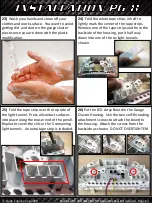
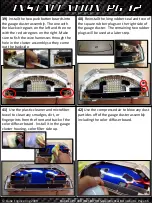
22)
Use a deburring tool, X-acto knife, or your fingers to remove any burrs left on the plastic.
Use the compressed air to blow all remaining dust off of the housing. Make sure to remove
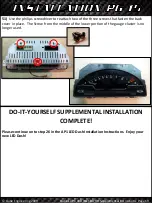
any dust from inside the light tunnels as well. The end result should look like this….


