

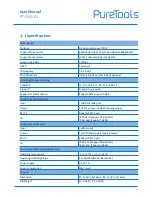


User Manual
PT-IPAV-E2
15
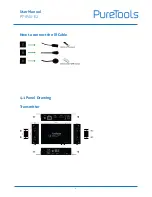
6. RS232 and Baud rate
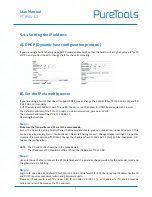
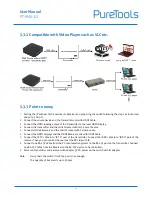
The unit provides a path to pass through the RS232 signal, RS232 passes from TX to RX or from RX to TX, connect
to your RS232 devices, such as PC, IP Camera, Creston control panel, Smart Matrix, printer and Scanner and so on.
It works when TX, RX and your RS232 devices baud rate is the same. The default baud rate of TX and RX is 2400
which is frequently used for most devices.
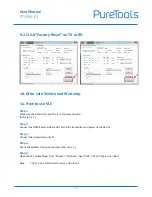
6.2 Baud rate setting
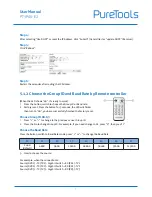
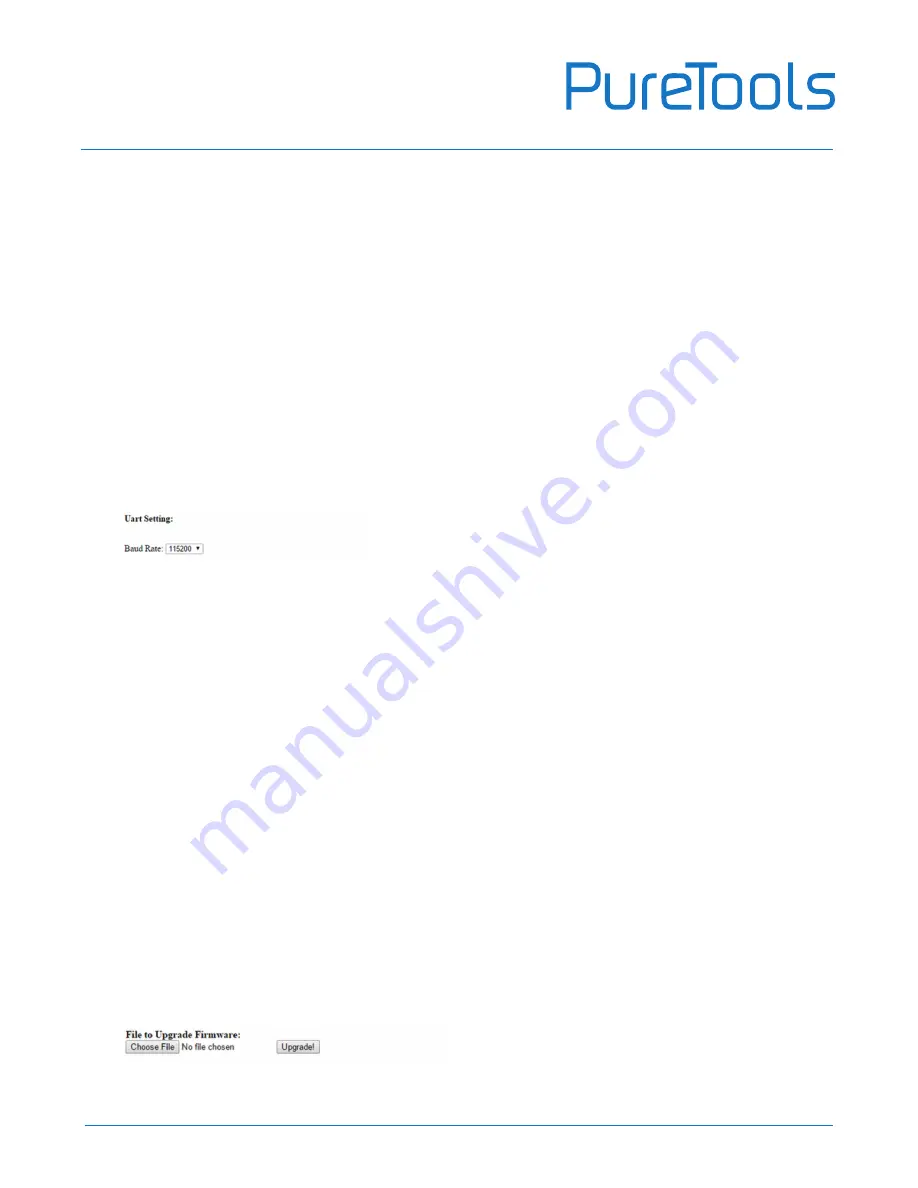
6.2.1 Setting the Baud rate via Web Browser
Login TX and RX with their default IP (TX: 192.168.1.11; RX: 192.168.1.12) to modify the Baud Rate which range
from default 2400 to 115200.
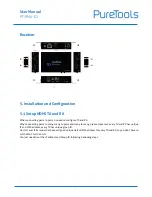
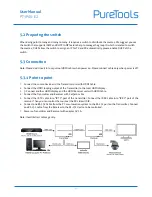
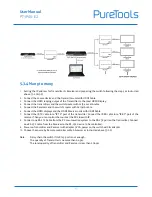
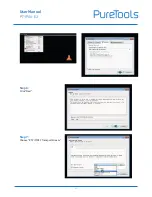
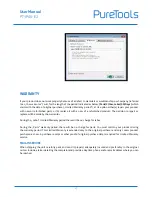
7. Firmware update
We provide the firmware to upgrade the units when it is necessary. Please follow up bellowing steps to update
the firmware.
Step1:
Connect TX / RX to the PC with a short Cat5e cable
Step2:
Power on TX/ RX with power adapter 5V1A.
Step3:
Login TX or RX with their default IP (TX: 192.168.1.11; RX: 192.168.1.12) on web browser, TX requires user name:
admin and password: admin
Step4:
Click “choose File” on the interface and find out the latest version firmware
Step5:
Click “Upgrade”, the process will takes seconds, please DO NOT interrupt or power off the units during the time.
Note:
When you change the Baud rate on both Web browser and
Remote controller, the units will follow the latest one.
Please send the data in the same group ID.
Содержание PT-IPAV-E2-RX
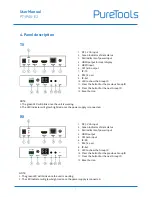
Страница 6: ...User Manual PT IPAV E2 6 How to connect the IR Cable 4 1 Panel Drawing Transmitter ...
Страница 14: ...User Manual PT IPAV E2 14 Note The total qty of TX RX Switch is less than 256pcs ...
Страница 21: ...User Manual PT IPAV E2 21 Step 6 Click Next Step 7 Choose RTP MPEC Transport Stream ...


