User Manual
PT-IPAV-E2
9
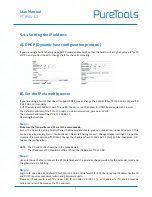
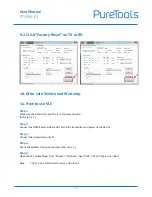
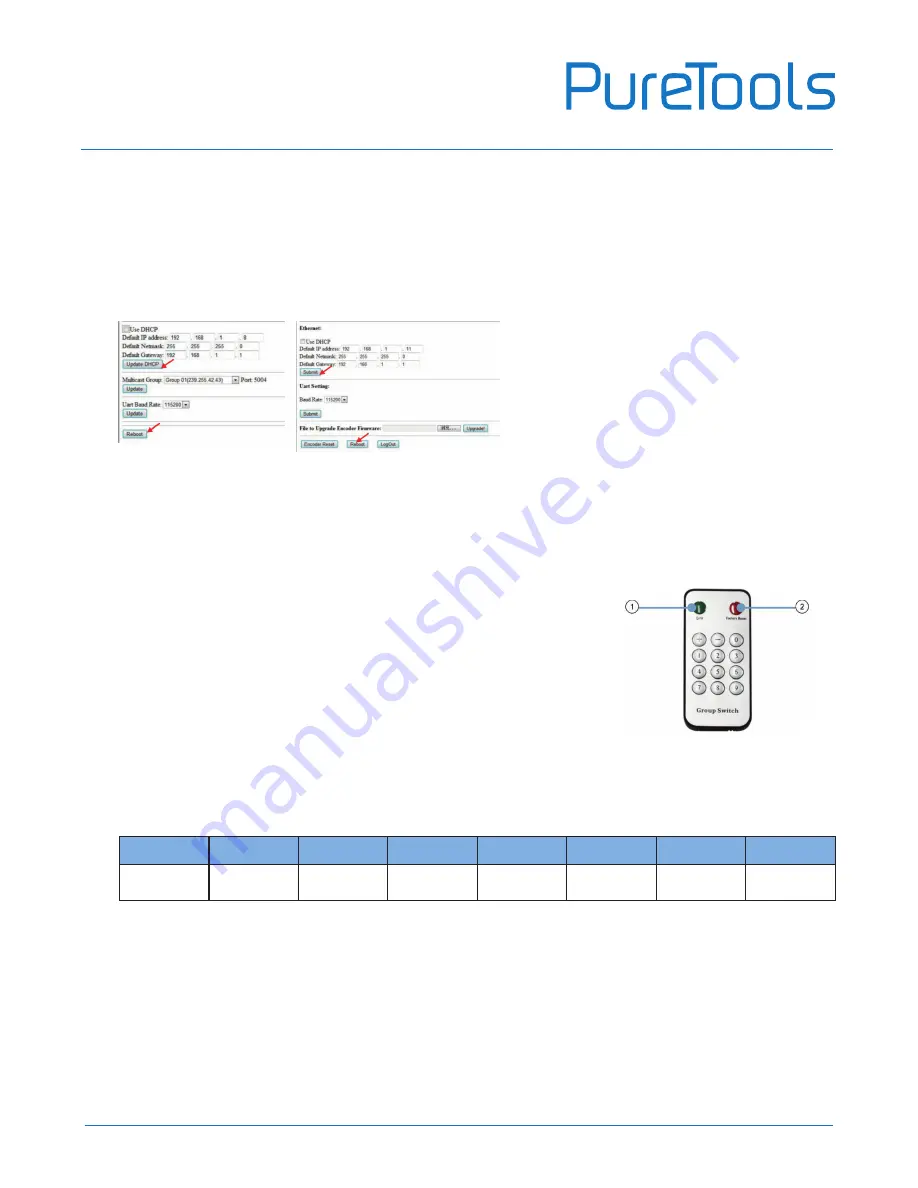
Step 4:
After selecting “Use DHCP” or reset the IP Address, click “Submit” (transmitter) or “update DHCP” (Receiver).
Step 5:
Click “Reboot”.
Step 6:
Restart the extender after resting the IP Address.
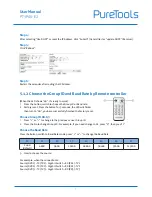
5.1.2 Choose the Group ID and Baud Rate by Remote controller
(When the LED shows “00”, it’s ready to work)
1.
Press the button, switch to choose the Group ID or Baud rate.
2.
Factory reset. Press the button for 3 seconds, the LED will flicker
then turn to “00”, you have successfully finished the factory reset.
Choose Group ID 00-63
1.
Press “+” or “–” to change to the previous or next Group ID.
2.
Press the No to change Group ID. For example, if you need change to 01, press “0”, then press“1”.
Choose the Baud Rate
Press the Button, switch to Baud Rate mode, press “+” or “–” to change the Baud Rate.
F0
F1
F2
F3
F4
F5
F6
F7
2400
(default)
4800
9600
19200
28800
38400
57600
115200
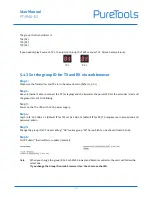
3. How to choose the source:
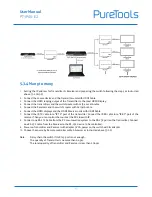
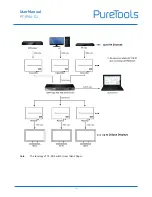
For example, when the connection is:
Source (DVD1) - TX (TX1) - Gigabit Switch – RX (RX1) - TV1
Source (DVD2) - TX (TX2) - Gigabit Switch – RX (RX2) - TV2
Source (DVD3) - TX (TX3) - Gigabit Switch – RX (RX3) - TV3
Содержание PT-IPAV-E2-RX
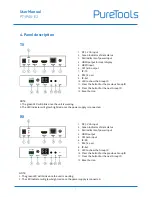
Страница 6: ...User Manual PT IPAV E2 6 How to connect the IR Cable 4 1 Panel Drawing Transmitter ...
Страница 14: ...User Manual PT IPAV E2 14 Note The total qty of TX RX Switch is less than 256pcs ...
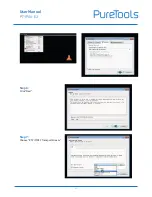
Страница 21: ...User Manual PT IPAV E2 21 Step 6 Click Next Step 7 Choose RTP MPEC Transport Stream ...


