4. Print head & Heatbed assembly
86
Original Prusa MINI+ kit assembly
STEP 27
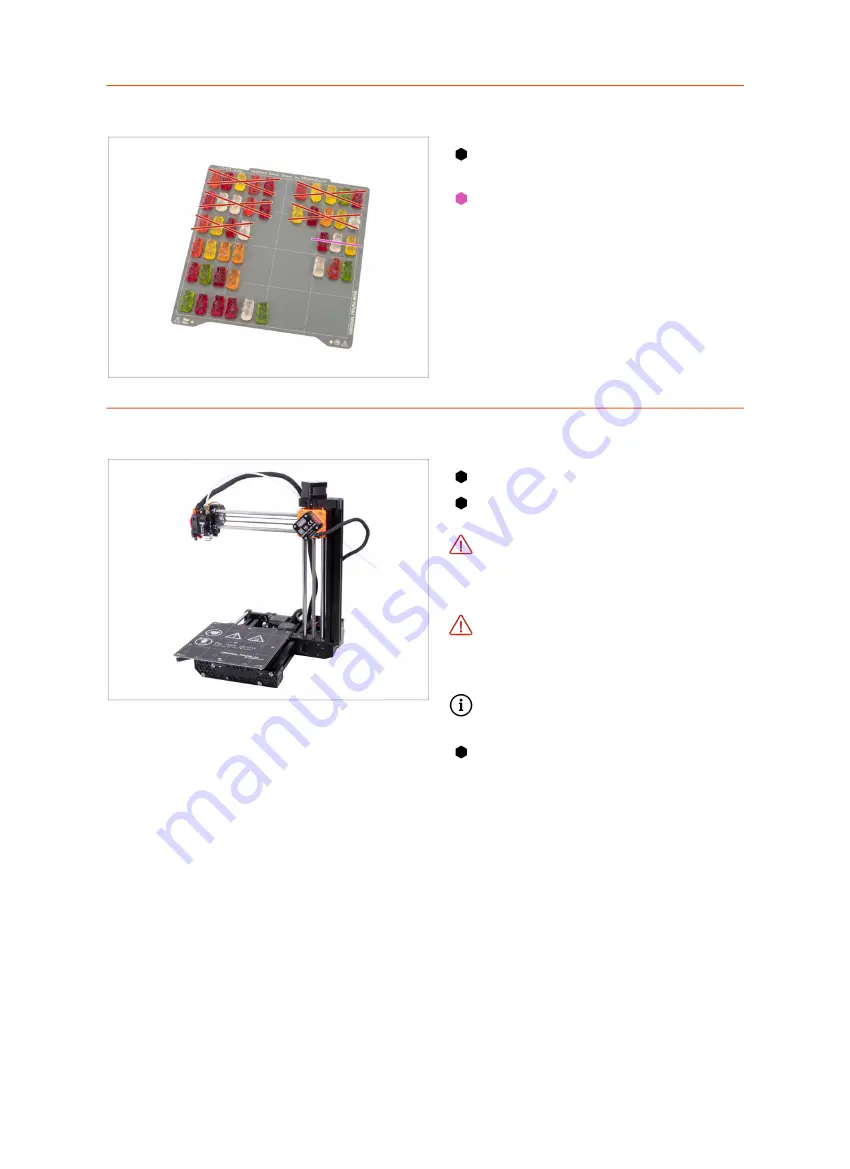
Heatbed: reward yourself!
You just finished the
Heatbed
assembly
. It was easy.
Eat the second part of the third row.
STEP 28
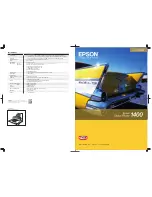
Printhead and Heatbed are finished!
You're getting closer!
Check the final look, compare it to
the picture.
Don't place the steel sheet on the
heatbed yet.
Wait for the
instructions in the Wizard during
the calibration process.
Leave the remaining M3x12 and
M3x20 screws
in the Print head,
HB, ELE package for the next
chapter.
Keep the remaining Spool Holder
packages for later.
Ready for the next chapter? Let's
jump into:
5. LCD assembly &
Electronics
Содержание Original Prusa MINI
Страница 5: ...Original Prusa MINI kit assembly 5 1 Introduction ...
Страница 14: ...14 Original Prusa MINI kit assembly 2 YZ axis assembly ...
Страница 47: ...Original Prusa MINI kit assembly 47 3 X axis Extruder assembly ...
Страница 73: ...Original Prusa MINI kit assembly 73 4 Print head Heatbed assembly ...
Страница 87: ...Original Prusa MINI kit assembly 87 5 LCD assembly Electronics ...
Страница 100: ...100 Original Prusa MINI kit assembly 6 Spool holder assembly ...
Страница 105: ...Original Prusa MINI kit assembly 105 7 Preflight check ...
Страница 109: ...109 Notes ...
Страница 110: ...110 ...
Страница 111: ...111 Notes ...
Страница 112: ...112 ...
Страница 113: ...113 Notes ...
Страница 114: ...114 ...
Страница 115: ...115 Notes ...
Страница 116: ...116 ...


