NAS System
User’s Manual
89
Snapshot Options:
Snapshot Numbers: Specifies the total number of snapshots that will be created.
Snap Ratio (%): This is the ratio in percentage between the snapshot volume
and the volume of origin. This indicates the ratio of the volume size that will be
set as the size of the snapshot volume. For example, if your logical volume is 1GB
and the Snap Ratio is 10%, the size of the snapshot volume that will be created is
512MB, assuming that your PE size (VG Unit Size) is 512MB. The snapshot
volume size will always be a multiple of PE size and the smallest snapshot size is
equal to the PE size.
Overwrite: Selecting this option will automatically delete the oldest snapshot if
the total number of snapshots is already exceeded.
Mount: When checked, it means that the created scheduled snapshot will be
automatically mounted.
Reserved/VG Free Size (MB): The left side indicates the total volume space
that will be used for the creation the snapshots. The right side indicates the free
space of the volume group available for use.
Execute Day: Specifies whether the scheduled task is to run on the selected
day(s).
Execute time:
Once - Specifies the time of the day when the scheduled task will be taken.
Every - Specifies how often the scheduled task is to be repeated. You can
also select the starting time and the ending time.
Snapshot Lists:
Mount - Allows you to mount the snapshot volume. All snapshot volumes will
be mounted read-only. By mounting the snapshot volume, the files under this
snapshot volume will become accessible.
Name - This specifies the name of the snapshot volume. If the snapshots are
created by schedule, proNAS will automatically create the snapshot name. The
format that will be used is: the last two digit of the year, followed by the
month/date, and then followed by the hour/min/sec. For example:
"101217_151612".
Date - This indicates the date and time when the snapshot was created.
Used Size - This indicates the space used by the snapshot data. The right
side is the size of the snapshot volume. If the used space nearly exceeds the
snapshot volume capacity, it will be set as "Invalid" and will be un-mounted
automatically to keep the system consistent.
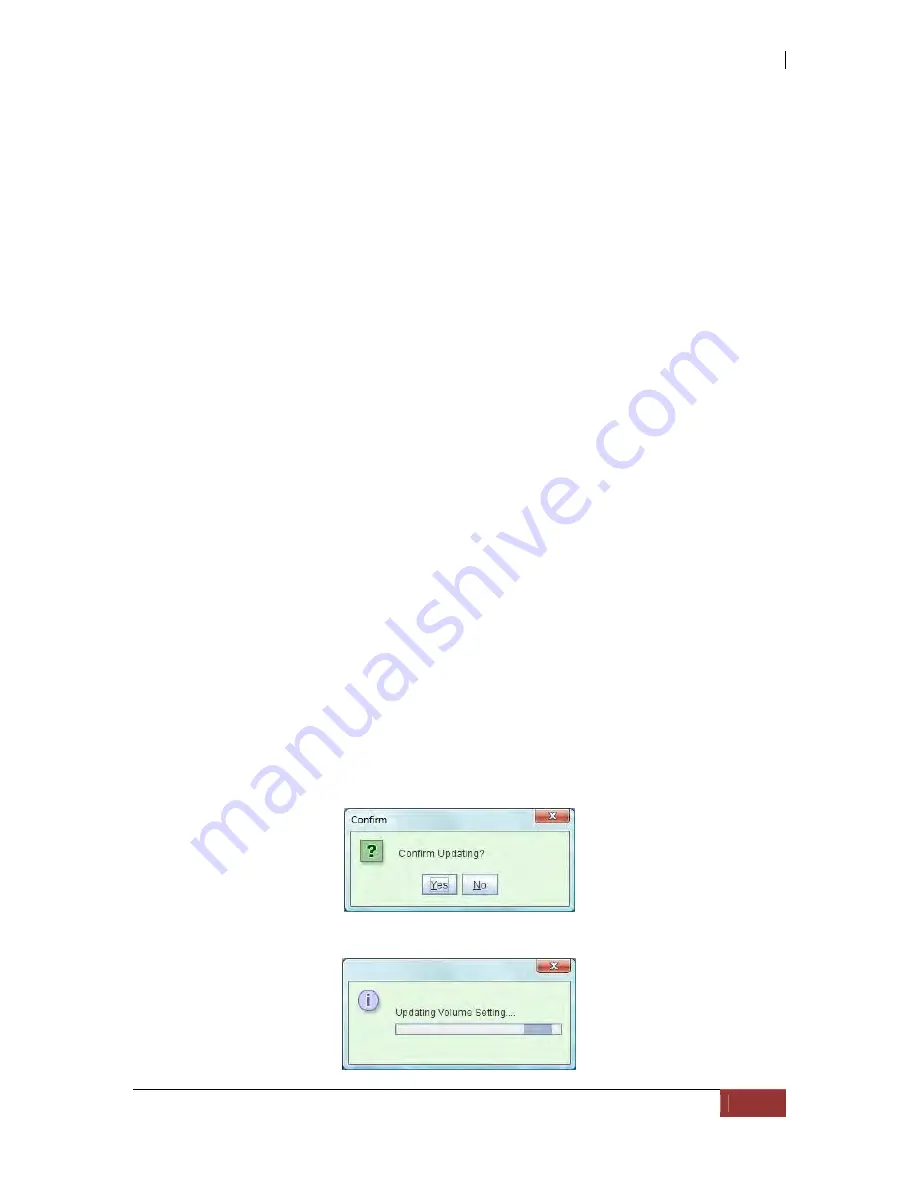
3.
A confirm message window will be displayed. Select “Yes” to proceed.
4.
An “Updating Volume Setting” message will be shown.
Содержание 2126JS6H-SQX
Страница 1: ...NAS System User s Manual Revision 1 0...
Страница 7: ...NAS System User s Manual 7 PART I Hardware Components and RAID Controller...
Страница 38: ...NAS System 38 User s Manual 3 Choose the Make Global HSP option and click Go 4 Click Go...
Страница 41: ...NAS System User s Manual 41 PART II proNAS System...
Страница 51: ...NAS System User s Manual 51 2 To show the Raid Set List click the Raid Set List tab Raid Set List...
Страница 54: ...NAS System 54 User s Manual 4 The selected disk drive will become a Hot Spare drive...
Страница 56: ...NAS System 56 User s Manual 4 The selected disk drive will become a free or UN_USED disk drive...
Страница 81: ...NAS System User s Manual 81 5 The new Logical Volume will be shown...
Страница 83: ...NAS System User s Manual 83 4 Verify the new LV size...
Страница 91: ...NAS System User s Manual 91 7 After disabling the schedule the Enable Scheduled button will become available...
Страница 93: ...NAS System User s Manual 93 4 The deleted snapshot will no longer exist in the Snapshot List...
Страница 167: ...NAS System User s Manual 167 9 Copy a file 10 Right click the file and select Delete from the pop up menu...
Страница 168: ...NAS System 168 User s Manual 11 Notice that the file cannot be deleted It will be accessible as read only...
Страница 170: ...NAS System 170 User s Manual 2 Tick WebDAV Support 3 A warning message will be displayed Click OK...
Страница 174: ...NAS System 174 User s Manual 10 In Add Network Location click Next 11 Click Next...
Страница 176: ...NAS System 176 User s Manual 14 Enter a name for the network location Click Next 15 Click Finish...
Страница 212: ...NAS System 212 User s Manual 1 2 3 4 5...
Страница 236: ...NAS System 236 User s Manual 7 Click Save again 8 In the Confirm Dialog Box click Yes The backup plan will be saved...
Страница 248: ...NAS System 248 User s Manual 3 Click Save when done Select Yes to confirm 4 Scheduled backup has been configured...


