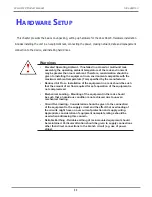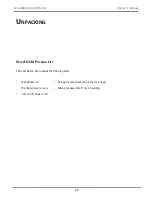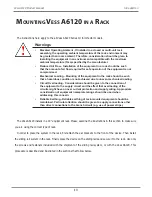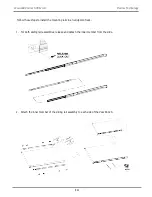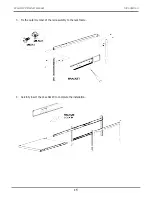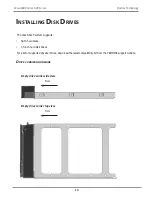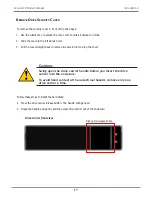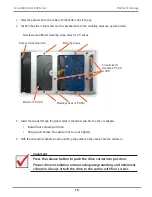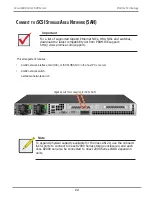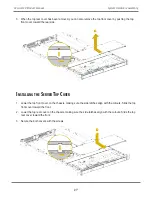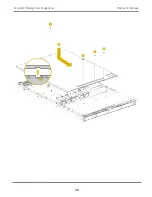
This chapter helps you assemble the chassis and install components.
B
eFOre
y
Ou
B
egin
Pay close attention to the Safety Instructions, Warnings and Cautions in this chapter. Make sure you follow
these steps before attempting to dismantle or remove any part of the server hardware.
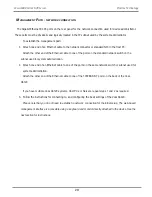
1. Make sure the server is powered off.
Power down the server if it is still running.
a. Press the Power button to power off the server from full-power mode to standby- power (sleep) mode.
The Power LED at the front turns from solid green to blinking green.
b.
Disconnect the power cord first from the AC outlet and then from the server. The power LED turns off.
2.
Ensure you have a clean and stable working environment. Avoid dust and dirt because contaminants may
cause malfunctions.
3.
Ground yourself properly before touching any system component. A discharge of static electricity may
damage components. Wear a grounded wrist strap if available.
WARNING
The server is not completely powered down when you press the
Power button on the front panel. The Power button lets the server
toggle between Power On and Standby (Sleep) modes. Some internal
circuitry remain active in the Standby mode. To remove all power from
the system completely, be sure to disconnect the power cord from the
server.
S
ySteM
H
ardware
a
SSeMbly
25
System Hardware Assembly
Vess A6120 Product Manual
Содержание Vess A Series
Страница 14: ...System Hardware Overview System Components 2 Vess A6000 Series NVR Server Promise Technology ...
Страница 40: ...28 Vess A6120 Storage Server Appliance Promise Technology ...
Страница 47: ...8 8 8 35 System Hardware Assembly Vess A6120 Product Manual ...
Страница 123: ...111 Managing with CLU Vess A6120 Product Manual ...
Страница 128: ...116 Vess A6120 Storage Server Appliance Promise Technology ...
Страница 259: ...3 Click the Driver tab to see the driver version 247 Driver Installation and Update Vess A6120 Product Manual ...

