


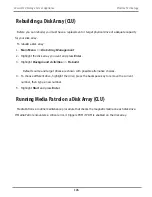
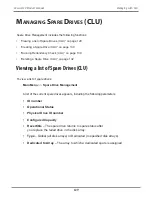

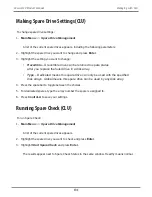


Creating a Spare Drive (CLU)
Only unconfigured physical drives can be used to make spares. Check your available drives under
Physical Drive Management. See “Physical Drive Management (CLU)” on page 112
1.
Main Menu
>>
Spare Drive Management
>>
Create New Spare Drive
A default physical drive is shown with possible alternative choices.
2. To choose different drive, highlight the drive, press the backspace key to remove the current
number, then type a new number.
3. Highlight R
evertible
and press the spacebar to toggle between
Yes
and
No
.
A revertible drive can be returned to spare status after you replace the failed drive in a disk
array.
4. Highlight
Spare Type
and press the spacebar to toggle between
Dedicated
and
Global
.
Dedicated means this spare drive can only be used with the specified disk arrays. Global
means this spare drive can be used by any disk array.
If you chose Dedicated, a default disk array is shown with possible alternative choices.
To choose different array, highlight the array and press the backspace key to erase the
current number, then type the new number.
5.
Press
Control-A
to save the spare drive.
130
Vess A6120 Storage Server Appliance
Promise Technology
Содержание Vess A Series
Страница 14: ...System Hardware Overview System Components 2 Vess A6000 Series NVR Server Promise Technology ...
Страница 40: ...28 Vess A6120 Storage Server Appliance Promise Technology ...
Страница 47: ...8 8 8 35 System Hardware Assembly Vess A6120 Product Manual ...
Страница 123: ...111 Managing with CLU Vess A6120 Product Manual ...
Страница 128: ...116 Vess A6120 Storage Server Appliance Promise Technology ...
Страница 259: ...3 Click the Driver tab to see the driver version 247 Driver Installation and Update Vess A6120 Product Manual ...