


SmartStor NS4600 Product Manual
254
4.
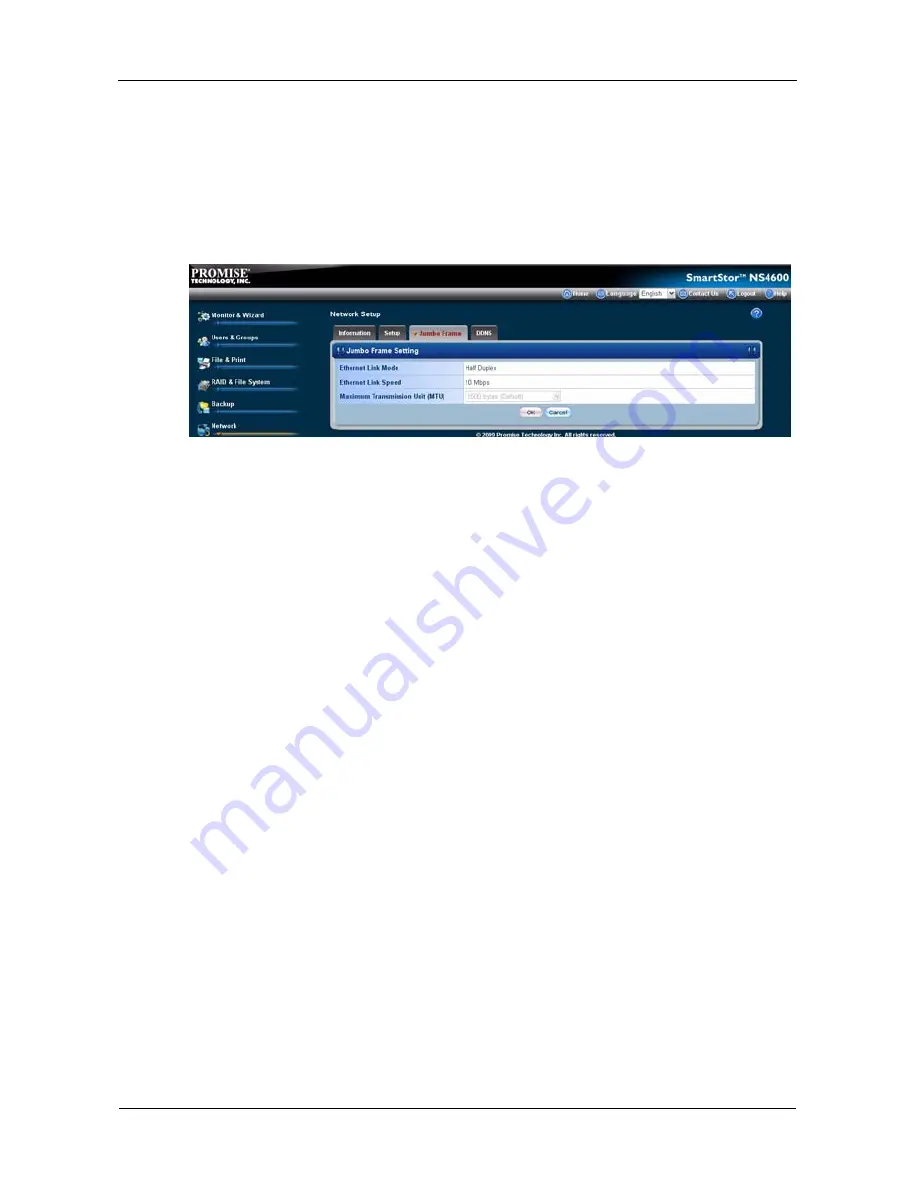
From the MTU dropdown menu, choose the maximum MTU or frame size:
•
1500 bytes (default)
•
4000 bytes
•
7000 bytes
•
9000 bytes
5.
Click the
OK
button.
6.
In the confirmation box, click the
OK
button.
Working with DDNS
A Domain Name Service (DNS) translates human-readable host names, such as
www.promise.com
, into IP addresses, such as
103.204.15.26
, and back again.
A Dynamic DNS (DDNS) is required because in many cases, IP addresses
periodically change. The DDNS enables you to keep up-to-date and stay
connected.
There are two DDNS options:
•
Provide your own DDNS server
•
Register with an online DDNS service
A free online DDNS service is available at
http://www.dyndns.com/
.
Making DDNS Settings
PASM requires the DDNS domain name, user name, and password to work with
the DDNS server. See your Network Administrator or the online DDNS service for
this information.
To make DDNS settings:
1.
Click the
Administration
topic and choose the
Network
icon to expand the
Tree.
2.
In the Tree, click the
Network Setup
icon.
3.
Click the
DDNS
tab.
4.
Click the
Enable
option.
5.
Type the required information in the fields provided:
Содержание Smartstor NS4600
Страница 1: ...SMARTSTOR NS4600 Product Manual Version 1 0 ...
Страница 18: ...SmartStor NS4600 Product Manual 6 ...
Страница 61: ...Chapter 3 Connecting to the SmartStor 49 ...
Страница 64: ...SmartStor NS4600 Product Manual 52 10 Click the Finish button USBPTR01 is added to your printer list ...
Страница 73: ...Chapter 3 Connecting to the SmartStor 61 SmartStor ...
Страница 74: ...SmartStor NS4600 Product Manual 62 ...
Страница 82: ...SmartStor NS4600 Product Manual 70 If you close SmartNAVI this way you must open it from the Start menu ...
Страница 113: ...Chapter 4 SmartNAVI 101 Drag and drop the folders you want to backup to the Backup your data from window ...
Страница 115: ...Chapter 4 SmartNAVI 103 9 Click the Add button The newly created schedule appears in the Schedule List ...
Страница 117: ...Chapter 4 SmartNAVI 105 5 Click the Modify button D 6 Click the folder whose contents you want to backup ...
Страница 119: ...Chapter 4 SmartNAVI 107 10 Click the Add button The modified schedule appears in the Schedule List ...
Страница 132: ...SmartStor NS4600 Product Manual 120 2 Choose the Share Folders item ...
Страница 133: ...Chapter 4 SmartNAVI 121 All share folders open in your PC s file browser From the Main Window ...
Страница 167: ...Chapter 4 SmartNAVI 155 4 Click the Restart option C 5 Click the OK button D 6 The reboot runs automatically ...
Страница 169: ...Chapter 4 SmartNAVI 157 5 Click the OK button D 6 The shutdown runs automatically ...
Страница 193: ...Chapter 4 SmartNAVI 181 Optional ...
Страница 194: ...SmartStor NS4600 Product Manual 182 To view a photo click the View icon ...
Страница 215: ...Chapter 5 PASM 203 Total Capacity Free Capacity Used Capacity RAID Status ...
Страница 279: ...Chapter 5 PASM 267 ...
Страница 303: ...Chapter 5 PASM 291 ...
Страница 306: ...SmartStor NS4600 Product Manual 294 ...
Страница 336: ...SmartStor NS4600 Product Manual 324 ...
Страница 348: ...SmartStor NS4600 Product Manual 336 ...
Страница 360: ...SmartStor NS4600 Product Manual 348 ...
Страница 362: ...SmartStor NS4600 Product Manual 350 ...


