


Chapter 5: PASM
241
5.
Click the
OK
button to save your settings.
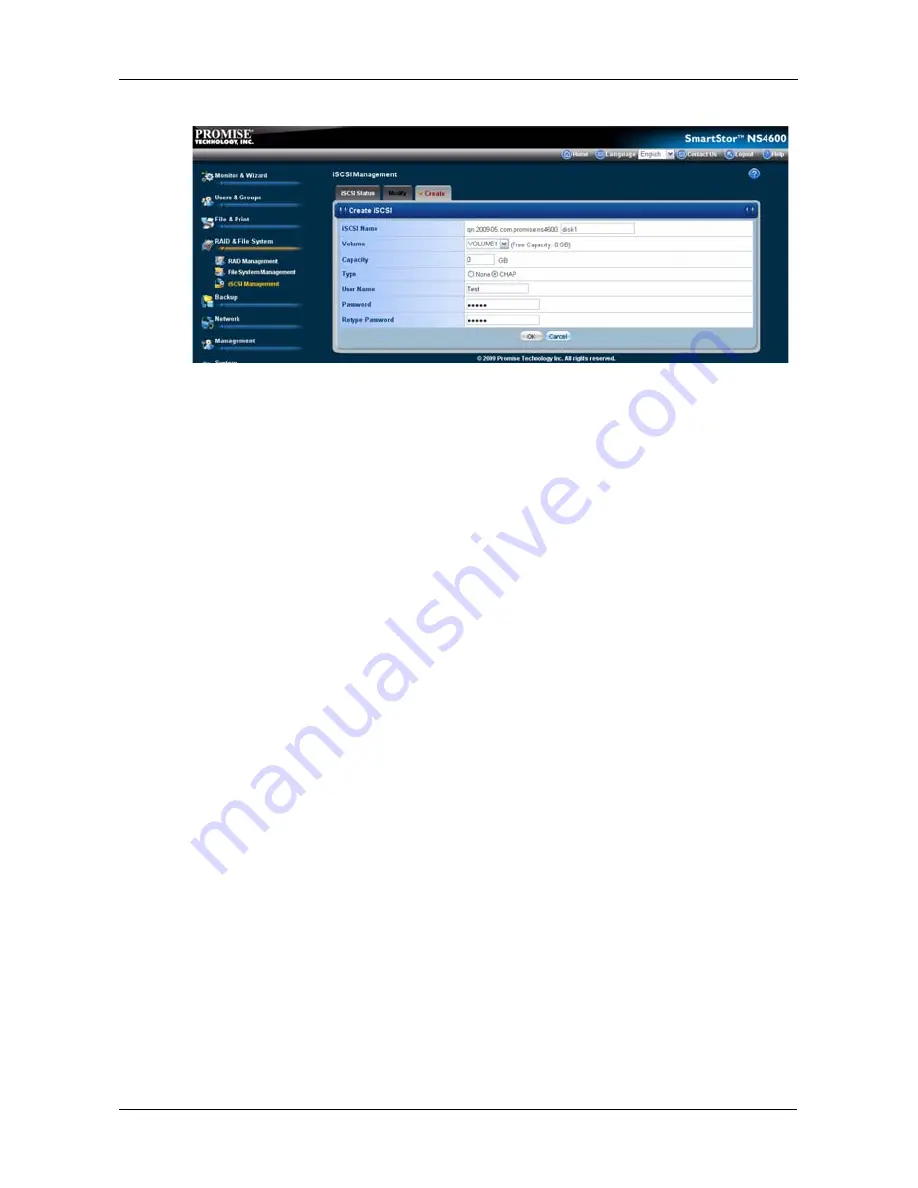
Modifying the iSCSI Volume
The Modify tab enables you to modify an existing iSCSI VOLUME(file system).
To change the iSCSI’s default name:
1.
Click the
Administration
topic and choose the
RAID & File System
icon to
expand the Tree.
2.
In the Tree, click the
iSCSI Management
icon.
3.
Select a iSCSI VOLUME you want to modify from the iSCSI Name drop-
down list.
4.
Type a new iSCSI name into the Modify iSCSI Name field.
5.
Click the
OK
button.
The new iSCSI name is applied.
The list also displays the iSCSI information for the Volume and Capacity.
There are several levels of iSCSI security available with Storage Manager for
SANs. The basic level is based on the CHAP (Challenge Handshake
Authentication Protocol).
To modify the iSCSI type settings from "None" to "CHAP":
1.
Click the
CHAP
option.
2.
Type your user name into the User Name field.
3.
Type your password into the Password field.
4.
Retype your password into the Retype Password field.
5.
Click the
OK
button to save your settings.
Содержание Smartstor NS4600
Страница 1: ...SMARTSTOR NS4600 Product Manual Version 1 0 ...
Страница 18: ...SmartStor NS4600 Product Manual 6 ...
Страница 61: ...Chapter 3 Connecting to the SmartStor 49 ...
Страница 64: ...SmartStor NS4600 Product Manual 52 10 Click the Finish button USBPTR01 is added to your printer list ...
Страница 73: ...Chapter 3 Connecting to the SmartStor 61 SmartStor ...
Страница 74: ...SmartStor NS4600 Product Manual 62 ...
Страница 82: ...SmartStor NS4600 Product Manual 70 If you close SmartNAVI this way you must open it from the Start menu ...
Страница 113: ...Chapter 4 SmartNAVI 101 Drag and drop the folders you want to backup to the Backup your data from window ...
Страница 115: ...Chapter 4 SmartNAVI 103 9 Click the Add button The newly created schedule appears in the Schedule List ...
Страница 117: ...Chapter 4 SmartNAVI 105 5 Click the Modify button D 6 Click the folder whose contents you want to backup ...
Страница 119: ...Chapter 4 SmartNAVI 107 10 Click the Add button The modified schedule appears in the Schedule List ...
Страница 132: ...SmartStor NS4600 Product Manual 120 2 Choose the Share Folders item ...
Страница 133: ...Chapter 4 SmartNAVI 121 All share folders open in your PC s file browser From the Main Window ...
Страница 167: ...Chapter 4 SmartNAVI 155 4 Click the Restart option C 5 Click the OK button D 6 The reboot runs automatically ...
Страница 169: ...Chapter 4 SmartNAVI 157 5 Click the OK button D 6 The shutdown runs automatically ...
Страница 193: ...Chapter 4 SmartNAVI 181 Optional ...
Страница 194: ...SmartStor NS4600 Product Manual 182 To view a photo click the View icon ...
Страница 215: ...Chapter 5 PASM 203 Total Capacity Free Capacity Used Capacity RAID Status ...
Страница 279: ...Chapter 5 PASM 267 ...
Страница 303: ...Chapter 5 PASM 291 ...
Страница 306: ...SmartStor NS4600 Product Manual 294 ...
Страница 336: ...SmartStor NS4600 Product Manual 324 ...
Страница 348: ...SmartStor NS4600 Product Manual 336 ...
Страница 360: ...SmartStor NS4600 Product Manual 348 ...
Страница 362: ...SmartStor NS4600 Product Manual 350 ...


