47
6
Digital Effects | Master Control
6.3
Graphic Equalizer
StudioLive™ 16.0.2 USB
Owner’s Manual
6.2.4
Fader Locate
If you enable fader positions as a part of your Scene recall, the StudioLive
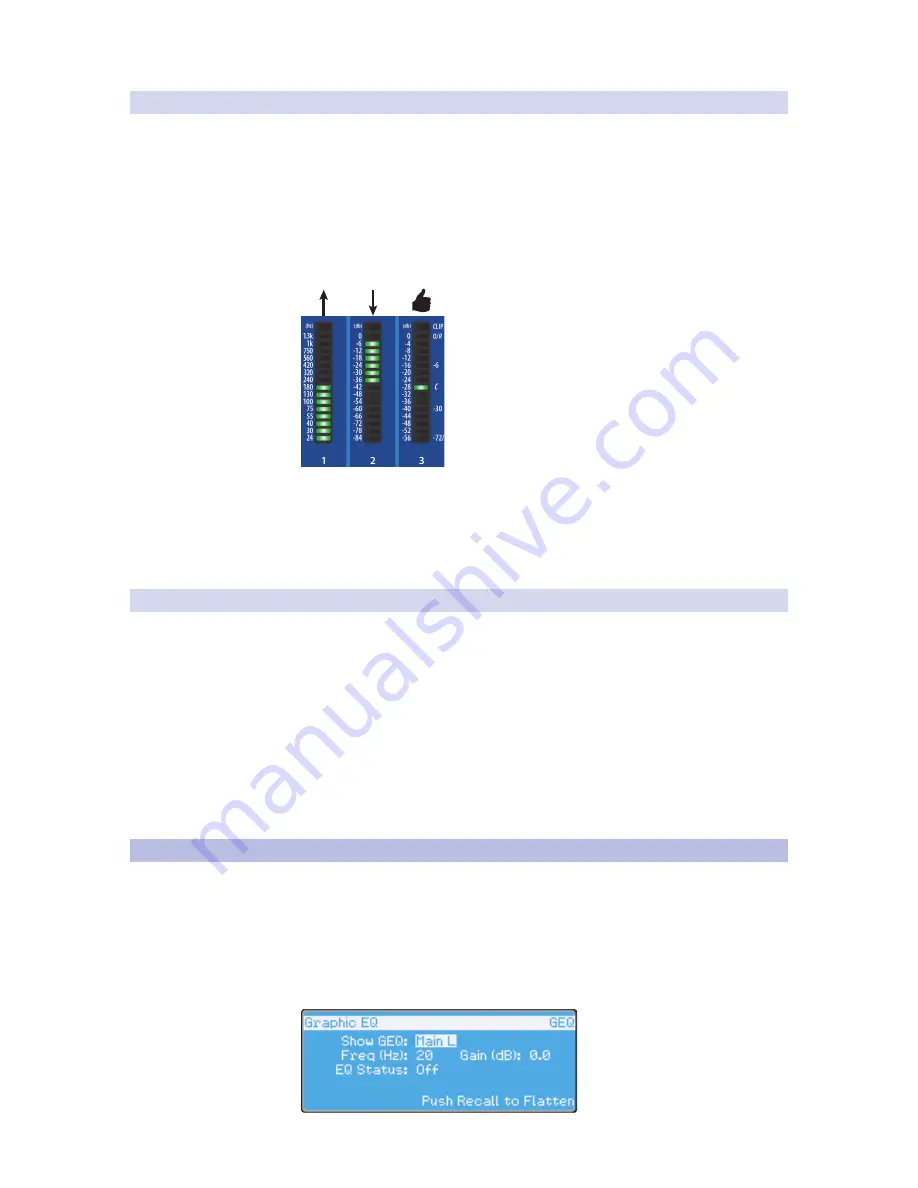
will automatically put the meters in Fader Locate mode after you press
the Recall button. The Fader Locate button will illuminate, and the meter
section of the Fat Channel will display the recalled fader position.
Move the faders up or down until only the center LED is illuminated in
each meter to recall the stored position. To recall the stored position of an
Aux or Main fader, simply move the fader. The meters will instantly flip to
display the stored position of each of the output faders. The same meters
that display the outputs are used for locate.
See Section 4.5 for details
.
Power User Tip:
While Fader Locate mode is active, the faders on your StudioLive will not
control level. The level of the audio passing through them will be set according to the
stored fader position, not the current location of the physical fader. Once you have
recalled each of the faders to their Scene location, press the Locate button again. This will
take you out of Fader Locate mode and reactivate your faders so that they control the
level of their channels and buses.
6.2.5
AutoStore
It is not necessary to create a Scene for your StudioLive to preserve its settings
when you power it down. Periodically, you will notice the Store button flash
once, indicating that the current settings on your StudioLive have been saved
to internal memory. The StudioLive will take a snapshot of the current position
of every parameter on the mixer whenever no changes have been made for ten
seconds. If you wish to ensure that your StudioLive will hold its current settings
before you power down, simply wait for a few seconds until the Store button
flashes. This is your indication that it is now safe to turn off your StudioLive. The
next time you turn it on, all of your settings will be recalled automatically.
Note:
If you make changes to a stored Scene, AutoStore will not save these changes as a
permanent part of the Scene. Any changes made to a Scene in the StudioLive’s library
must be saved using the Scene menu, as described in the first part of this section.
6.3
Graphic Equalizer
The StudioLive 16.0.2 USB features a 31-band, 1/3-octave graphic EQ that can
be inserted on the main output bus. A graphic EQ is a multiband equalizer
that uses sliders to adjust the amplitude for each frequency band. It gets its
name from the positions of the sliders, which graphically display the resulting
frequency-response curve. While the GEQ menu is active, the encoders in the
Fat Channel are used to make amplitude adjustments, and the meter LEDs
display the “slider” positions. The center frequency and bandwidth are fixed;
the level (amplitude) for each band is the only adjustable parameter.


