20
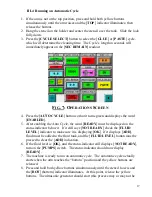
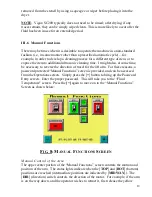
pushbuttons. Then access this screen and touch the [
DIR
] switch, which will
change position from [
Fwd
] to [
Rev
] or vice versa. Then depress the two yellow
pushbuttons again. The arm will then move in the opposite direction.
NOTE:
Automatic cycles can be run with this switch in either position.
Manual Control of the Ultrasonics
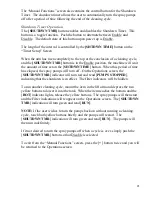
The [
ULTRASONICS
] button on this screen allows the operator to manually
alternate the control of the ultrasonics between [
ON
] and [
AUTO
]. The only
requirement is that there must be adequate fluid level in the tanks as sensed by the
level sensor in the overflow (front) tank. This button is a toggle; that is, press it
once to turn the ultrasonics [
ON
], and press it again to return the ultrasonics to
[
AUTO
].
CAUTION
: This button must be in [
AUTO
] when running Automatic
Cleaning Cycles. If it is left in the [
ON
] state, the automatic cycle cannot
control the generator and it will run continuously, potentially causi ng fluid
overheating.
If the fluid temperature reaches 115 F, the
[HIGH]
temperature indicator
will illuminate and the generator operation will cease. It will resume when
the temperature falls below 115 F. Therefore the fluid will remain at about
115 F until the ultrasonic generator is returned to [
AUTO
] and the fluid is
allowed to cool.
Do not leave the ultrasonics operating while unattended for extended
periods—this can lead to erosion of the item being cleaned, or ultimately the
premature erosion of the tank surfaces
.
Maintenance Mode
The
[MODE]
switch on this screen is provided for use primarily in draining the
machine. Usually, this switch is left in the [
Normal
] mode. For an explanation of
how to use this switch, see Section
IV.
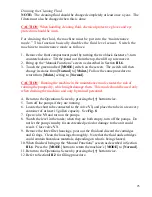
Setting the Time and Date
1.
Simultaneously depress the upper and lower LEFT corners of the screen. A panel will appear
offering a choice of language. Press the [
ENGLISH
] button. Another screen will appear with
a [
Clock
] button.
2.
Depress the [
Clock
] button. A screen will appear with a numeric keypad and buttons for Hr,
Min, Sec, Mon, Day and Yr.
NOTE
: The clock is set using 24-hour military-style time, where
1:00 PM is 13:00. It also displays the time in 24-hour format.
3.
Only the parameter(s) that need(s) changing have to be entered. For example, in switching
between daylight and standard time, you only need to enter the “Hr” parameter.
4.
Enter the new value on the keypad and depress the proper pushbutton. If the entered value is
out-of-range, a message will be displayed.
5.
When all the values are correct, depress the [
Exit
] key twice to return to the normal display.


