


PQube 3 Instruction Manual
Page 36 of 103
4.2
Initial Device Setup
Your PQube 3 will work right out of the box. Once your PQube 3 has been installed, connected to
the monitoring circuit, and powered on, it will begin recording data immediately. The default
settings will work for most applications, but if you have special requirements you may need to
change a few settings. Don’t worry, it’s an easy process.
4.2.1
Set the Date and Time
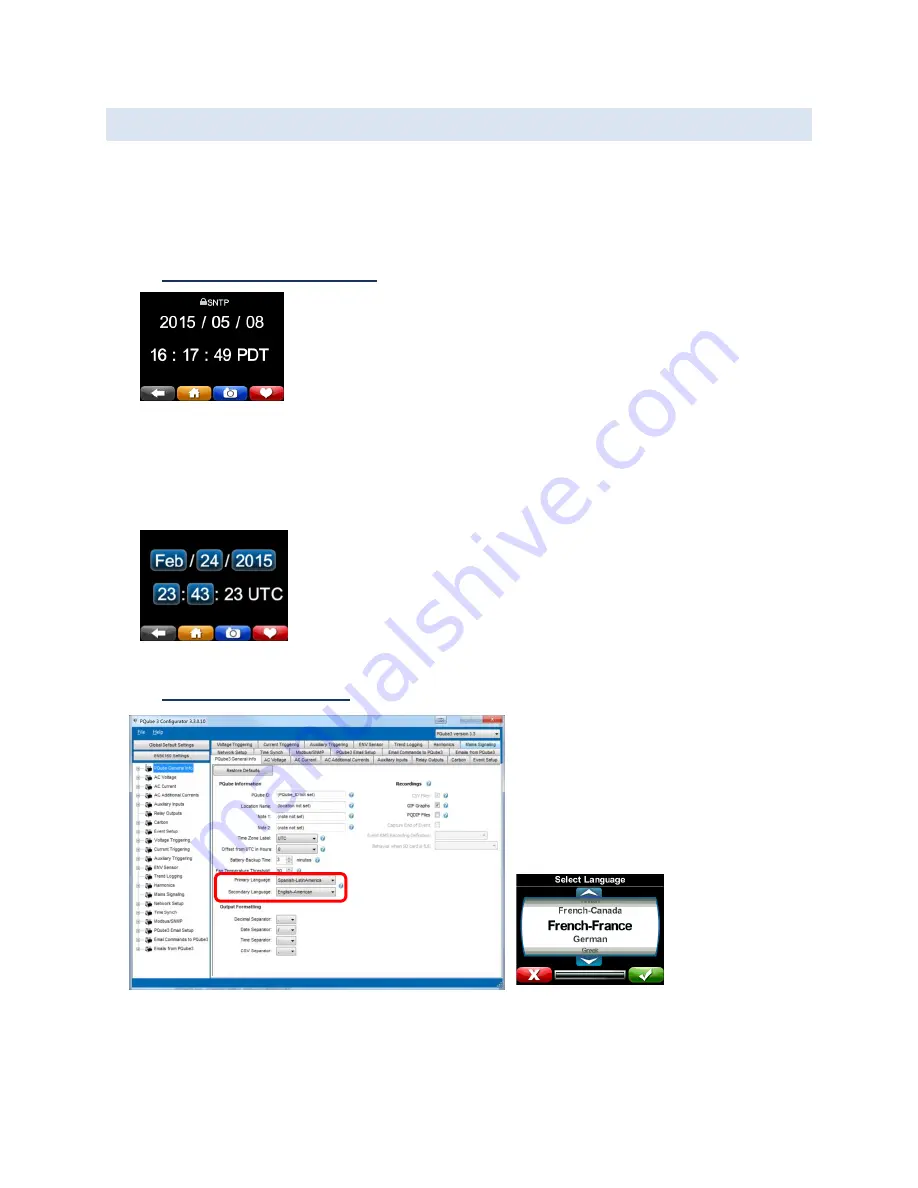
After your PQube 3 is installed and running, the first thing you need to do
is set the date and time. Setting the date and time is important because all
of the output files your PQube produces include a time stamp.
All PQubes are shipped from the factory synchronized to UTC time.
If your PQube 3 has an internet connection, you can configure it to synchronize to an SNTP or NTP
server in the Setup file.
If your PQube 3 is equipped with the MS1 and GPS1 modules, it will automatically synchronize its
clock to GPS time.
If your PQube 3 does not have GPS and is not configured for SNTP or NTP,
you can manually set the time using the controls on the display.
4.2.2
Set Your Languages
Specify a primary language and
secondary language in your Setup file.
Events and trends will be generated
using both languages.
You can also choose which language
shows up on the display from the
Languages screen on the display.
Shop for Power Metering products online at:
1.877.766.5412
www.
PowerMeterStore
.ca


