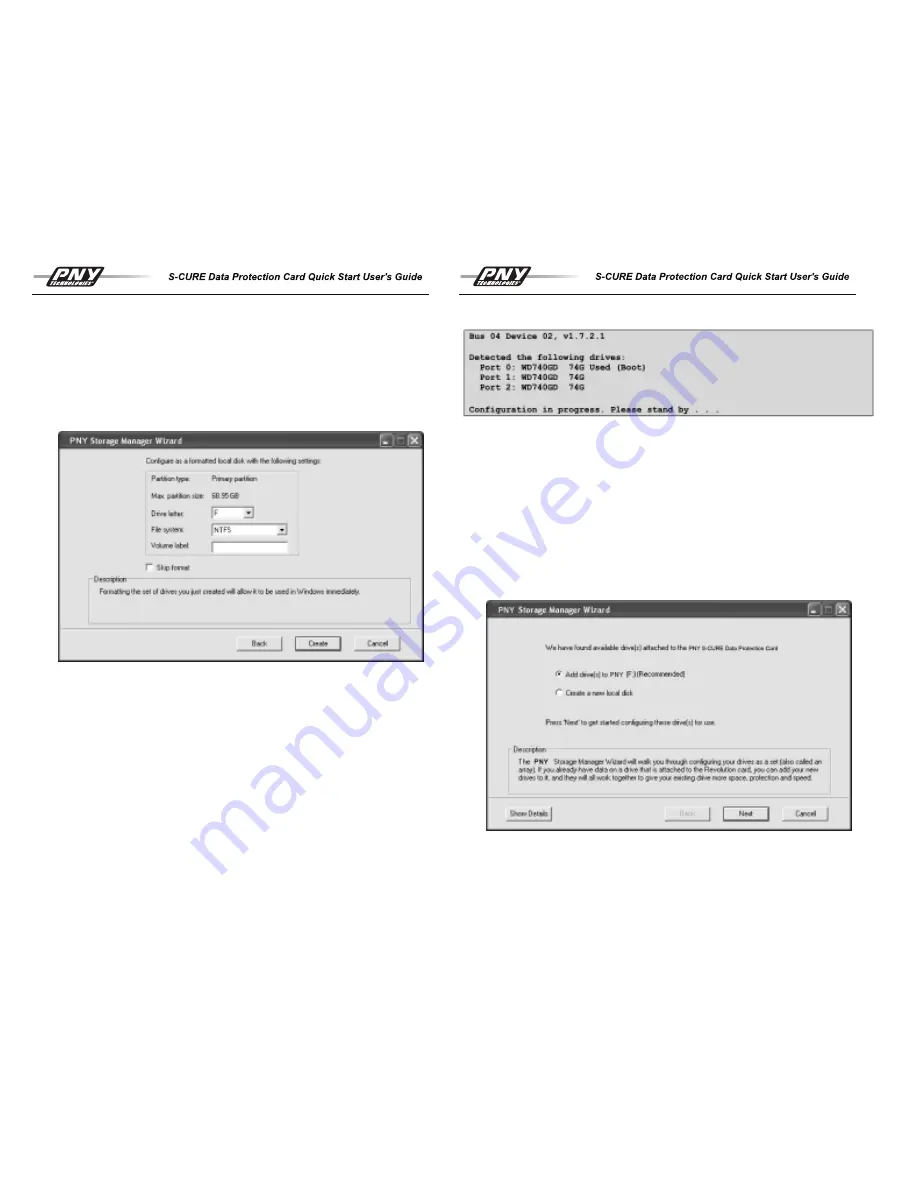
Step 2: Install Storage Manager
Insert the Installation CD into your CD tray. The installer should auto launch. Follow the
prompts to install the Storage Manager. The installer will then prompt you to restart your
computer.
Step 3: Format drives
After your computer restarts, the Storage Manager will auto launch a wizard that will help
you format your new array.
Transforming Your Current Drive
The software that comes with your Storage Manager includes a Data Migration feature
that allows you to take your current hard drive and transform it into an array.
Step 1: Attach current data drive
To use this feature, first ensure that the data or boot hard drive you want to migrate into
an array is attached to the storage processing card (Port 0), and that the additional blank
hard drives you will use to make the array are also attached.
Step 2: Auto Configuration
After you attach the hard drives and first power up the computer, The Storage BIOS will
automatically recognize the data drive and configure it so it can be used.
PNY
5
Step 2: Install Storage Manager
Insert the Installation CD into your CD tray. The installer should auto launch. Follow the
prompts to install the Storage Manager. The installer will then prompt you to restart your
computer.
Step 3: Storage Manager Wizard
After you reboot your computer, the storage manager will automatically detect that there
are new drives attached to the card, and will launch a wizard to help you configure these
drives.
First, select whether you want to make a new array out of your hard drives, or add the
new drives to a drive that already has data on the card, and make them all work together.
The next screen lets you select which drives you want to add to your current drive. You
can select and deselect drives on the left, and see which option best matches your
needs. The recommended option is selected by default.
6
Содержание S-Cure
Страница 1: ......


