c.
Power Down and Swap Drive (cold swap): If your drives are not accessible or
you are required to power off in order to replace it, use this option (recommend
ed for all drives unless indicated as hot plug capable and contained within an
enclosure that supports hot plug). You will be prompted to shutdown the system
and replace the drive.
d.
Hot Swap Drive: You will be prompted to remove the current drive and
replace it with a compatible drive (only used if the drive supports hot
swap).
4.
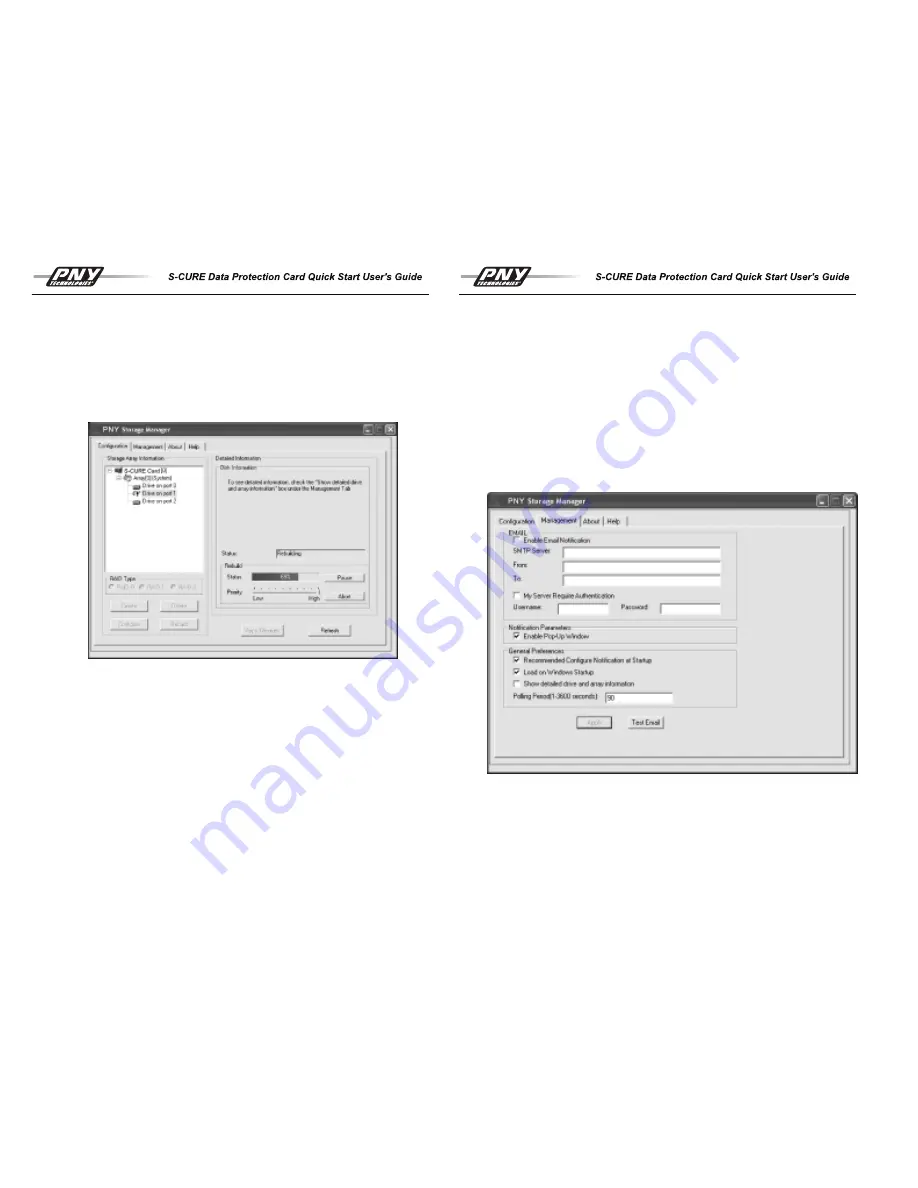
In each case, clicking on Rebuild will cause the newly replaced drive to be
rebuilt with data from the existing good drive(s) in the array. While rebuilding, the
array can be fully utilized by the system. The status and progress of the rebuild
can be viewed by selecting either the array or drive. The PNY Storage
Manager application does not need to be open for rebuild to continue to comple
tion. In addition, the PC may also be powered off if necessary. The rebuild will
resume once the system is powered back on.
5.
Rebuild times can be reasonably long, especially with the larger disk drives.
During rebuild, several specialized function buttons are available:
a. Pause – allows the process to be temporarily paused. This is useful
if you need to obtain maximum performance from the system and want to
delay the rebuild for a while. The pause button changes to a “Resume”
button to restart the process.
b. Abort – aborts the rebuild process and resets back to the unprotected
failed drive state for restart or total reconfiguration.
17
c.
Priority slider – dictates the level of priority the S-CURE™ Data Protection
card gives to the rebuild. The slider bar may be dragged by clicking on it with
the mouse and moving it while holding the left mouse button down. Rebuild
priority is high by default which can degrade performance of the array. Setting
low priority frees resources but may take much longer to complete the rebuild.
d.
Skip Error/Resume – allows the user to skip an error and continue with rebuild.
The errors during rebuild are commonly from reading unused areas of the good
drives, may have nothing to do with the failed drive. These errors can be
skipped in order to complete a rebuild. After the rebuild is completed, user must
check the EC (Error Count) by clicking on individual drive to assess the health of
an individual drive, high count warrants replacement of that particular drive.
Management Options
The application provides two primary options for notifying the user of a drive failure as
summarized in the rebuild section. These include a simple pop up window and an email
notification. These may be set up under the Management tab of the application as shown
on the right.
Important:
The monitoring options are only in effect while the application is running.
18
Содержание S-Cure
Страница 1: ......


