


6
Saving the screen
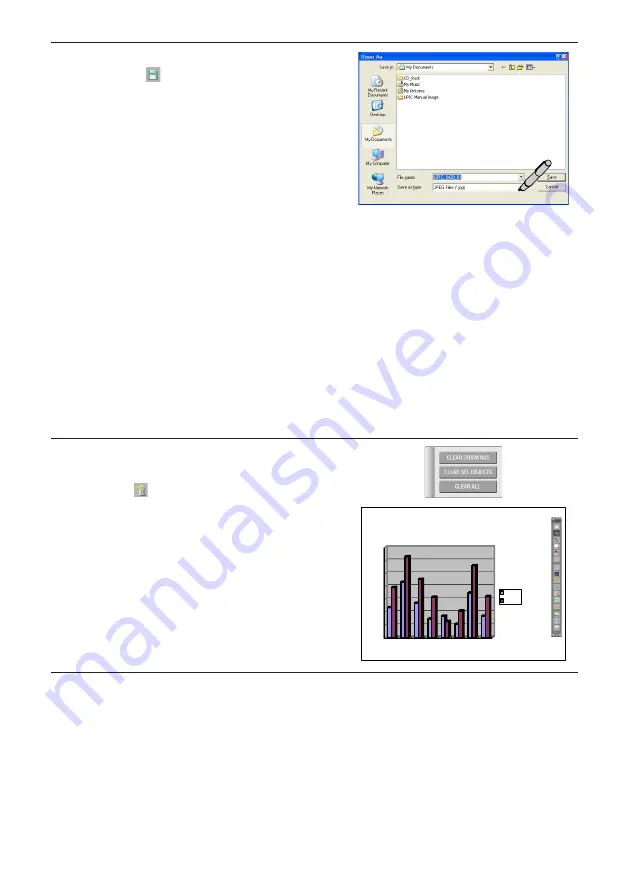
1) Click the
[Save] icon on the toolbar to display
the “Save as” window.
2) Select “Save to”, and select the file type.
• The TAD format (“.tad”) can only be selected
when in the white screen mode. Files in this
format can be opened with the “Open” com-
mand and edited with UPIC Touch&Draw.
(TAD is a file format unique to UPIC
Touch&Draw.)
• When “.jpg”, “.bmp”, “.png” or “.tif” is select-
ed, the image saved is a combination of the
image in the drawing area and the Windows
screen. Files in these formats can be loaded
into other applications as image data.
• The file name is input automatically as follows:
“[product name] + [date] + [serial number].
xxx” (“xxx” being the extension for the select-
ed file format).
We recommend changing the file names on
the computer after quitting UPIC Touch&Draw
to names that are more easily recognizable.
3) Click “Save”.
7
To conduct a new presentation at this
point, first clear the drawing area.
Click the [Delete] icon on the toolbar, then from
the “Delete Menu” window click “All” to delete all
the data.
* To cancel without deleting, click anywhere out-
side the “Delete Menu” window before clicking
“All”.
To continue, repeat operations 1 to 6.
8
Ending the presentation
See “Quitting UPIC Touch&Draw” on page 28.
0
1000
2000
3000
4000
5000
6000
7000
Office A
Office C
Office E
Office G
Amount
Sales
National Sales Figures
Содержание UPIC-56M
Страница 43: ...24 4512 09A 2009 PLUS Vision Corp...


