16
BRL-04EX
15
BRL-04EX
The B RL-04EX' management int erface features a Setup, a St at us and a
Tools section. Use the Setup if you want to quickly setup the BRL-04EX for
use with a cable modem or DSL modem.
Setup supports more advanced functi ons like IP address filt ering, virtual
server setup, virtual DMZ hosts, as well as other advanced functions.
Making Configuration Changes
Configurab le parameters have a dialog box or a drop-down list . Once a
configuration change has been made on a page, be sure to click the "Enter"
or "Next" button at the bottom of the page to enable the new setting.
Note:
To ensure proper screen refresh after a command entry, be sure that Internet
Explorer 5.0 is configu red as follo ws : Under t he m enu " To o l s / I n t e r n e t
Options/General/Temporary Internet Files/Settings," the setting for "Check
for newer versions of stored pages" should be "Every visit to the page."
The BRL-04EX setup will allow you to configure your BRL-04EX for use
with the cable or DSL modem. Click on the navigation menu on the left to
ch an ge in di vid ual s ett in gs. Be s ure to cl ick E NTER aft er you have
completed your settings on each page.
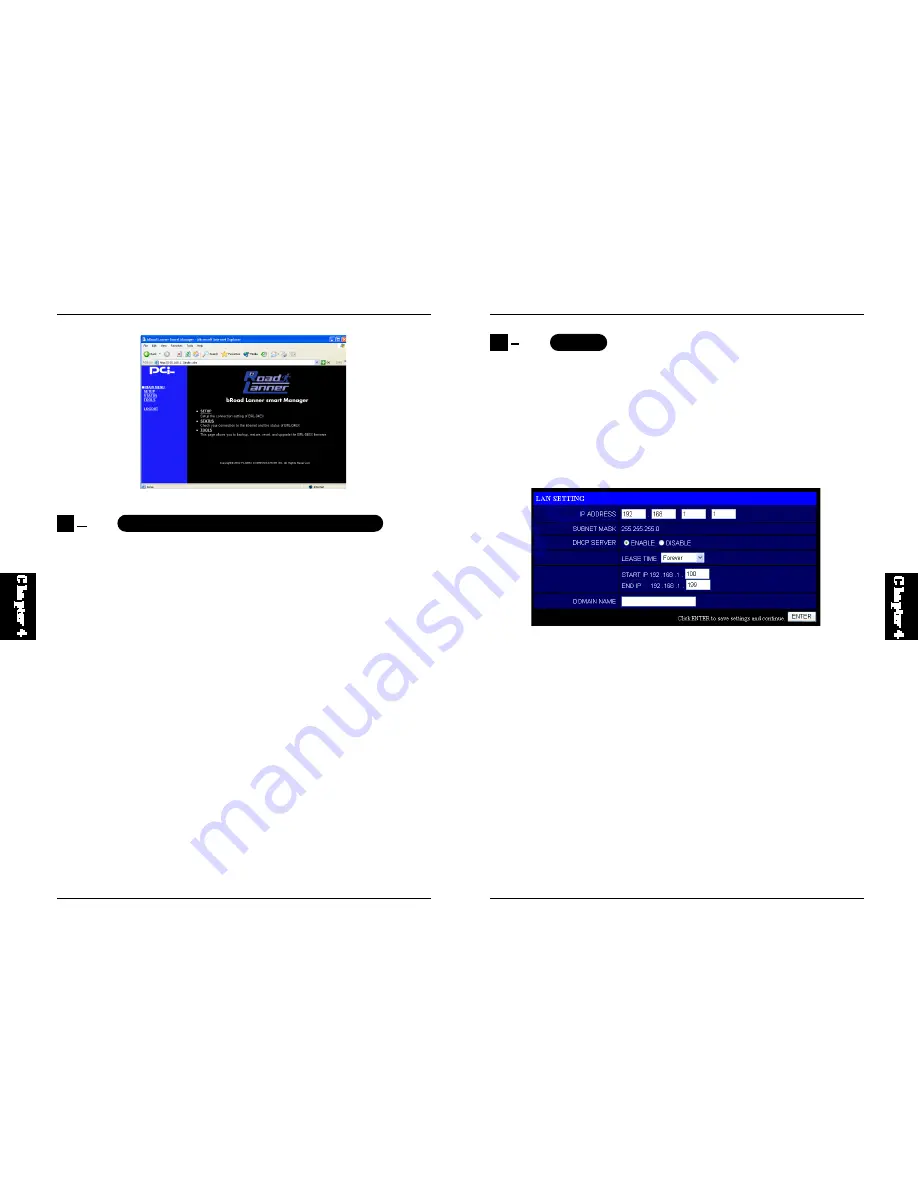
LAN Setting
Use the LAN menu to configure the LAN IP address for the BRL-04EX and
to enable the DHCP server for dynamic client address allocation.
Set a period for the lease time if required. For home networks this may be
set to "Forever", which means there is no time limit on the IP address lease.
A dynamic IP start address may be specified by the user, e.g. 192.168.1.100
(default value). Once this start IP address has been assigned, IP addresses
running from 192.168.1.100 to 192.168.1.199 will be part of the dynamic IP
ad dres s p ool . I P ad dres ses from 192 .1 68. 1. 2 t o 19 2. 168 .1 .99 , an d
192.168.1.200 to 192.168.1.254 will be available as static IP addresses.
Remember not to include the address of the BRL-04EX in the client address
pool. Also remember to configure your client PCs for dynamic IP address
allocation.
4
1
Navigating the Web Browser Interface
4
2
Setup


