Chapter 2
PB731P/PB731I
User’s Manual
Installation and Setup
5
2.2.2 Through Wi-Fi Protected Setup (WPS)
To connect the Camera in wireless mode, you need to have a Wi-Fi router with
WPS button.
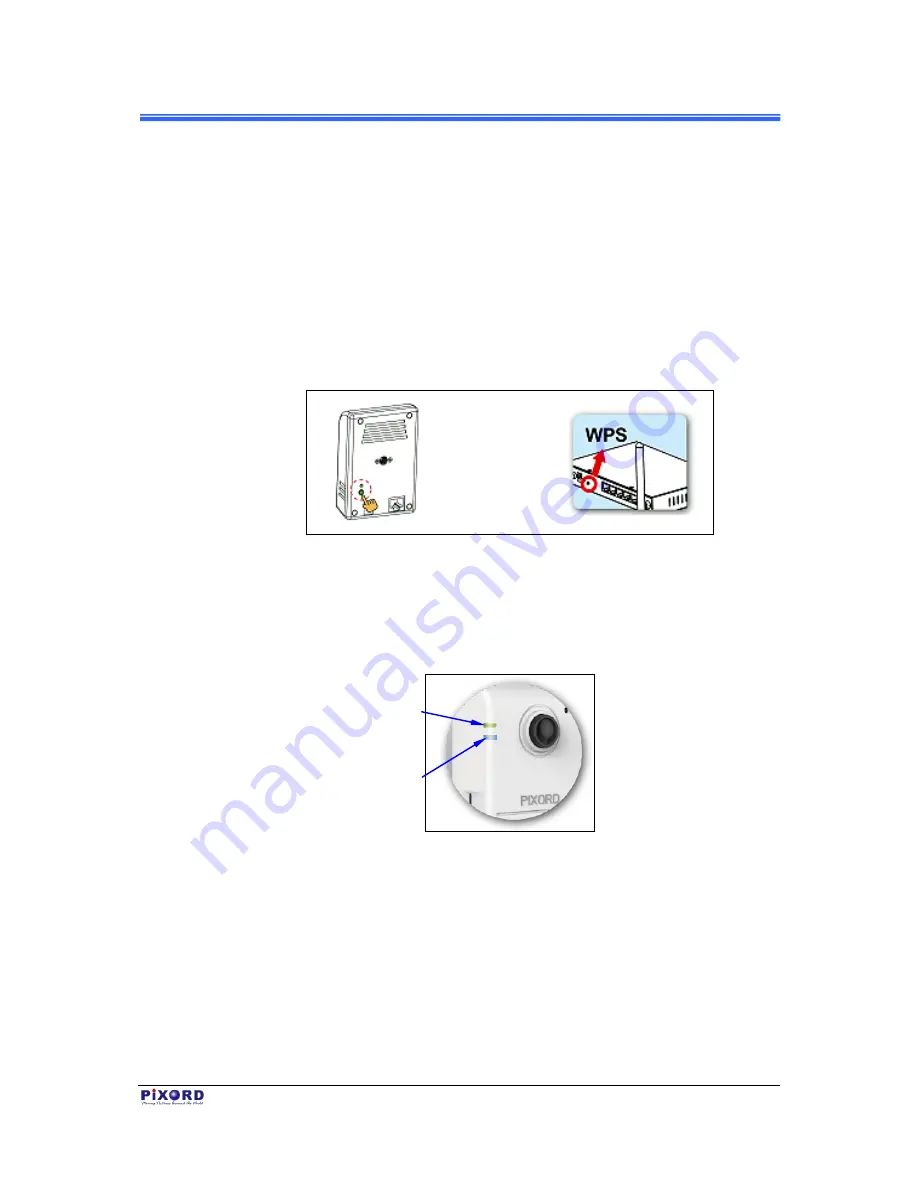
1. With Camera power connected and switched on, press and hold the WPS
button (at the back of the Camera) for 3 to 4 seconds and then release button.
The Wireless LED Indicator (lower LED) will then start to flash and keep on
flashing in blue once every second.
2. Within one minute, press the Wi-Fi router WPS button to interface with the
Camera.
Figure 2-4 WPS Buttons on Both Camera & Wi-Fi Router
3. When successful connection is established between Camera and Wi-FI
Router, the lower LED Indicator will then stabilize and lights up in blue
while the upper LED remains lit in green. Then proceed to start iPIXORD
registration and binding process as discussed in Chapter 3.
Figure 2-5 Wireless LED (Lower LED) Indicator
If the LED does not turn steadily in blue, refer to the “Installation Guide
Wizard” application program in the CD which will further guide you in detail on
how to properly setup your Camera for Internet Wi-Fi connection.
With wireless setup, the
Power/Network LED Indicator
should remain light up in green
When the Camera is successfully
connected to Wi-Fi, the Wireless
LED Indicator stops flashing & lights
up steadily in blue
Содержание PB731I
Страница 1: ...PB731P PB731I Wi Fi Network Camera Getting Started Handbook Version 1 21 PiXORD Corporation May 2013...
Страница 12: ...Chapter 2 6 Installation and Setup PB731P PB731I User s Manual...
Страница 35: ...PB731P PB731I Wi Fi Network Camera Webpage Setting User s Guide Version 1 01 PiXORD Corporation June 2013...


