Chapter 2
4
Installation and Setup
PB731P/PB731I
User’s Manual
1. Prepare a smartphone/tablet or PC/notebook/ultrabook with Ethernet link to
the network.
2. When PC/notebook/ultrabook is used, connect the LAN port of the device to
the network router with an RJ45 network cable (
).
NOTE
If you are going to use smartphone/tablet as monitoring device the
PC/notebook/ultrabook is required only to set up your camera with the
“Installation Guide Wizard” program from the CD (included in the
camera package).
3. Plug the DC power jack of the power adaptor (
) to Camera and connect
the power adaptor to power outlet (110V or 220V).
4. Connect the network router to the LAN port of Camera with an RJ45
network cable (
).
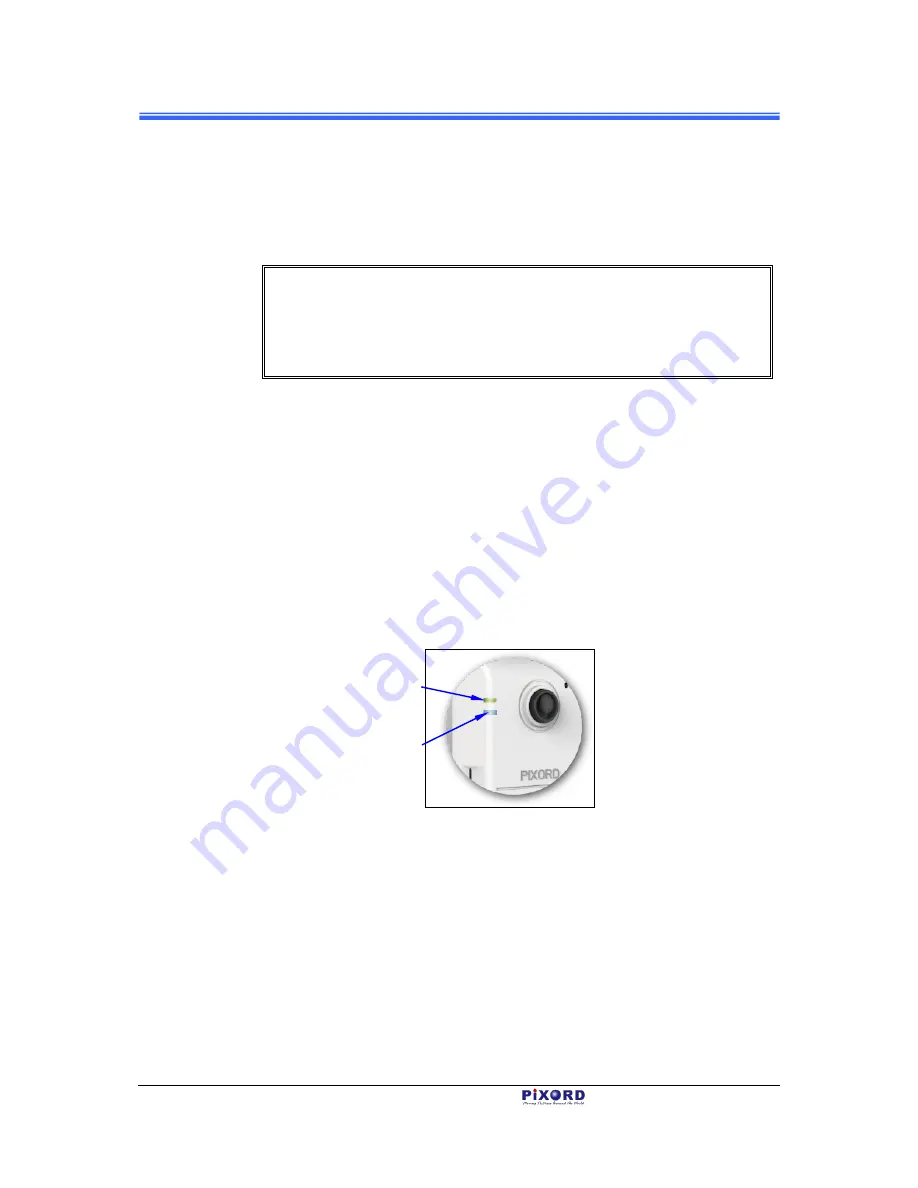
5. With power switched on, check the status of the two LEDs at the left corner
of camera:
If the Power/Network indicator (upper LED) turns into green color, it
confirms that the Camera has successfully linked with the Internet. Then
proceed to start iPIXORD registration and binding process as discussed in
Chapter 3.
Figure 2-3 Power/Network (Upper LED) & Wireless LED (Lower LED) Indicators
If the upper LED does not turn green, refer to the “Installation Guide Wizard”
application program in the CD which will further guide you in detail on how to
properly setup your camera for Internet connection.
Power/Network LED Indicator
should light up in green to indicate
successful link to the Internet
Wireless LED Indicator
(see Section 2.2.2 below)
Содержание PB731I
Страница 1: ...PB731P PB731I Wi Fi Network Camera Getting Started Handbook Version 1 21 PiXORD Corporation May 2013...
Страница 12: ...Chapter 2 6 Installation and Setup PB731P PB731I User s Manual...
Страница 35: ...PB731P PB731I Wi Fi Network Camera Webpage Setting User s Guide Version 1 01 PiXORD Corporation June 2013...


