p
Pictures up to a maximum of 2 592 x 1 944
pixels can be used. We cannot guarantee
proper operation for a picture bigger than
this size.
p
After changing a set image that was im-
ported from a CD-R (-RW), you must use
the CD-R (-RW) where the image is re-
corded to restore the previous Splash
Screen.
Precautions when changing the
Splash Screen
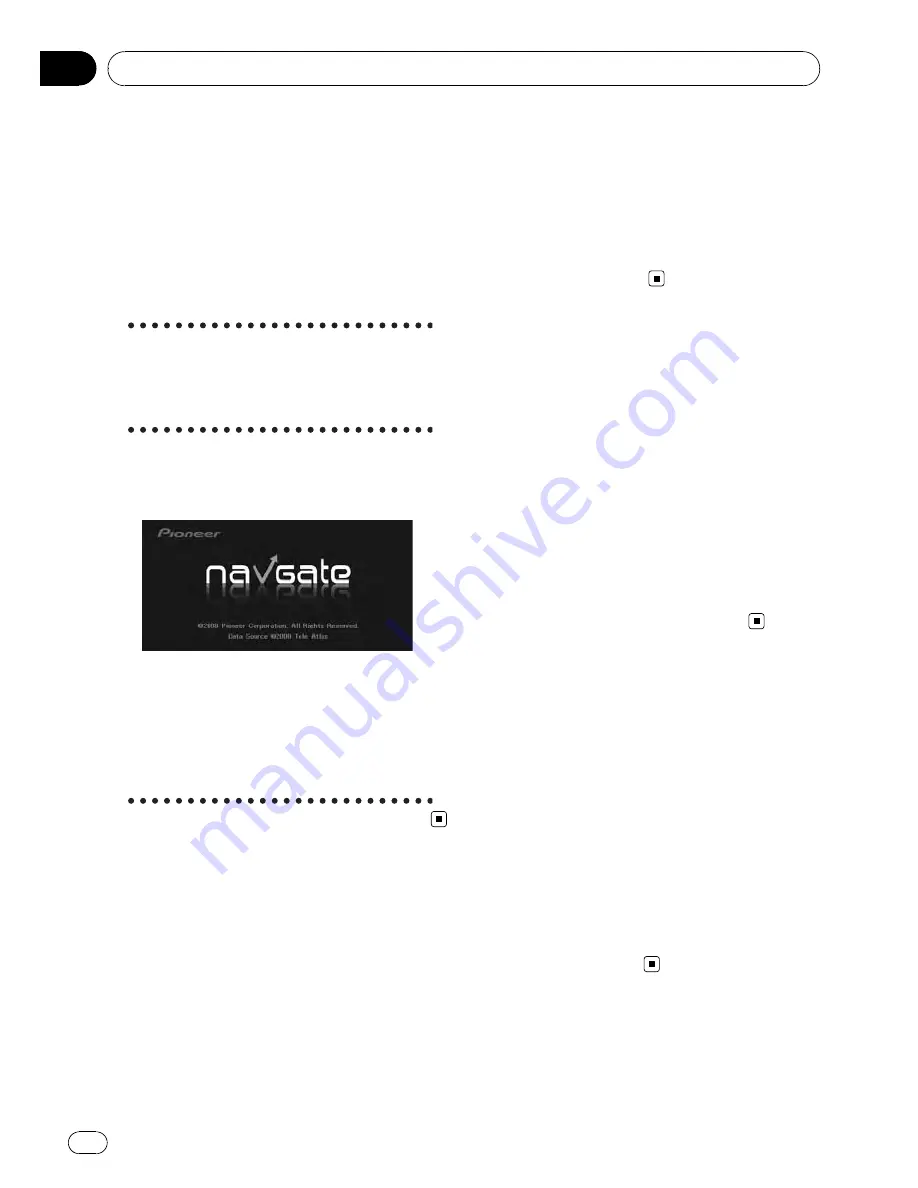
The following is the default Splash Screen for
the Navigation System.
[
PIONEER Original
]
If an image other than the one shown above is
previously set (such as an image from the
dealer or other source) and you change the
Splash Screen once, you must use the CD-R (-
RW) where the image is recorded to restore
the previous Splash Screen.
Using the Demonstration
Guidance
This is a demonstration function for shops.
After a route is set, the simulation of the route
guidance to a destination is automatically dis-
played. Normally, set this to [
Off
].
1
Touch [Settings] in the navigation
menu.
2
Touch [Demo Mode] to change the set-
ting.
Each time you touch the key changes that set-
ting.
[
On
]:
Repeat demo drive.
[
Off
] (default):
Demo Mode
is set off.
Correcting the Current
Location
Touch the screen to adjust the current position
and direction of the vehicle displayed on the
map.
1
Touch [Settings] in the navigation
menu, then touch [Modify Current Loca-
tion].
2
Scroll to the position where you want
to set, then touch [OK].
3
Touch the arrow key on the screen to
set the direction, then touch [OK].
Restoring the Default Setting
Resets various settings registered to the navi-
gation system and restores to the default or
factory settings.
1
Touch [Settings] in the navigation
menu, then touch [Restore Factory Set-
tings].
2
Touch [Yes] to clear the current setting.
p
Touch [
No
] to cancel clear the current set-
ting.
=
For details, refer to
Returning the Naviga-
tion System to the Default or Factory Set-
tings
on page 168
Modifying the General Settings for Navigation Functions
Engb
84
Chapter
10


