Repair
3A0441A
27
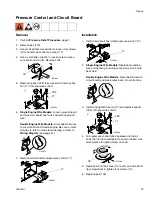
Installation
1.
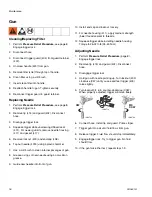
Loosen the packing nut and ensure that the piston
rod (517) is in its upper position in the fluid pump
body. Slip the sleeve (206) and the retaining ring
(203) over the piston rod.
2.
Push the piston rod up into the connecting rod (199)
and align the holes. Insert the connecting rod pin
(214) through the connecting rod and piston.
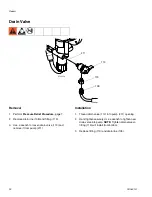
3.
Slip the sleeve over the connecting rod pin and
insert the retaining ring into the groove on the con-
necting rod.
4.
Push the two bolts (128) through the tube spacers
(204) and screw them into cover assembly (210).
Use a torque wrench to tighten two bolts evenly
(alternating between them) to 20 ft-lb.
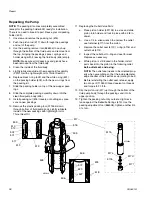
5.
Reattach hose fittings and drain valve (113). Use
plumbers tape around threads to ensure a good
seal.
6.
Reassemble the lower suction valve assembly by
placing the suction seat assembly (o-ring, seat, suc-
tion ball, and suction ball guide) in the suction nut
and screw onto the pump body.
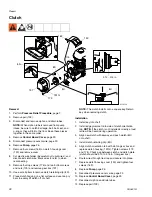
7.
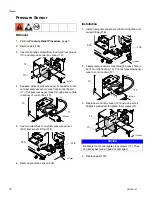
On pumps with electronic pressure control, recon-
nect the sensor to the pump body (211). Hold the
sensor with a wrench while tightening the swivel fit-
ting (216) with an additional wrench.
8.
Start striper and operate slowly to check piston rod
for binding. Readjust the two bolts to eliminate bind-
ing if necessary.
9.
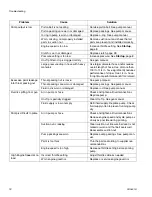
Tighten packing nut until slight resistance is felt
against the belleville spring (these springs retain
internal tension against the packings), then tighten
an additional 3/4 turn. Place five drops of Throat
Seal Oil into the packing nut.
10. Run the striper at full pressure for several minutes.
Perform Pressure Relief Procedure, see page 8,
and readjust the packing nut (see step 8).
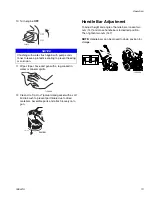
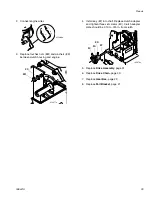
11. Install connecting rod shield so that the small hole is
in the upper right hand corner.
ti15397a
ti15396a
ti15400a
ti15401a
NOTICE
Do not turn the sensor. The cable will become damaged.
ti15399a
ti15394a
ti15395a
Содержание Brite Stripper 3000SP
Страница 46: ...Notes 46 3A0441A Notes ...
Страница 47: ...Notes 3A0441A 47 Notes ...

