In each category, highlight the data point(s) you want to use and then click on the top
button in the middle column to move your choices to the “Selected data points” list on the
right. If you make a mistake, you can highlight the data point you don’t want and click the
middle button to remove it from the list.If you decide you are not happy with the list, you can
erase it completely to start from scratch by clicking the bottom of the three buttons.
Once you have the list assembled, you can rearrange the order of the data points by clicking on
the four arrows to the right. The top and bottom arrows will move the selected data points to
the top or bottom of the list respectively. The middle two buttons will move them up or down
one level.
Linking Custom Voice messages to Data Points
Click on the first data point in the righthand list and a new area called Voice Status Item,
containing two boxes, will appear on the bottom of the Status UAFs screen. To the left is a
checkbox marked “Use custom voice message.” Check this box if you want to use one of the
user-recordable messages as part of the status message for this data point. If you check it, then
either scroll through or type in the appropriate number for the “Custom Voice Number” on
the right.
Go to the next data point in the list you want to link with a custom message, and repeat the
process, until you have set all of your data points and their messages.
When you have the list compiled, click on the
Commit
button.
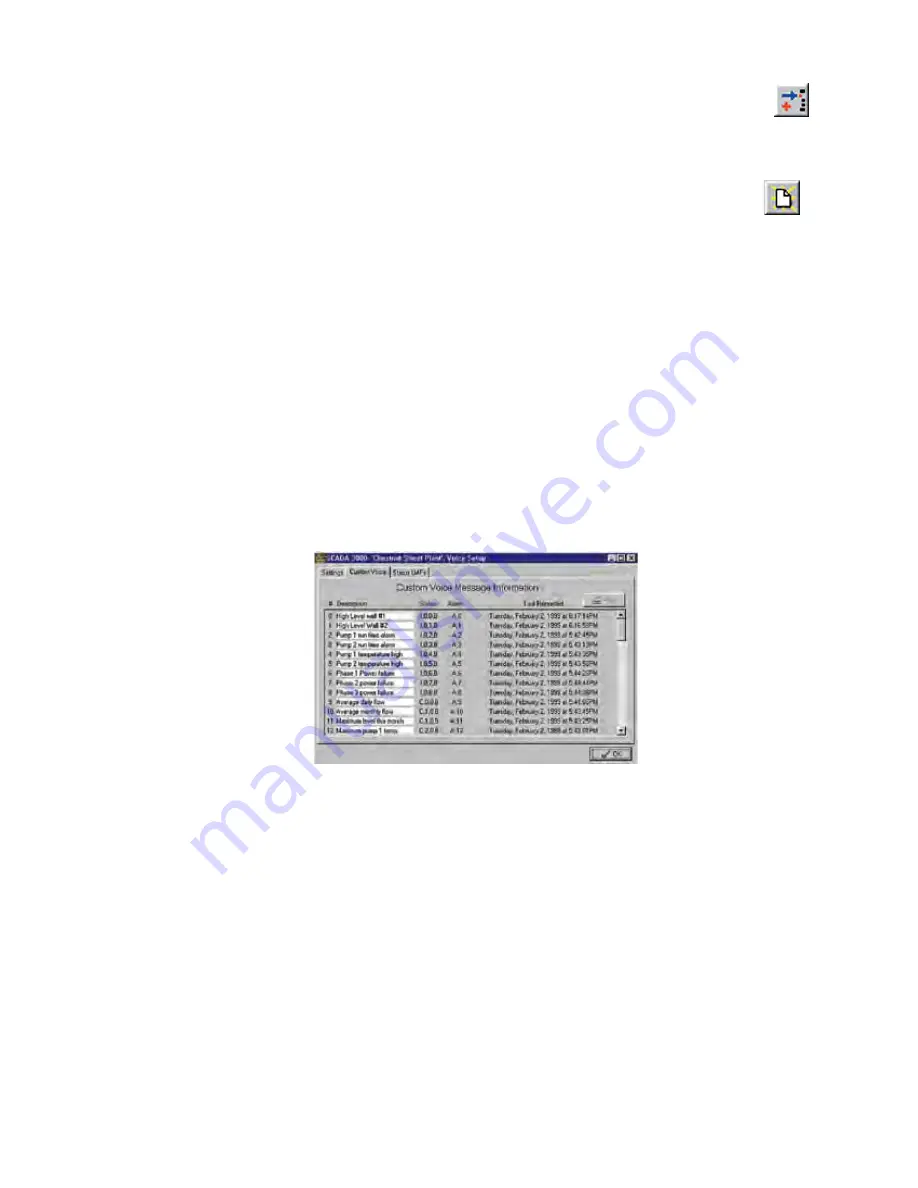
Next click on the Custom Voice tab to bring up the Custom Voice Message Information screen.
Figure 6: Custom Voice Tab
This list is generated automatically from the custom messages you have assigned on the Status
UAFs screen and from the Alarm Notification screen. Up to 64 messages can be listed here,
from 0–63.
Note
: Message #64 (or message #32 if you choose the 32 messages option) is the
recordable ID Message that the SCADA 3000 recites at the beginning of any sta-
tus report to identify the RTU.
Type in a brief description for each one to identify status/alarm messages in order to help you
record them. Thus, Description 0 might read "Refrigeration Unit One," and Description 1
might be "One-hour average temperature", a C-program calculation. Once you've typed in
the list of messages in order, you can print this list and use it as your guide for the next step—
recording your custom messages.
What you type here does not have to match verbatim what you plan to say—it’s merely a means
of noting what the message represents.
Once you have your list, then record your custom messages.
11-9
Chapter 11: Programming for Phone Line Applications
Содержание Sensaphone SCADA 3000
Страница 1: ...Sensaphone SCADA 3000 User s Manual Version 2 34...
Страница 6: ...vi SCADA 3000 User s Manual...
Страница 10: ...x SCADA 3000 User s Manual...
Страница 30: ...1 6 SCADA 3000 User s Manual...
Страница 48: ...4 6 SCADA 3000 User s Manual...
Страница 70: ...9 8 SCADA 3000 User s Manual...
Страница 122: ...12 8 SCADA 3000 User s Manual...
Страница 190: ...15 30 SCADA 3000 User s Manual...
Страница 211: ...lead 1 lag 0 else lead 0 lag 1 16 21 Chapter 16 Programming in C...
Страница 212: ...16 22 SCADA 3000 User s Manual...
Страница 236: ...21 8 SCADA 3000 User s Manual...
Страница 248: ...22 12 SCADA 3000 User s Manual...
Страница 258: ...23 10 SCADA 3000 User s Manual...
Страница 274: ...25 8 SCADA 3000 User s Manual...
Страница 288: ...27 8 SCADA 3000 User s Manual...
Страница 294: ...28 6 SCADA 3000 User s Manual...
Страница 296: ...A 2 SCADA 3000 User s Manual...
Страница 302: ...D 2 SCADA 3000 User s Manual...
Страница 318: ...I 2 SCADA 3000 User s Manual...
Страница 320: ...J 2 SCADA 3000 User s Manual...
Страница 322: ...K 2 SCADA 3000 User s Manual...
Страница 335: ...Test Log...
Страница 336: ......


