Chapter 14: ReAL-TIme SCReeN DeSIGN
Summary
The Real-time Screen feature allows you to design a graphical representation of your process
and have your I/O values display on the screen in real time. Several sample screens are included
to give you some ideas and to demonstrate the various features of the software. Building your
own real-time screen requires two steps:
1. Creating the screen using the real-time screen designer
2. Running the screen that actually logs into the selected units on the screen and begins updat-
ing the I/O points in real time.
eDITING
To run the Real-time Screen Designer, click
Real-time
on the Control Center menu bar. From
the pulldown menu, select
Editor
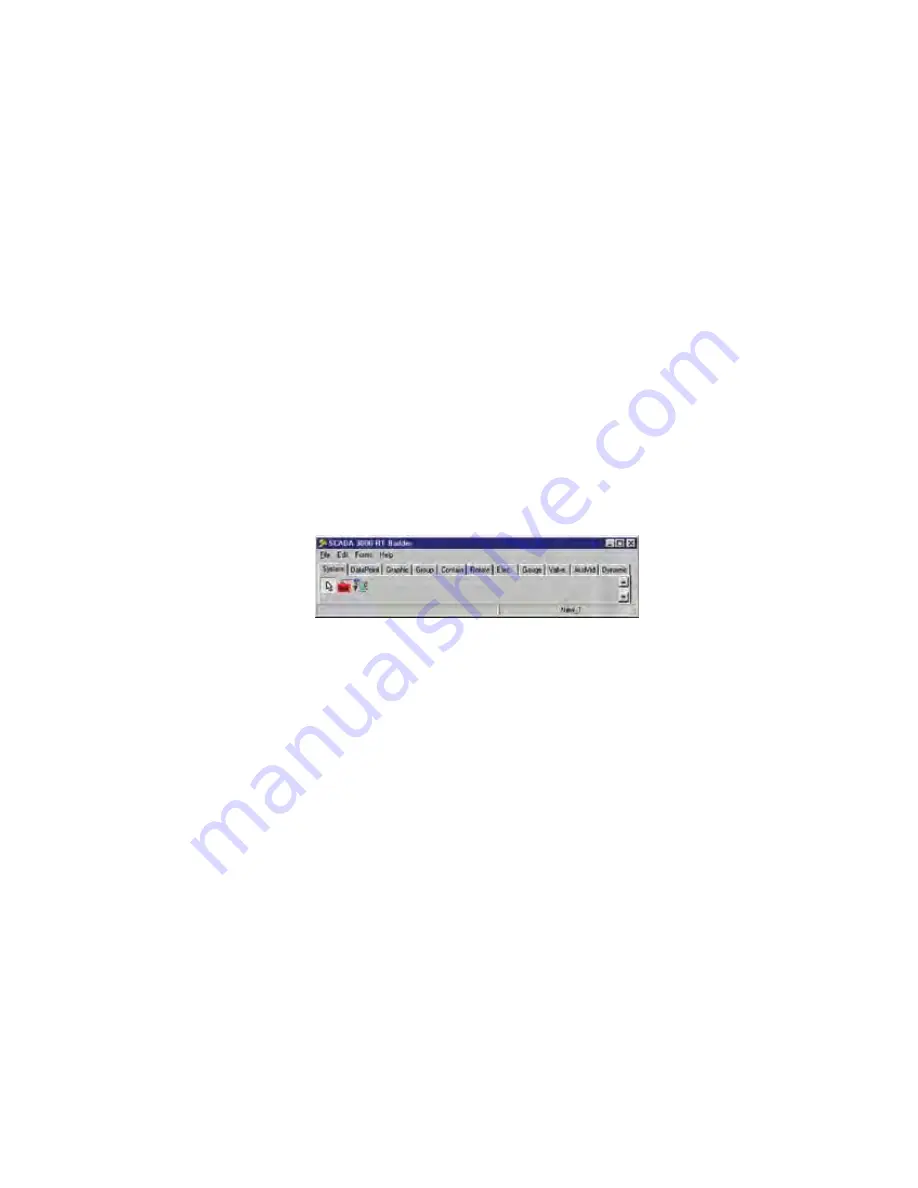
. This will bring up the Real-time Screen design menu, the
RT Builder. From its menu bar, select
File
, and then
New
to start designing a new screen.
Figure 1: RT Builder form
Note
: The R.T. button on the toolbar will open Real-time in Run mode only,
which requires you to have a real-time program already designed.
In general, you will select items from the main RT Builder tabs and click-drop them onto the
palette, then program properties for each one.
Note
: There are two ways to place an object on the palette. You can simply double
click on it where it appears in the tabs and it will drop onto a default position on
the palette, or you can click once on an icon to select it and then click once on
the palette where you want it to appear.
The RT Builder toolbar contains 11 tabs: Data, Grouping, Graphics, DataPoint, Electrical,
Rotating, Container, Valves, Gauges, AudVid, DynComponents.
Once you choose New, two forms will appear on your screen. The first of these is your Palette.
This is the platform on which you actually paste in and assemble the graphical elements of your
real-time screen. In editing mode, this is defined by a grid, which disappears in run mode.
Sizing the Palette
You can adjust the size of the palette in design or run mode by dragging the edge of the form
to the desired height, width and position; alternatively, you can specify the size of the palette in
the palette properties menu. To maximize the palette screen, double-click on the bar at the top
of the palette.
14-1
Содержание Sensaphone SCADA 3000
Страница 1: ...Sensaphone SCADA 3000 User s Manual Version 2 34...
Страница 6: ...vi SCADA 3000 User s Manual...
Страница 10: ...x SCADA 3000 User s Manual...
Страница 30: ...1 6 SCADA 3000 User s Manual...
Страница 48: ...4 6 SCADA 3000 User s Manual...
Страница 70: ...9 8 SCADA 3000 User s Manual...
Страница 122: ...12 8 SCADA 3000 User s Manual...
Страница 190: ...15 30 SCADA 3000 User s Manual...
Страница 211: ...lead 1 lag 0 else lead 0 lag 1 16 21 Chapter 16 Programming in C...
Страница 212: ...16 22 SCADA 3000 User s Manual...
Страница 236: ...21 8 SCADA 3000 User s Manual...
Страница 248: ...22 12 SCADA 3000 User s Manual...
Страница 258: ...23 10 SCADA 3000 User s Manual...
Страница 274: ...25 8 SCADA 3000 User s Manual...
Страница 288: ...27 8 SCADA 3000 User s Manual...
Страница 294: ...28 6 SCADA 3000 User s Manual...
Страница 296: ...A 2 SCADA 3000 User s Manual...
Страница 302: ...D 2 SCADA 3000 User s Manual...
Страница 318: ...I 2 SCADA 3000 User s Manual...
Страница 320: ...J 2 SCADA 3000 User s Manual...
Страница 322: ...K 2 SCADA 3000 User s Manual...
Страница 335: ...Test Log...
Страница 336: ......


