29
To select another track, repeat step
6.
To select all tracks, select
[Select
All]
in the menu and press
OK
.
To deselect all tracks, select
[Deselect all]
in the menu and press
OK
.
7
Select
[Start]
in the menu to convert,
then press
OK
.
Once complete, a new folder is
created automatically in the USB
device to store all the new MP3 files.
To exit the menu, select
[Exit]
and
press
OK
.
Note
While you convert, do not press any buttons.
DTS CDs and copy-protected CDs cannot be
converted.
Write-protected or password-protected USB
devices cannot be used to store MP3 files.
•
•
•
•
•
•
»
•
6 Advanced
features
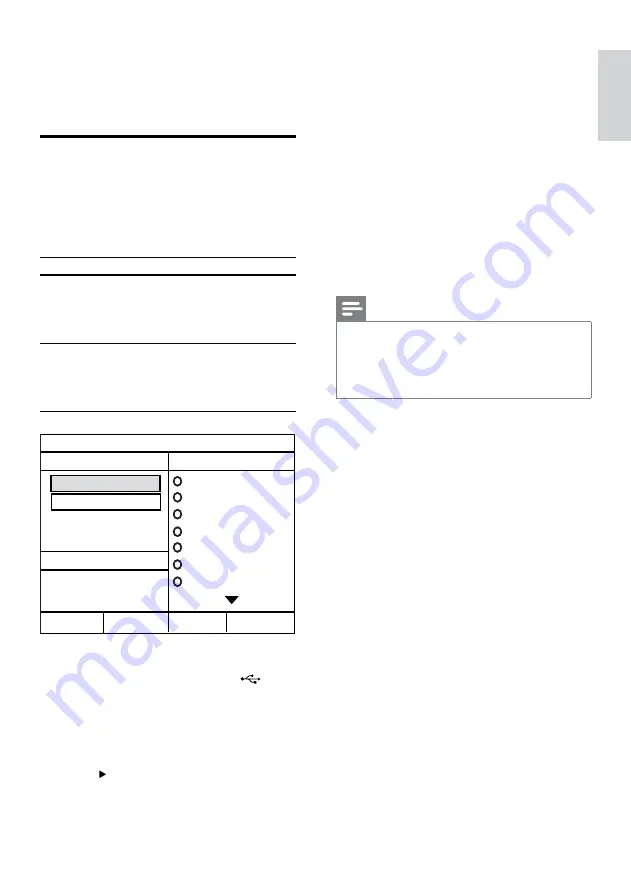
Create MP3 audio files
You can convert audio CDs into MP audio
files with this Home Theater System. The
created MP3 audio files are saved in your USB
device.
Option
Description
[Speed]
Selects the write-to-file speed.
If
[Normal]
speed is selected,
music play can be heard while
creating the MP3 file.
[Bitrate]
Selects the quality level. Higher
bitrate for better sound quality
and bigger file size.
Default setting is
[128kbps]
.
1
Insert an audio CD (CDDA/HDCD).
2
Connect the USB flash drive to
(USB) jack on this Home Theater System.
3
During disc play, press
CREATE MP3
.
4
Select the conversion options in the
[OPTIONS]
panel, then press
OK
.
5
Press to access the
[TRACK]
panel.
6
Select the audio track, then press
OK
.
CREATE MP3
OPTIONS
TRACK
Bitrate 128kbps
SUMMARY
Select Track 0
Start
Exit
Select All
Deselect All
Time 00:00
Track01 04:14
Track02 04:17
Track03 03:58
Track04 04:51
Track05 03:53
Track06 04:09
Track07 04:38
Speed Normal
CREATE MP3
OPTIONS
TRACK
Bitrate 128kbps
SUMMARY
Select Track 0
Start
Exit
Select All
Deselect All
Time 00:00
Track01 04:14
Track02 04:17
Track03 03:58
Track04 04:51
Track05 03:53
Track06 04:09
Track07 04:38
Speed Normal
En
gl
is
h
EN


