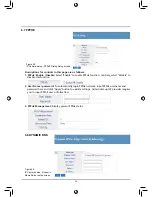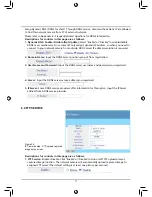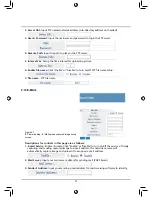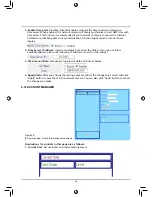
4. Recipient's Address:
Input the recipient's e-mail address.
5. Subject:
Input mail's subject.
6. User ID:
Input sender's mailbox (POP3) user account to pass sending recognition.
7. Password:
Input sender's mailbox (POP3) user password to pass sending recognition.
8.Interval In Minute:
Setup e-mail sending cycle (in minutes). E-mail will be sent every several
minutes according to setting.
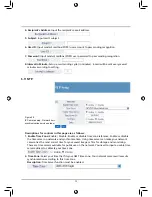
5.11 NTP
Figure 28.
IP Camera setup - Network time
synchronization service setup screen
Descriptions for controls in this page are as follows:
1. Enable Time Zone:
Enable / Disable: Enable or disable time zone reference. Enable or disable
the time server on network and synchronize time. Using time server can make your network
camera has the most correct time for your saved image or film for storage and monitoring.
There are time servers available for public use on the network. You need to input a usable time
server address to calibrate your time zone.
2. Time Zone:
Select your time that fits your GMT time zone. Your network camera will execute
synchronization according to this time zone.
Description:
Time Server function must be enabled.


