8
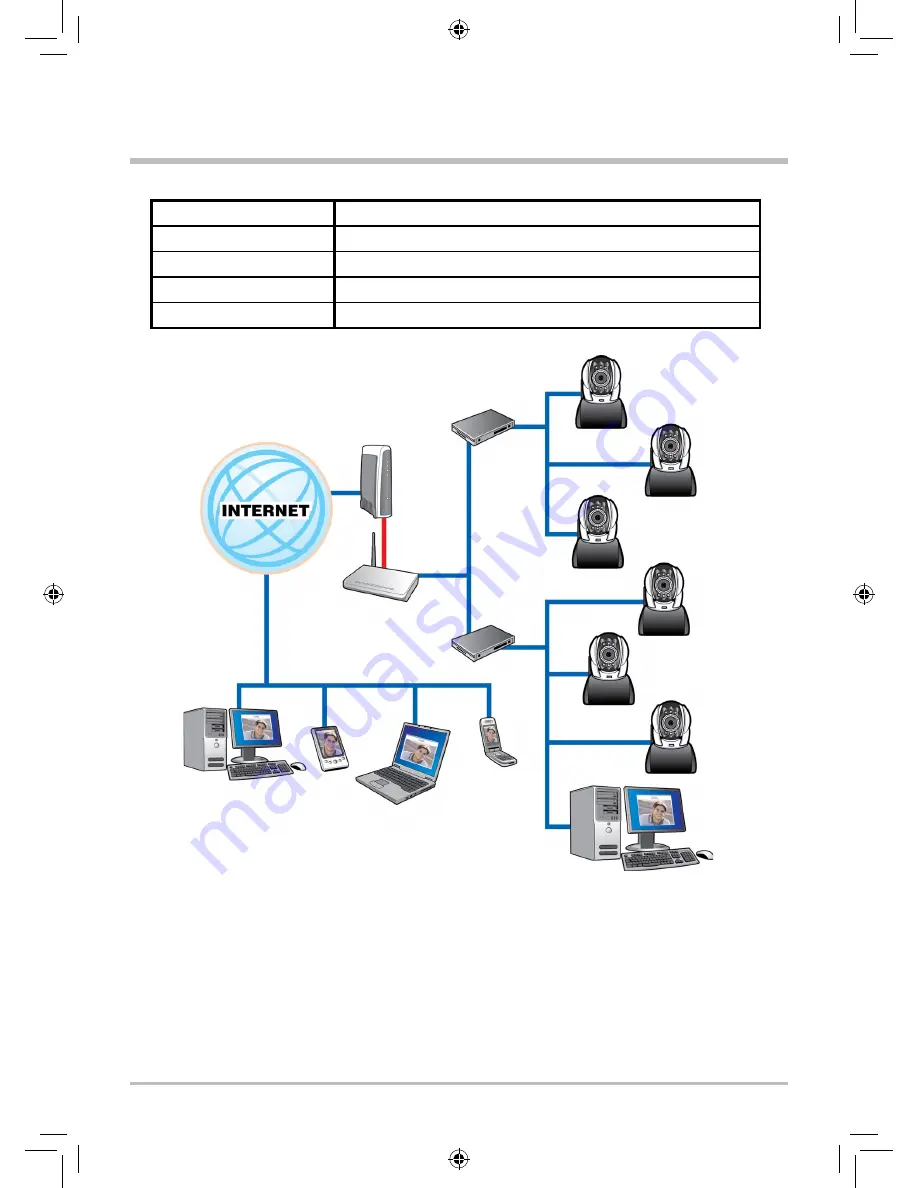
G. IP-CAM Network Framework Installation 7
Way to access Internet
Use Permanent ADSL or Cable Modem
Physical IP Address
Owns one physical IP address
IP Share or LAN Hub
Must be equipped with DHCP and NAT functions
Network Setup for IP -CAM LAN Enable / Manually Web Server Port Number, need to be configured
Suitable Objects
Users with one fixed physical IP, IP Share and several IP-CAMs installed
1. Set a real physical IP address (e.g., 211.78.174.01) for the public IP of IP Share. Then, set
another private IP address and activate the DHCP server function of IP Share.
2. In the IP configuration for each IP-CAM, please assign different virtual IP address internally and
respectively. In the Http Port setting, please specify different port parameters. (Please refer to
2.4-1 STATIC - IP Address Settings to fill in the IP address properly.)
3. For the port transformation in IP Share, please refer to IP and port settings of camera to
configure accordingly.
4. For viewing image in IP-CAM from remote computer: Open IE browser and type in the IP
address of IP Share and the port number of IP-CAM, e.g., http:// 211.78.174.01:1025.
DIAL UP
ADSL MODEM
LAN HUB
LAN HUB
3G MOBILE
PHONE
NOTEBOOK
PDA
DESKTOP PC
ADSL/
CABLE MODEM
IP SHAREING
Public IP:211.78.174.01
Private IP:192.168.0.254
IP CAM
192.168.0.2:1025
IP CAM
192.168.0.2:1026
IP CAM
192.168.0.2:1027
IP CAM
192.168.0.2:1028
IP CAM
192.168.0.2:1029
IP CAM
192.168.0.2:1030
PC FOR IP CAM SETUP
192.168.0.1


