5-2
MonarchNet2 Operating Instructions
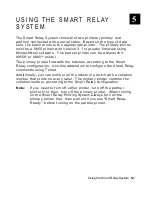
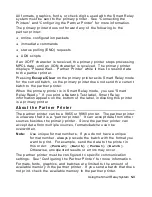
I n i t i a l S m a r t R e l a y S e t u p P r o c e d u r e s
Follow these steps as listed or errors may occur.
1.
Connect the printers. See “Connecting the Printers,” for more
information.
2.
Turn on the partner printer.
3.
Configure the Partner Printer. See “Configuring the Partner
Printer,” for more information.
4.
Turn off the partner printer.
5.
Turn on the primary printer.
6.
Configure the Primary Printer. See “Using the Smart Relay Telnet
Commands,” for more information.
7.
Turn off both printers.
8.
Turn on the primary printer. Wait until you see "Smart Relay
Ready," then turn on the partner printer.
9.
Send your data.
A b o u t t h e P r i m a r y P r i n t e r
The primary printer
♦
must be a 9855 printer using MonarchNet2 software
♦
can have only one partner
♦
connects to the partner printer using a serial cable. You cannot
use the optional external keyboard with the primary printer.
Note:
There
is
no
bi-directional communication between the primary
and partner printers.
For maximum efficiency, the primary printer should print the majority
of the supplies. If you print more RFID supplies than non-RFID
supplies, make the RFID printer the primary printer. This reduces the
amount of data transferred to the partner printer and requires less
processing by the primary printer.
Содержание Monarch 9860
Страница 1: ...u 9855 u 9860 Monarch Printers TC7411MN2OI Rev AD 5 07 2007 Paxar Americas Inc All rights reserved ...
Страница 6: ...iv ...
Страница 16: ...1 10 MonarchNet2 Operating Instructions ...
Страница 34: ...2 18 MonarchNet2 Operating Instructions ...
Страница 84: ...4 24 MonarchNet2 Operating Instructions ...
Страница 100: ...6 8 MonarchNet2 Operating Instructions ...
Страница 112: ...iv MonarchNet2 Operating Instructions ...
Страница 113: ......
Страница 114: ......

