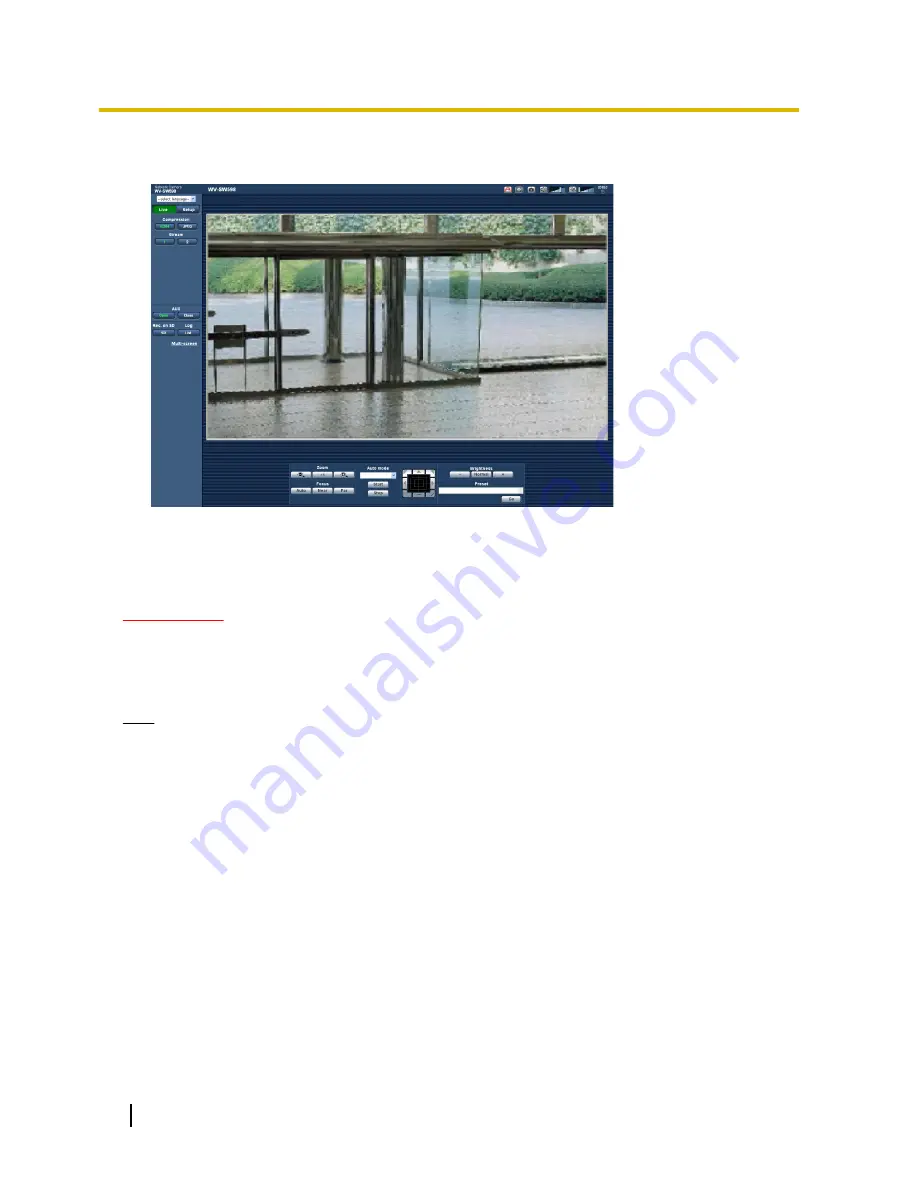
3.
Press the [Enter] key on the keyboard.
→
The “Live” page will be displayed. Refer to page 9 for further information about the “Live” page.
When “On” is selected for “User auth.”, the authentication window will be displayed before displaying live
images for the user name and password entries. The default user name and password are as follows.
User name: admin
Password: 12345
IMPORTANT
•
To enhance the security, change the password for the user name “admin”. It is recommended to change
this password periodically.
•
When displaying multiple H.264 images on a PC, images may not be displayed depending on the
performance of the PC.
Note
•
The maximum number of concurrent access user is 14 including users who is receiving H.264 images
and users who are receiving JPEG images. Depending on the set values for “Bandwidth control(bit
rate)” and “Max bit rate (per client)”, the maximum concurrent access number may be 14 or less users.
When 14 users are concurrently accessing, the access limit message will be displayed for users who
subsequently attempt to access. When “Multicast” is selected for “Transmission type” of “H.264”, only
the first user who accessed to monitor H.264 images will be included in the maximum number. The
second and subsequent users who are monitoring H.264 images will not be included in the maximum
number.
•
When “On” is selected for “H.264 transmission” (
®
page 87), H.264 images will be displayed. When
“Off” is selected, a JPEG image will be displayed. It is possible to display a JPEG image even when
“On” is selected for “H.264 transmission”. In this case, the refresh interval of JPEG images will be
limited to 5 fps.
•
The refresh interval may become longer depending on a network environment, PC performance,
photographic subject, access traffic, etc.
<Refresh interval of JPEG images>
When “On” is selected for “H.264 transmission”
Max. 5fps
When “Off” is selected for “H.264 transmission”
Max. 30fps
8
Operating Instructions
1 Monitor images on a PC
Содержание WV-SC588
Страница 60: ...60 Operating Instructions 10 Configure the basic settings of the camera Basic ...
Страница 182: ...8 Click Next 9 Click Finish 182 Operating Instructions 17 Configuring the network settings Network ...
Страница 208: ... When using a firewall including software allow access to all UDP ports 208 Operating Instructions 21 Using the CD ROM ...
Страница 226: ...226 Operating Instructions Notes ...
Страница 227: ...Operating Instructions 227 Notes ...


