34
English
Basic Controls
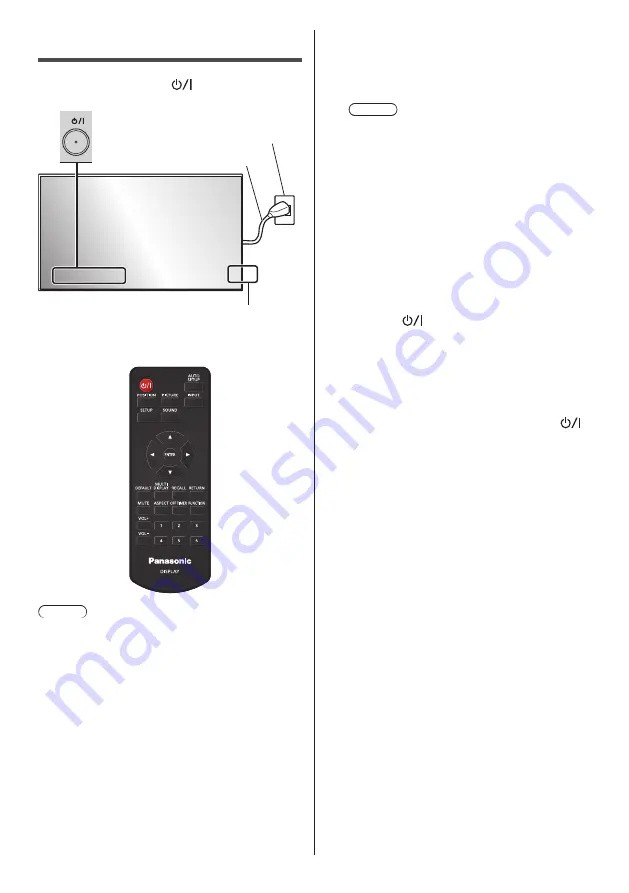
Remote Control Sensor /
Power Indicator
Main Power On / Off button (
)
(Back of the unit)
AC socket outlet
AC cord (supplied)
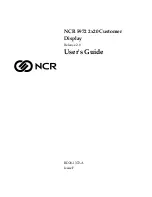
Operate pointing the remote control directly at the unit’s
Remote Control Sensor.
Note
●
Do not put an obstacle between the remote control
sensor of the main unit and the remote control.
●
Operate the remote control in front of the remote
control sensor or from the area where the sensor can
be seen.
●
When directly aiming the remote control at the remote
control sensor of the main unit, the distance from
the front of remote control sensor should be approx.
7 m or less. Depending on the angle, the operation
distance may be shorter.
●
Do not subject the remote control sensor of the main
unit to the direct sunlight or strong fluorescent light.
1
Connect the AC cord plug to the
Display.
(see page 20)
2
Connect the plug to the socket outlet.
Note
●
Main plug types vary between countries. The
power plug shown at left may, therefore, not be
the type fitted to your set.
●
When disconnecting the AC cord, be absolutely
sure to disconnect the AC cord plug at the
socket outlet first.
●
The settings may not be saved if the power plug
is disconnected immediately after changing
settings with on-screen menu. Disconnect the
power plug after a enough period of time. Or,
disconnect the power plug after turning the
power off with the remote control, RS-232C
control or LAN control.
3
Press the <Main Power On / Off
button> (
) on the unit to turn the
power of the unit on.
●
Power Indicator: Blue (Picture is displayed.)
●
When the power of the unit is on, the power
indicator lights up and remote control operation is
possible.
●
When the power indicator is lit, it is not necessary
to press the <Main Power On / Off button> (
)
on the unit. Operate the remote control so that the
power indicator turns blue (picture is displayed).


