27
Signal Menu
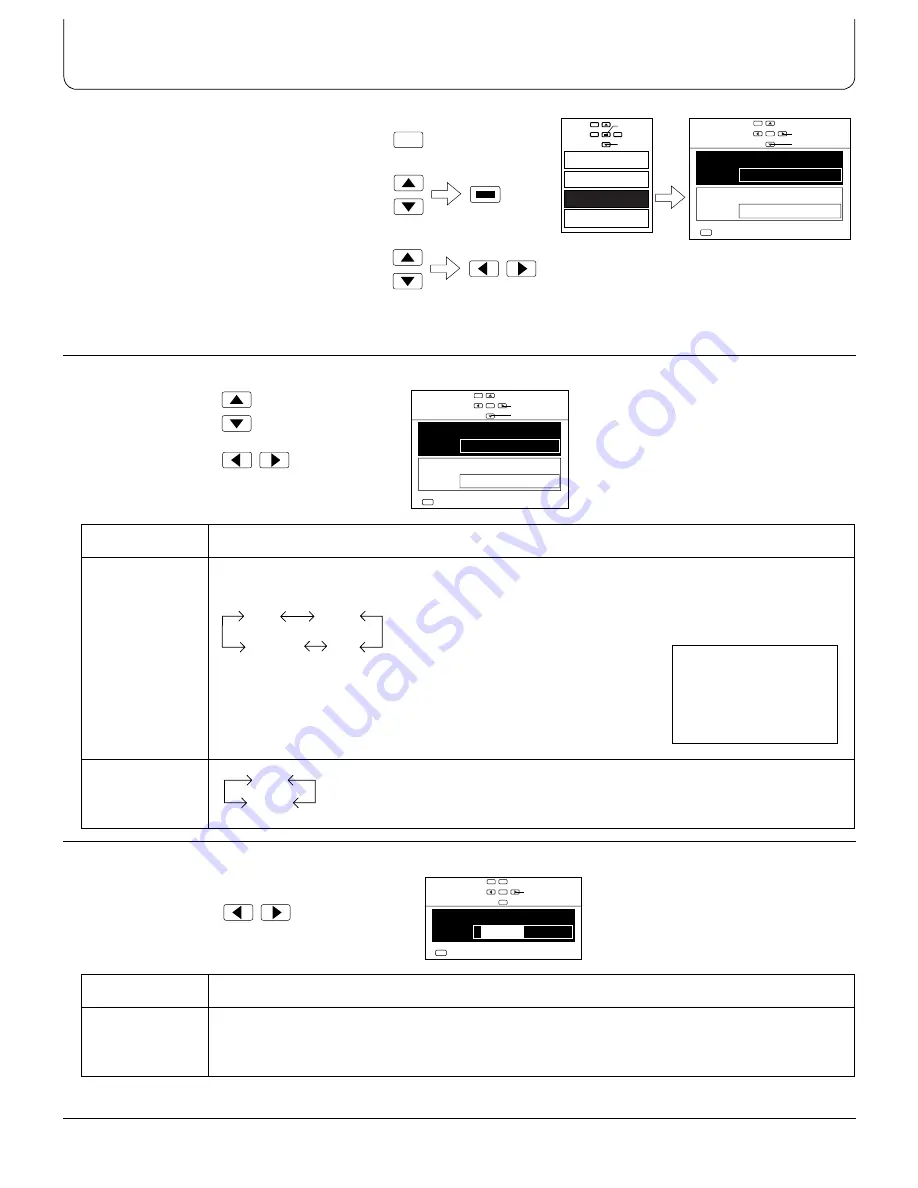
1.Push the “Menu” Button.
2.Select the “Signal” Menu by pushing the
Position Up “
F
”or Down “
G
” Button and
Access the “Signal” Menu by pushing the
“STR” Button.
3.Select the required mode by pushing the
Position Up “
F
” or Down “
G
” buttons, and
set the appropriate function by the Position
Left “
I
” or Right “
H
” buttons.
Note:
(1) The “Signal” screen changes depending on the input signal mode (AV(S-Video), Component, RGB or PC).
During “AV(S-Video)” input signal mode
Select the mode
Select the function
During “Component” input signal mode
Select
Mode
Function
Colour system
Set the colour system to match the input signal. If set to “Auto”, the colour system is
determined automatically.
Scan mode
If watching a normal image, select the “Field”.
If the recording mode used for a device such as a digital video camera is
“Frame”, select the “Frame” to obtain a higher-quality playback image.
Mode
Function
Colour matrix
If the output signals from the source connected to the COMPONENT/RGB input terminals are
in 525p (480p) format, the colours in the images from this source will be set to their natural
colours.
MENU
STR
Picture
Sound
Signal
Set up
Access
Select
Signal
Colour system
Auto
Field
Scan mode
Change
Select
Exit
MENU
1,2
3
Signal
Colour system
Auto
Field
Scan mode
Change
Select
Exit
MENU
NTSC
PAL
SECAM
Auto
Note:
(1)The display colour for the input signal mode (“AV”) changes
according to the colour system
setting.
Auto - Green
NTSC - Magenta
PAL - Yellow
SECAM - Cyan
(2) PAL-60 signal is displayed only
“Auto” mode.
AV
Field
Frame
Signal
Colour matrix
2
1
Change
Exit
MENU
During “AV(S-Video)” input
signal mode


